Oh, Zinowiewia integerrima! What a delightful plant to bring more of into your garden. If you’ve ever admired its vibrant blooms and lush foliage, you’re in for a treat. For me, propagating Zinowiewia is one of those little joys that makes my gardening heart sing. It’s surprisingly generous, and you’ll find yourself with plenty of new beauties to share or fill those bare spots. And for those of you just dipping your toes into the world of plant propagation? Good news – Zinowiewia is a wonderfully beginner-friendly plant to start with.
The Best Time to Start
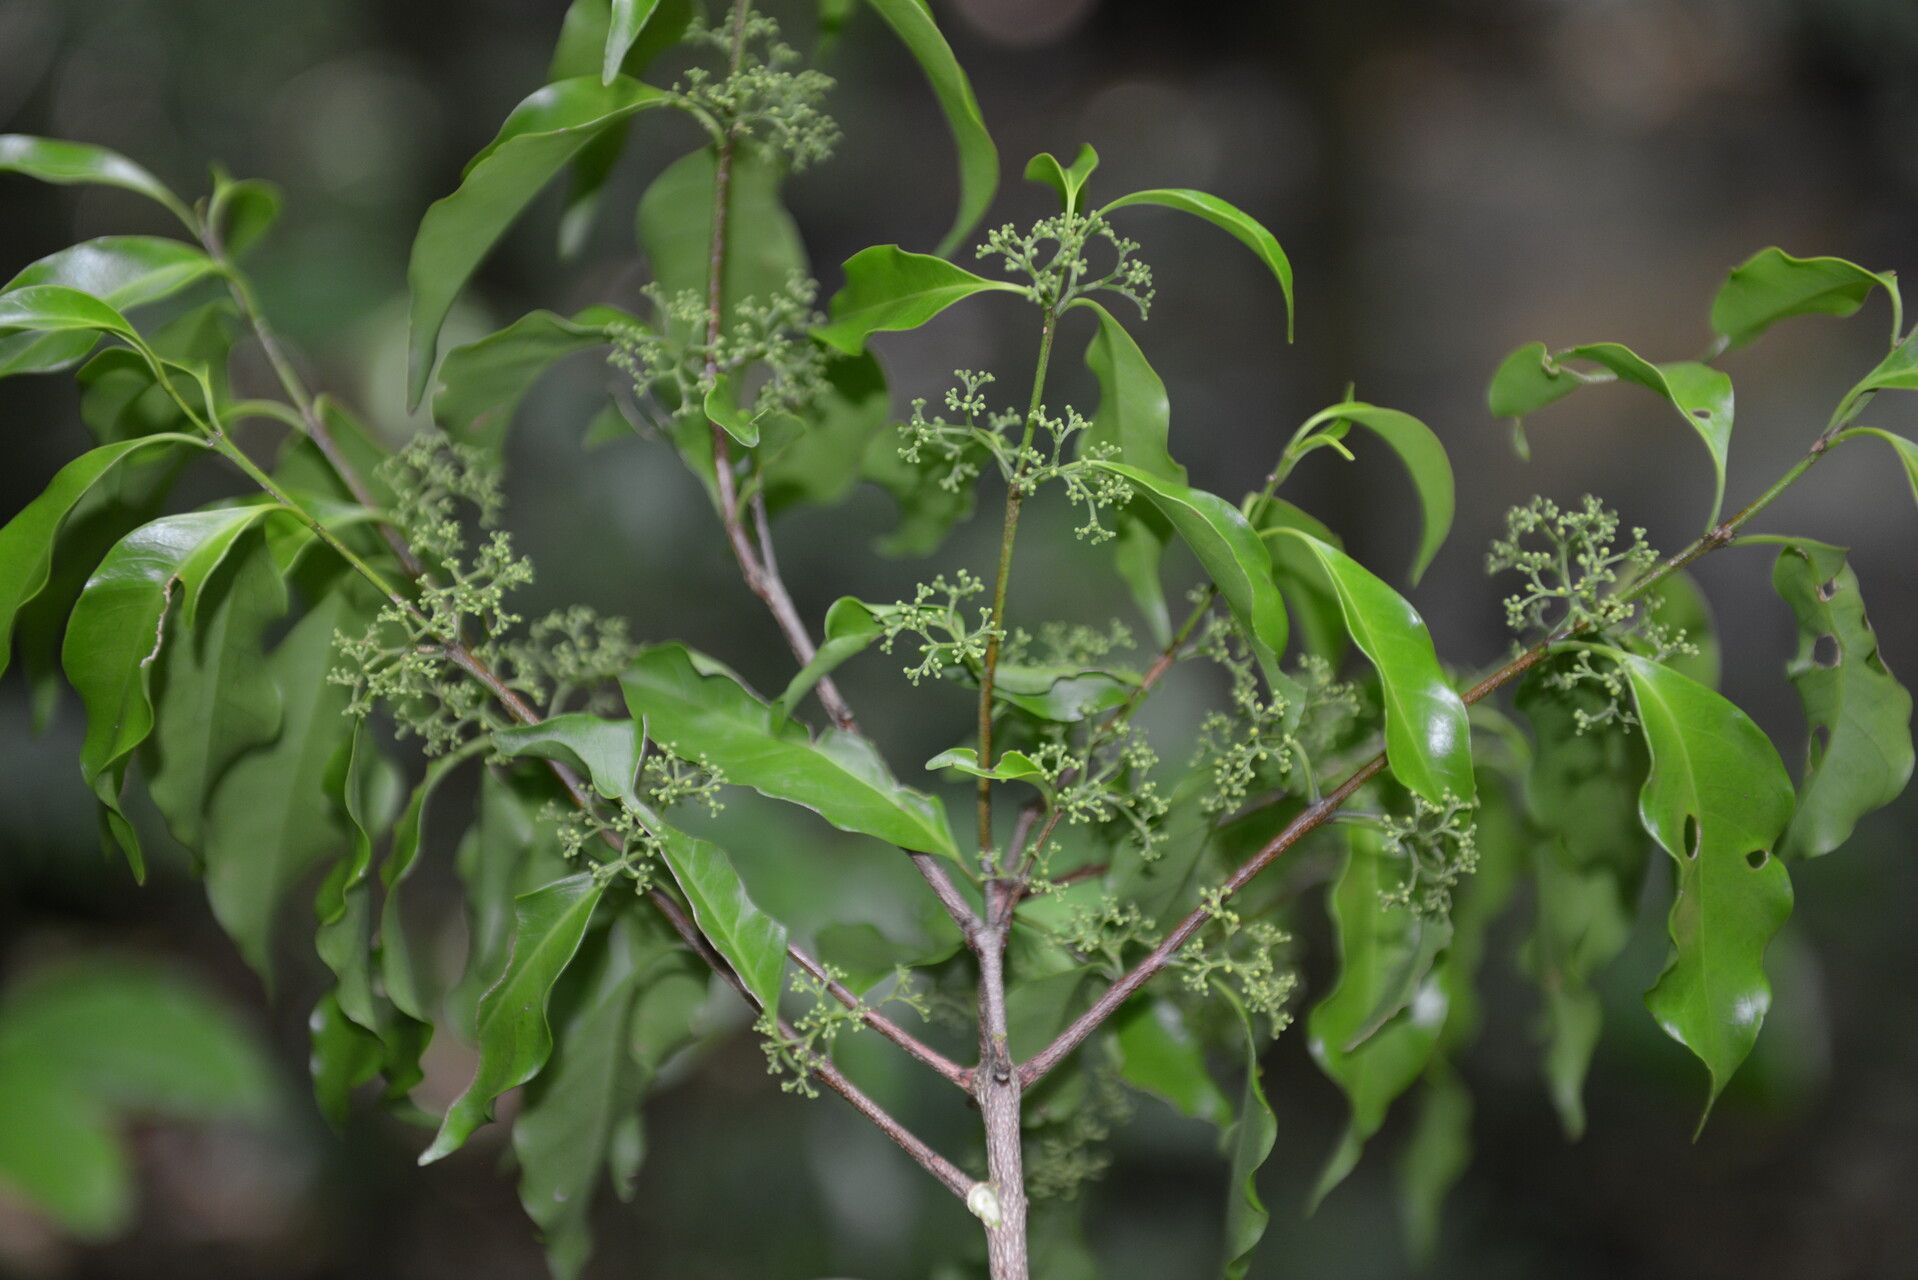
When it comes to getting the most bang for your propagation buck, late spring or early summer is usually your golden ticket. You’re looking for healthy, actively growing stems. Avoid flowering stems if possible, as the plant expends a lot of energy on blooms, which can sometimes make cuttings a little less enthusiastic to root. Think of it as choosing the freshest, most vigorous material for your new plant babies.
Supplies You’ll Need
Gathering your tools beforehand makes the whole process so much smoother. Here’s what I usually have on hand:
- Sharp Pruning Shears or a Clean Knife: Essential for making clean cuts that heal well.
- Rooting Hormone (Optional but Recommended): A little boost can encourage faster, stronger root development.
- Small Pots or Propagation Trays: Make sure they have drainage holes!
- A Well-Draining Potting Mix: I love a blend of perlite, peat moss, and a little bit of coco coir. You can also buy pre-made cactus or succulent mixes as a good starting point.
- Watering Can with a Fine Rose: Gentle watering is key.
- Plastic Bags or a Propagation Dome: To create a humid environment.
- Labels and a Marker: Trust me, you’ll thank yourself later!
Propagation Methods
Zinowiewia is quite adaptable, so you have a couple of reliable ways to multiply your plants.
Stem Cuttings
This is my go-to method for Zinowiewia.
- Take the Cuttings: Using your clean shears, snip a piece of healthy stem that’s about 4-6 inches long. Make your cut just below a leaf node (where a leaf attaches to the stem).
- Prepare the Cuttings: Gently remove the lower leaves from the cutting, leaving just a couple of sets at the top. This prevents them from rotting in the soil.
- Apply Rooting Hormone (Optional): Dip the cut end of the stem into your rooting hormone powder or liquid. Tap off any excess.
- Plant the Cuttings: Fill your small pots with your prepared potting mix. Make a small hole with your finger or a pencil and gently insert the cut end of the stem. Ensure the leaf nodes where you removed leaves are below the soil surface, as this is where roots will form.
- Water Gently: Water the soil thoroughly until it’s moist but not soggy.
- Create Humidity: Cover the pots with a clear plastic bag, ensuring the leaves don’t touch the plastic. Alternatively, use a propagation dome. This creates a mini-greenhouse effect.
- Place in Bright, Indirect Light: Find a warm spot that receives plenty of bright, indirect light. Avoid direct sun, which can scorch the tender cuttings.
Water Propagation
This method is equally rewarding and satisfying to watch.
- Take the Cuttings: Same as above – healthy, 4-6 inch stem pieces with a leaf node at the cut end.
- Prepare the Cuttings: Remove the lower leaves.
- Place in Water: Fill a clean glass or jar with fresh water. Submerge the cut end of the cuttings, making sure no leaves are below the waterline.
- Change Water Regularly: It’s crucial to change the water every 2-3 days to keep it fresh and prevent bacterial growth.
- Place in Bright, Indirect Light: Similar to stem cuttings, find a well-lit spot away from direct sun.
- Watch for Roots! You’ll start seeing little nubs emerge from the leaf nodes in a few weeks. Once the roots are about an inch long, they are ready to be transplanted into soil.
The “Secret Sauce” (Pro Tips)
Here are a few little tricks I’ve learned over the years that make a difference:
- Don’t Let Leaves Touch the Water (or the Soil if Possible): This is a big one! Whether in water or soil, any submerged foliage is a prime candidate for rot. Keep your cuttings clean and tidy.
- Bottom Heat is Your Friend: If you’re struggling with rooting or want to speed things up, a small seedling heat mat placed under your propagation trays can make a world of difference. It encourages root growth from below, giving your cuttings that extra push.
- Patience is Virtue (and a Requirement!): Sometimes, Zinowiewia will root in a few weeks, and other times it feels like an eternity. Don’t despair if you don’t see immediate results. Keep the conditions consistent, and they’ll usually come around in their own time.
Aftercare & Troubleshooting
Once your cuttings have developed a healthy root system (you’ll feel a gentle tug when you lightly pull on them), it’s time to move them into their own pots.
- Potting Up: Use a good quality, well-draining potting mix in their permanent pots. Water them thoroughly after transplanting.
- Gradual Acclimation: If your cuttings were in a humid environment (like under a plastic bag), slowly introduce them to the outside air over a few days to prevent shock.
- Watering: Water when the top inch of soil feels dry. Zinowiewia, like many plants, doesn’t like to sit in soggy soil.
Common Issues: The most frequent problem you’ll encounter is rot. This usually happens if the cuttings are kept too wet, especially the leaves. If you see yellowing leaves or a mushy stem, it’s usually a sign of overwatering or poor air circulation. Sometimes, you can salvage a cutting by cutting off the rotted part and trying again, but it’s often a sign that the conditions aren’t quite right. Wilting can also occur if the cutting hasn’t rooted yet and is drying out, or if it’s suffering from shock. Ensure consistent moisture and humidity.
A Little Encouragement to End
So there you have it! Propagating Zinowiewia integerrima is a wonderfully accessible way to expand your collection and share your love of gardening. Be patient with yourself and your new plant babies. The act of nurturing a new life from a tiny cutting is one of the most rewarding experiences in gardening. Happy propagating!
Resource: