Hello Garden Friends!
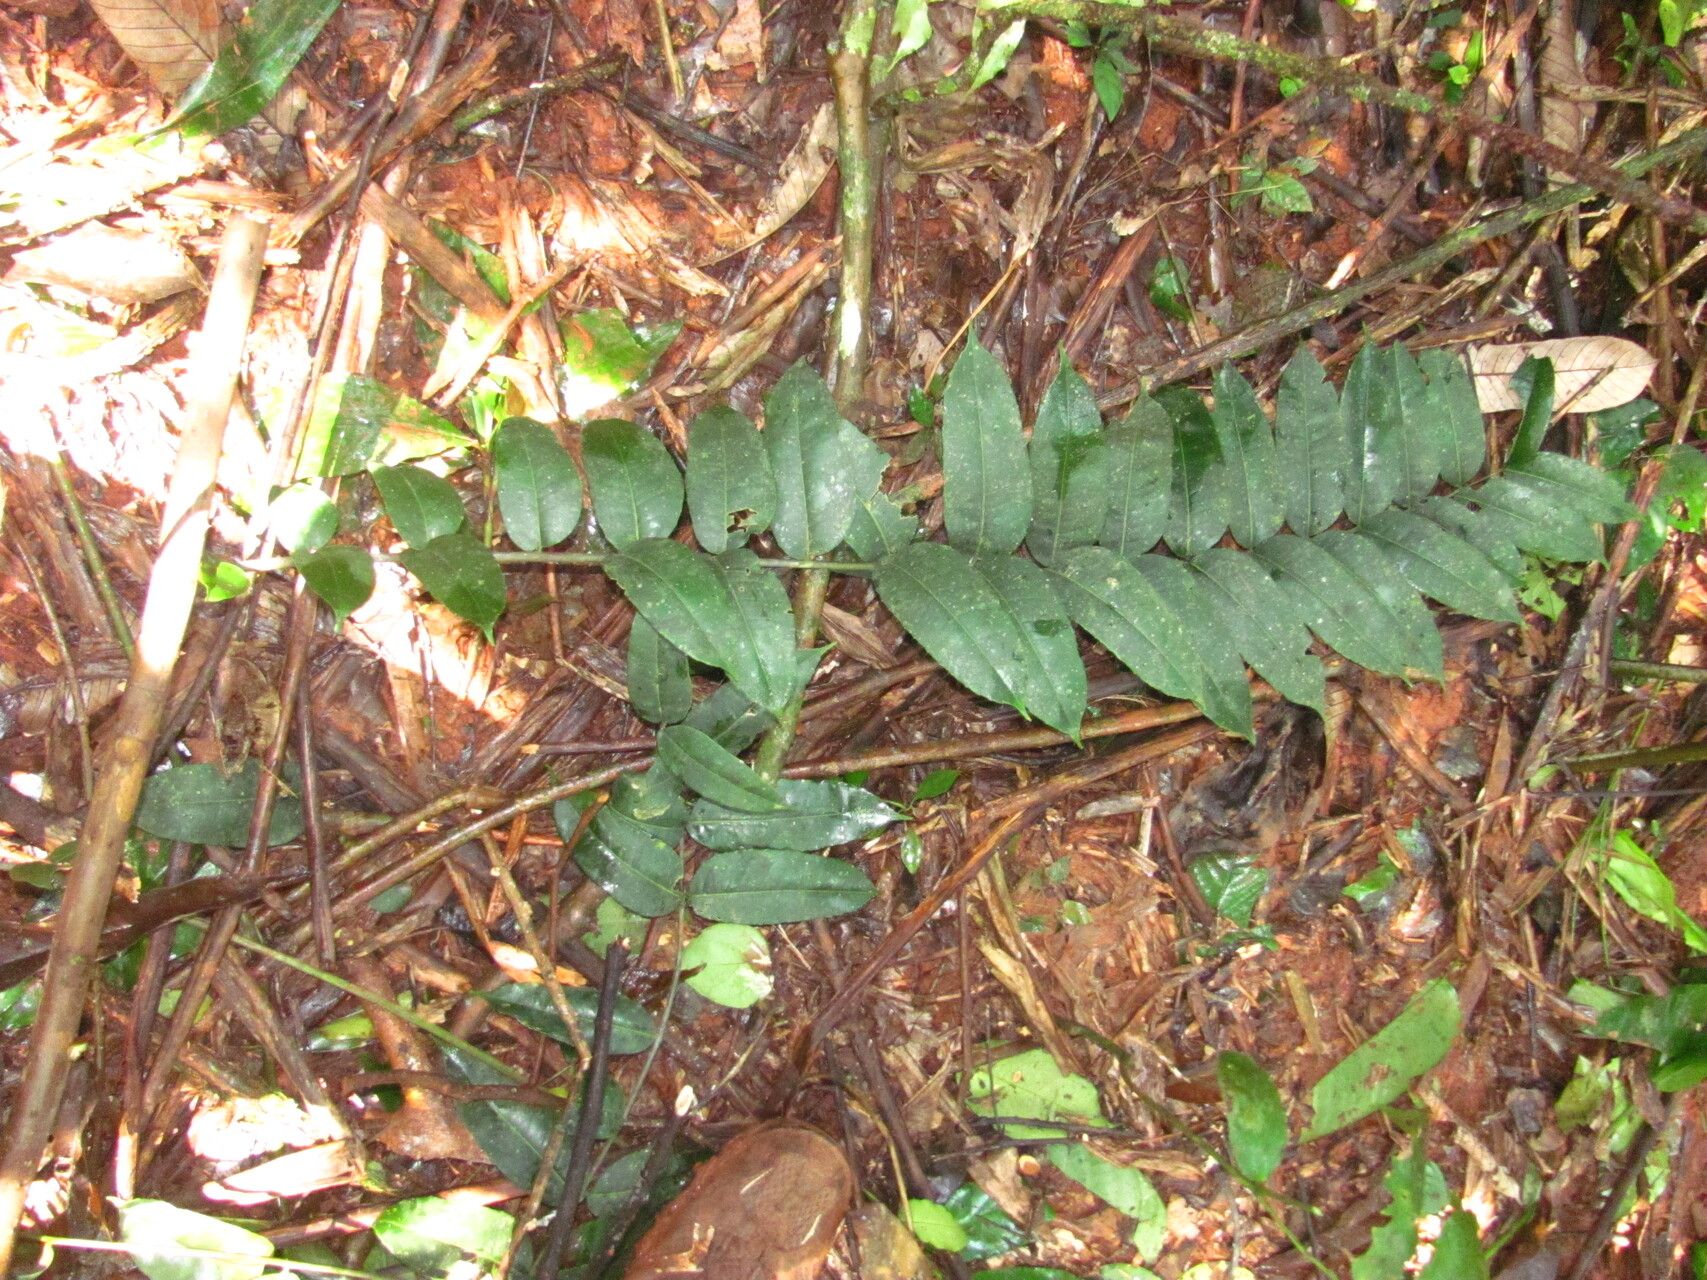
Do you have a Zanthoxylum gilletii gracing your garden? Those beautiful, glossy leaves and the promise of something unique – it’s no wonder you’re thinking about making more of them! I’ve been growing and propagating plants for two decades now, and there’s a special joy in coaxing new life from an existing plant. Zanthoxylum gilletii, sometimes called the African prickly ash, is a fascinating specimen to work with. While it’s not the absolute easiest plant to propagate for a complete beginner, stick with me, and we’ll get you growing your own!
The Best Time to Start
For the highest success rate with Zanthoxylum gilletii, I always aim for late spring to early summer. This is when the plant is actively growing, and the stems are usually at just the right stage—not too soft and green, but not woody either. Think of it as “semi-hardwood.” This vigorous growth period means they’re more willing to send out those precious roots.
Supplies You’ll Need
Before we dive in, let’s gather our tools. It’s always best to be prepared!
- Sharp Pruning Shears or a Craft Knife: Clean cuts are crucial for healthy propagation.
- Rooting Hormone: A powder or gel will significantly boost your success rate.
- Well-Draining Potting Mix: I like a 50/50 blend of perlite and seed starting mix. Or even better, use a specific cuttings mix.
- Small Pots or Trays: Ensure they have drainage holes.
- Clear Plastic Bags or Domes: To create a humid environment.
- Watering Can or Spray Bottle: For gentle watering.
- (Optional) Bottom Heat Mat: This can provide a little extra warmth where the roots are forming.
Propagation Methods
Let’s get our hands dirty! The most successful method I’ve found for Zanthoxylum gilletii is through stem cuttings.
- Take Your Cuttings: On a mild day, use your clean, sharp shears to take 6-8 inch cuttings from healthy, non-flowering stems. Look for stems that bend slightly but don’t snap. Make your cut just below a leaf node, as this is where roots are most likely to form. Remove any lower leaves, leaving just a few at the top.
- Apply Rooting Hormone: Dip the cut end of each stem into your rooting hormone, tapping off any excess. This stuff is like a little boost of encouragement for your cutting.
- Plant Your Cuttings: Fill your small pots with your chosen potting mix. Moisten the mix thoroughly until it’s damp but not soggy. Make a hole in the center of the soil with a pencil or your finger, and gently insert the cutting so that at least two leaf nodes are buried in the soil. Firm the soil gently around the base of the cutting.
- Create Humidity: Water the soil again very lightly, or mist the leaves. Then, cover the pots with clear plastic bags or place them under a humidity dome. This traps moisture and prevents the cuttings from drying out.
- Find a Good Spot: Place the pots in a bright location, but out of direct sunlight. Too much sun can scorch those tender cuttings. A spot that stays consistently warm is ideal, especially if you’re using that bottom heat mat.
The “Secret Sauce” (Pro Tips)
Over the years, I’ve learned a few tricks that really make a difference.
- Don’t Drown Them: When watering, be gentle. Overwatering is the fastest way to invite rot. I prefer to mist the leaves and top of the soil until I see roots forming, then water sparingly from the bottom if needed.
- Callus Time: Sometimes, letting your cuttings sit for 24 hours after taking them, before applying the rooting hormone and planting, can allow the cut end to form a slight callus. I’ve found this can reduce the risk of rot for some plants, and it’s worth a try if you have extra cuttings.
- Bottom Heat is Your Friend: If you’re serious about propagation, a bottom heat mat is a game-changer. It keeps the soil temperature consistently around 70-75°F (21-24°C), which is perfect for root development. You’ll be amazed at the difference it makes!
Aftercare & Troubleshooting
Once your cuttings have been planted, the patience game begins! Keep the soil consistently moist but not waterlogged. Watch for signs of new growth – tiny leaves or buds emerging from the top. This usually indicates that roots are forming, which can take anywhere from 4 to 8 weeks, sometimes longer.
The most common problem you might encounter is rot. If you see stems turning black and mushy, or the leaves wilting drastically despite consistent moisture, it’s usually a sign of too much humidity or overwatering. If this happens, pull out the affected cutting immediately. You can try to salvage healthy parts by taking new cuttings and ensuring better air circulation.
Once you see good root development (you can gently tug on a cutting. If there’s resistance, roots are forming!), you can gradually introduce your new plantlings to normal room conditions by slowly opening the plastic bag or dome over a week. Then, when they are robust enough, you can transplant them into their own slightly larger pots.
A Little Patience Goes a Long Way
Growing new plants is such a rewarding journey. Don’t get discouraged if your first attempt isn’t 100% successful. Keep experimenting, observe what your plants are telling you, and celebrate every little victory. That brand-new Zanthoxylum gilletii that you grew yourself will bring you immense satisfaction. Happy planting!
Resource: