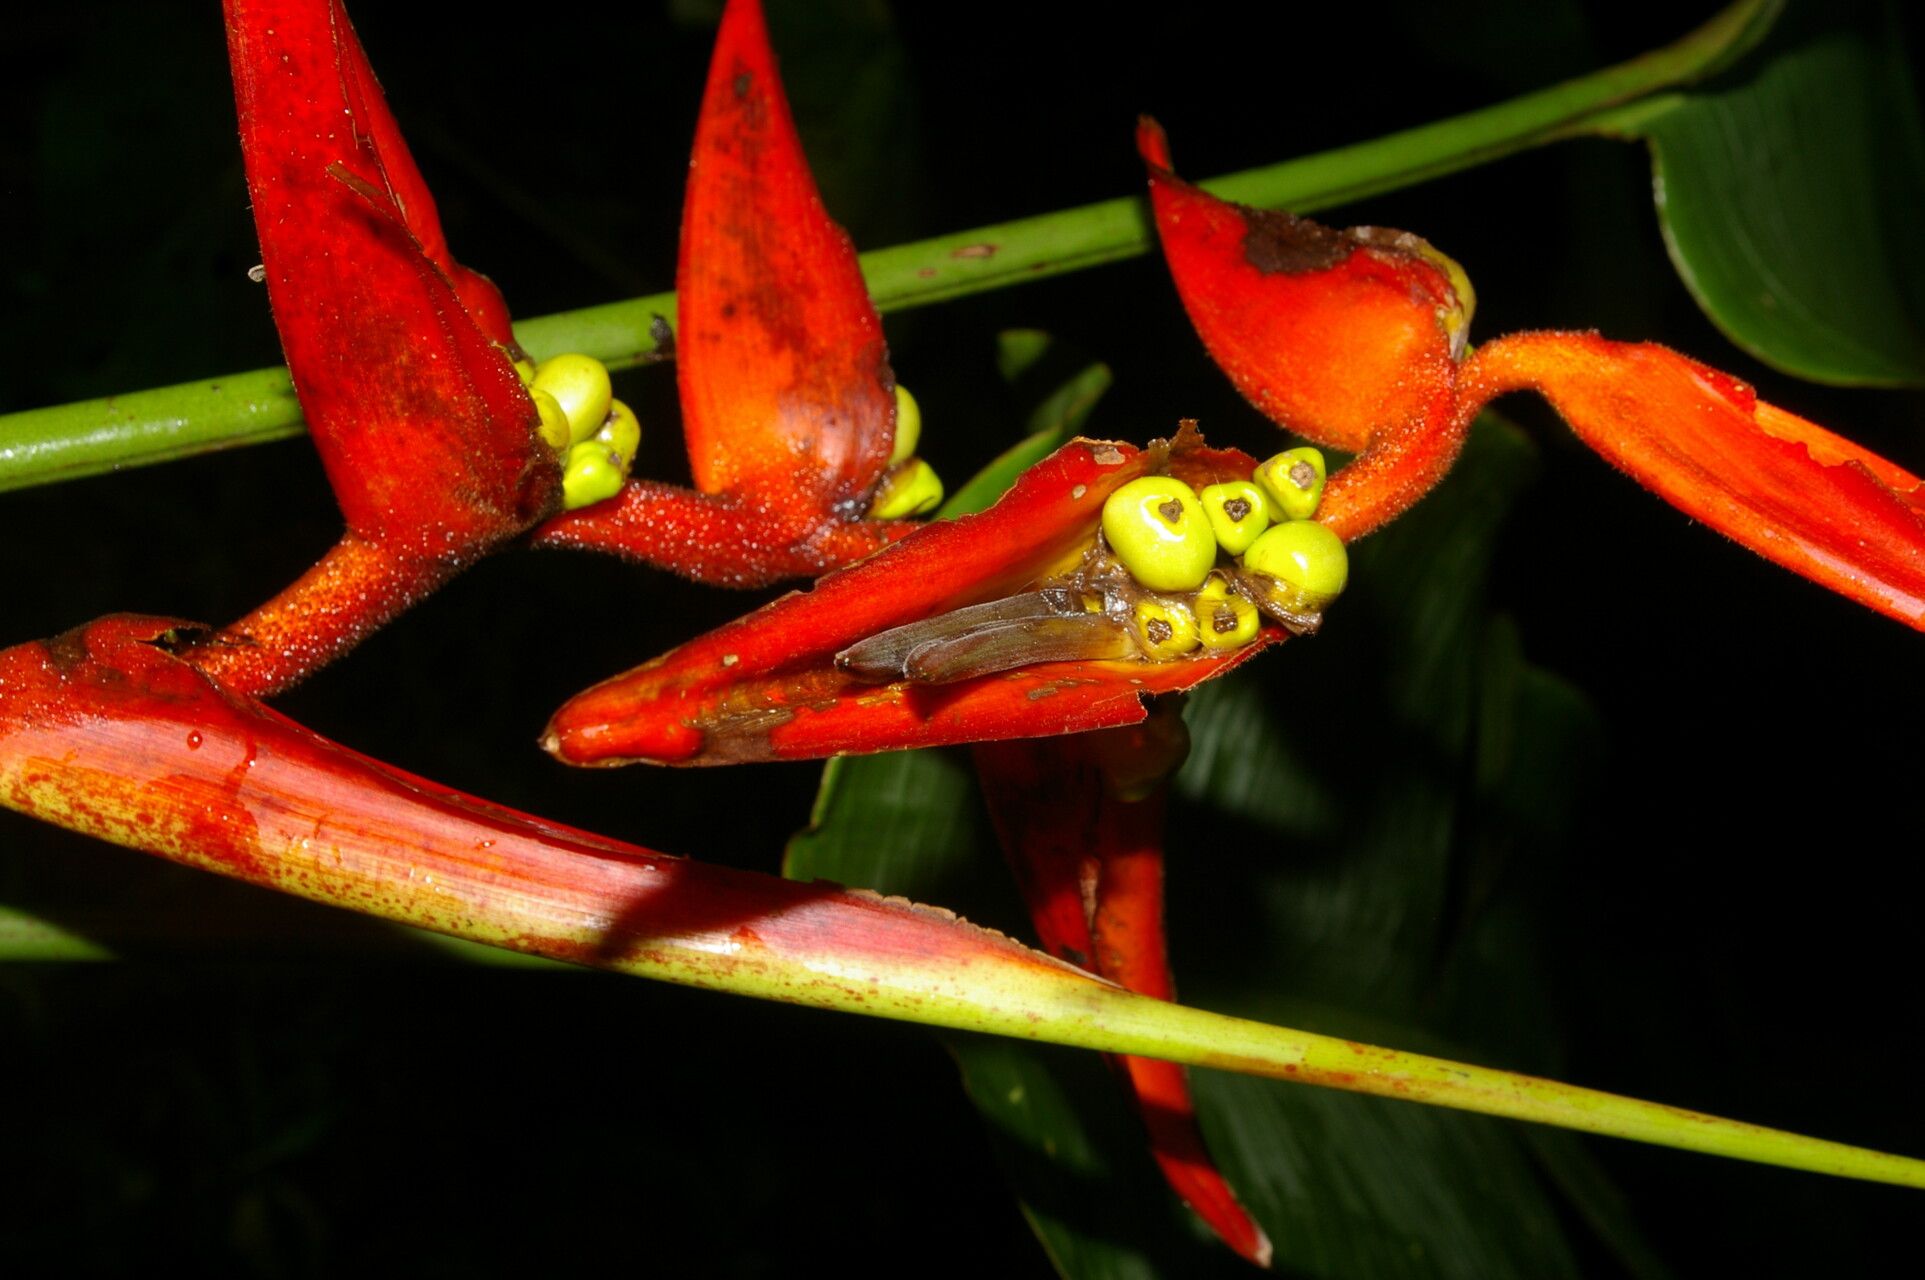
Hello fellow plant enthusiasts! Today, we’re diving into the vibrant world of Heliconia nutans, often called the ‘Hanging Lobster Claw’ because of its stunning, pendulous red bracts. These beauties bring a tropical flair to any garden, and let me tell you, the joy of watching a new plant you’ve nurtured from a tiny piece grow into a magnificent specimen is truly something special. Now, is Heliconia nutans a beginner-friendly plant to propagate? It leans a little more towards the “intermediate” side, but with a little care and these tips, I’m confident you’ll be successful.
The Best Time to Start
For Heliconia nutans, timing is everything. You’ll have the best luck propagating this plant during its active growing season, which usually falls between late spring and mid-summer. This is when the plant has plenty of energy stored to put into developing new roots. Avoid propagating when the plant is dormant or stressed.
Supplies You’ll Need
To get your propagation station set up, you’ll want a few key items:
- Sharp pruning shears or a clean, sharp knife: For making clean cuts and preventing disease.
- Rooting hormone (powder or gel): While not strictly essential for division, it significantly boosts success rates for cuttings.
- Well-draining potting mix: A blend of equal parts peat moss or coco coir, perlite, and coarse sand works beautifully. You can also use a specialized tropical plant mix.
- Small pots or trays: For your new baby plants. Ensure they have drainage holes!
- Watering can or spray bottle: For gentle watering.
- Plastic bags or a propagator: To create a humid environment for cuttings.
- Labels and a marker: To keep track of your projects!
Propagation Methods
Heliconia nutans is primarily propagated through division, but stem cuttings can also work.
Division
This is the most common and generally easiest method for home gardeners.
- Gently excavate the mother plant: Carefully dig around the base of your Heliconia nutans, exposing its root system and rhizomes (underground stems). You don’t need to pull the whole plant out if you’re just taking a division.
- Identify healthy sections: Look for sections of the rhizome that have visible shoots or buds. These are your potential new plants.
- Make the cut: Using your sharp pruning shears or knife, carefully cut away a section of the rhizome, making sure this section has at least one or two healthy shoots and some attached roots. If you’re struggling to separate, a firm twist can sometimes help, but be gentle.
- Plant your division: Pot your new division into a small pot filled with your well-draining mix. Ensure the rhizome is just barely covered by the soil, with the shoots pointing upwards.
Stem Cuttings
This method is a bit more hands-on but can be very rewarding.
- Take a healthy stem cutting: Select a vigorous stem that has at least two to three leaf nodes. Using your sharp shears, make a clean cut just below a leaf node. Aim for a cutting about 6-8 inches long.
- Prepare the cutting: Remove the lower leaves, leaving only one or two at the top. This reduces water loss.
- Apply rooting hormone: Dip the cut end of the stem into rooting hormone, tapping off any excess.
- Plant your cutting: Insert the hormonal end of the cutting into a pot filled with your well-draining potting mix. Make sure at least one leaf node is below the soil surface.
- Create humidity: Water gently and then cover the pot with a plastic bag or place it in a propagator to maintain high humidity. Make sure the leaves don’t touch the sides of the bag.
The “Secret Sauce” (Pro Tips)
Here are a couple of things I’ve learned over the years that really make a difference:
- Rhizome integrity is key for division: When dividing, I always try to ensure my new section has a decent chunk of the rhizome attached. This stored energy is like a head start for your new plant. If the rhizome is small, don’t be discouraged, but success is more likely with a bit more substance.
- Bottom heat is your friend for cuttings: If you’re trying stem cuttings, invest in a small heat mat. Heliconias are tropical, and providing that gentle warmth from below dramatically speeds up root formation and prevents rot. It’s like giving your little propagations a warm hug.
Aftercare & Troubleshooting
Once your new plant is potted, keep the soil consistently moist but not soggy. For cuttings, maintain that high humidity. You should start to see new growth within a few weeks to a couple of months, depending on the method and conditions.
The most common issue you might encounter is rot. This is usually a sign of overwatering or poor drainage. If you see your cutting or division wilting unusually fast and the soil feels waterlogged, it’s likely rot. Unfortunately, it’s often difficult to save a plant that has succumbed to rot, so prevention is key. Ensure good air circulation around your new plants.
A Encouraging Closing
Propagating Heliconia nutans is a journey of patience and observation. Don’t get disheartened if your first attempt isn’t perfect. Each time you try, you’ll learn more. Enjoy the process, celebrate those first tiny new leaves, and soon you’ll be sharing your own Heliconia beauties with friends! Happy gardening!
Resource:
https://identify.plantnet.org/k-world-flora/species/Heliconia%20nutans%20Woodson/data