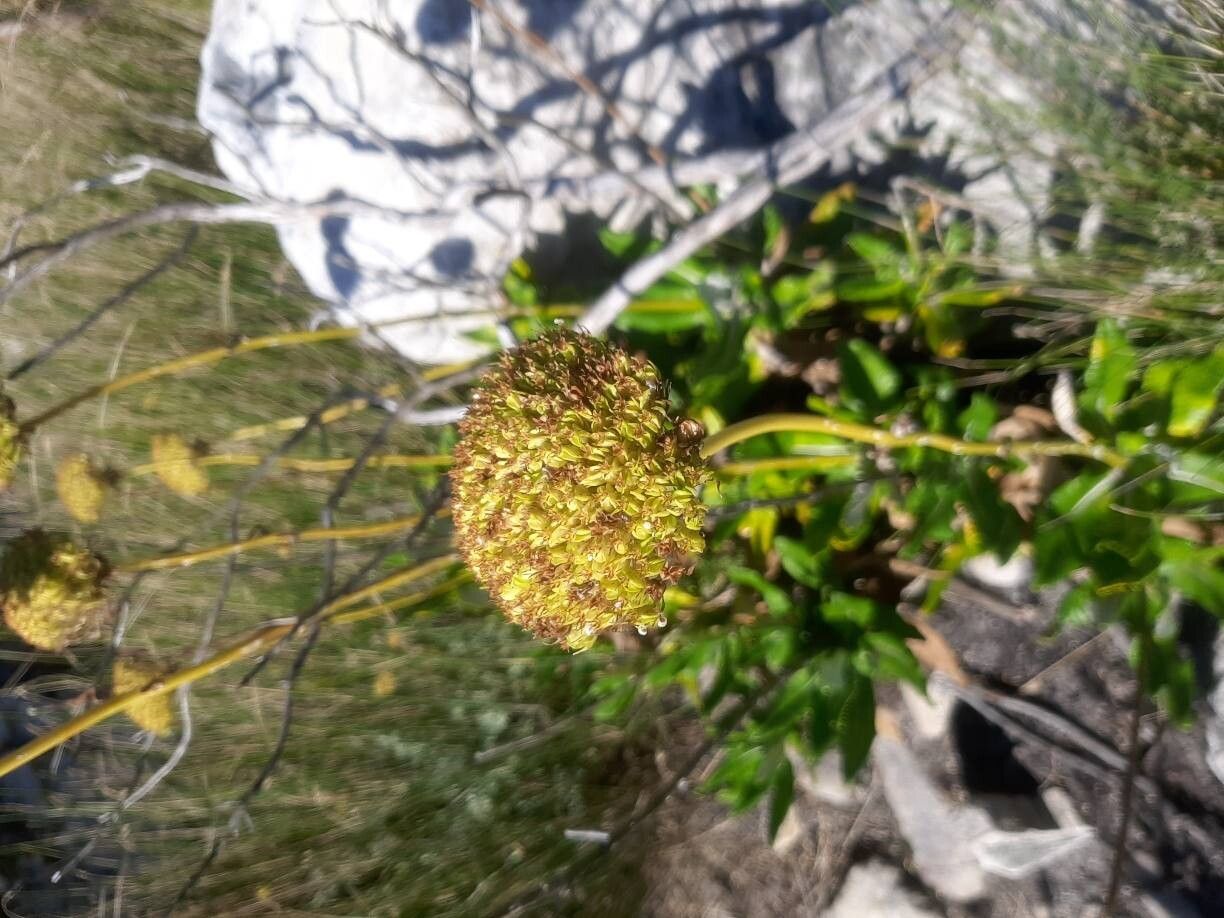
Oh, Hermas villosa! What a delightful plant you’ve chosen. I remember the first time I saw one, with its soft, fuzzy leaves and delicate blooms. It truly has a way of bringing a touch of quiet elegance to any space. And the good news? Propagating it is wonderfully rewarding, giving you the joy of sharing this beauty or simply expanding your own collection.
Now, for beginners, I’d say Hermas villosa is moderately easy. It’s not quite as forgiving as a pothos, but with a little attention and these tips, you’ll be well on your way to success.
The Best Time to Start
The sweet spot for propagating Hermas villosa is definitely late spring to early summer. This is when the plant is actively growing and has the energy to put into developing new roots. You’ll want to take cuttings from healthy, non-flowering stems – those vibrant, vigorous shoots are your best bet.
Supplies You’ll Need
Here’s what you’ll want to have on hand:
- Sharp, clean pruning shears or a knife: Essential for making clean cuts.
- Rooting hormone (optional but recommended): A little boost can make a big difference, especially for fussier plants. Look for one specifically for stem cuttings.
- Well-draining potting mix: A good blend is about equal parts peat moss or coco coir and perlite or coarse sand. This prevents waterlogging.
- Small pots or propagation trays: Anything clean and with drainage holes will do.
- Plastic bags or a propagator: To create a humid environment.
- Water: For your cuttings or for a spray bottle.
Propagation Methods
Let’s get our hands dirty! The most reliable method for Hermas villosa is stem cuttings.
- Select your cutting: Look for a healthy stem that’s about 4-6 inches long. Make your cut just below a leaf node (where a leaf attaches to the stem).
- Prepare the cutting: Gently remove the lower leaves from your cutting, leaving just a few at the top. This prevents them from rotting when buried in the soil.
- Apply rooting hormone (if using): Dip the cut end of the stem into the rooting hormone powder, tapping off any excess.
- Plant your cuttings: Make a small hole in your potting mix with your finger or a pencil. Insert the cut end of the stem into the hole and gently firm the soil around it. Don’t pack it too tightly.
- Water lightly: Give the soil a gentle watering, enough to moisten it but not soak it.
- Create humidity: Cover the pot or tray with a plastic bag or place it in a propagator. This traps moisture, mimicking the humid environment the cutting needs to callus and root.
Another option, though often slower for this particular plant, is water propagation. Simply place the prepared cuttings (as described above, minus the soil) in a jar of clean water, ensuring the leaf nodes are submerged. Change the water every few days to keep it fresh.
The “Secret Sauce” (Pro Tips)
Here are a couple of things I’ve learned over the years that can really help your success:
- Don’t let the leaves touch the water (in water propagation): If you go the water route, make sure only the stem is submerged. Any leaves dipping into the water are prone to rotting, which can spread and doom your cutting.
- Bottom heat is your friend: For stem cuttings, placing the pots on a gentle heating mat can significantly speed up root development. It encourages the roots to sprout from the bottom of the cutting. Don’t go too hot, though – a gentle warmth is all you need.
Aftercare & Troubleshooting
Once you’ve planted your cuttings, place them in a bright, indirect light location. Avoid direct sun, which can scorch the delicate leaves. Keep the soil consistently moist but not soggy. If you’ve covered them with plastic, open the bag for an hour each day to allow for some air circulation and prevent fungal issues.
You’ll know your cutting has successfully rooted when you see new leaf growth or feel a slight resistance when you gently tug on the stem. This can take anywhere from 3 to 8 weeks, so be patient!
The most common sign of trouble is rot. If your cutting turns mushy and black, or if you see mold on the soil, it’s likely too wet or the air circulation isn’t sufficient. Unfortunately, a rotten cutting is unlikely to recover, so discard it and try again.
A Encouraging Closing
Propagating plants is all about patience and observation. Don’t be discouraged if your first attempt isn’t a runaway success. Each cutting is a lesson learned. Enjoy the journey of nurturing these tiny new lives, and before you know it, you’ll have a beautiful Hermas villosa family to admire! Happy gardening!
Resource:
https://identify.plantnet.org/k-world-flora/species/Hermas%20villosa%20(L.)%20Thunb./data