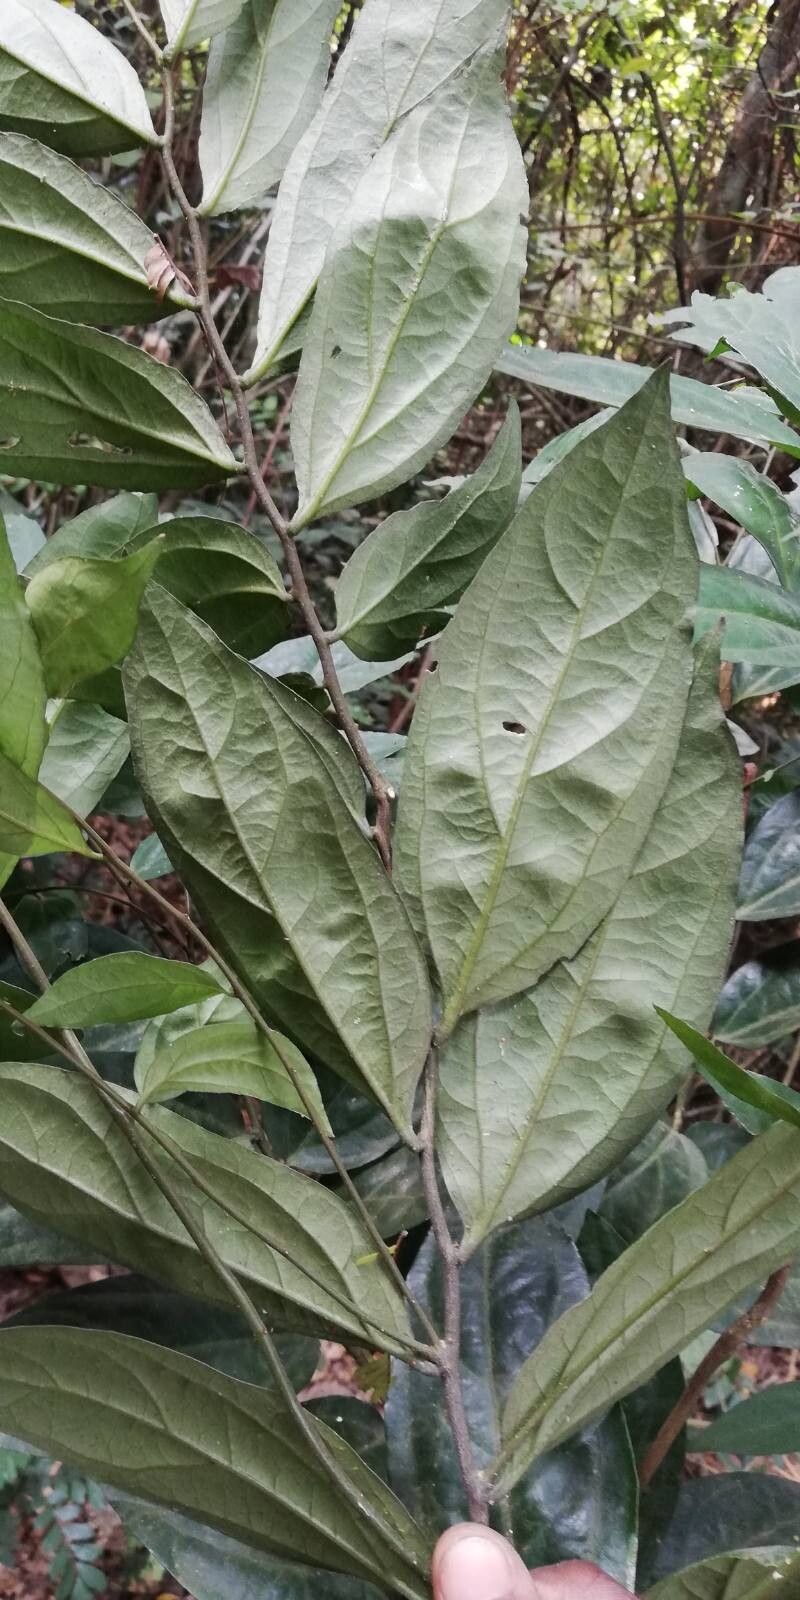
Ah, Diospyros gilletii! If you’re drawn to its striking foliage – those rich, velvety leaves and the promise of a beautiful, albeit slow-growing, decorative tree – you’re not alone. I’ve always found it to be a truly captivating plant. And the joy of bringing a new one to life from a small cutting? Well, that’s one of gardening’s greatest pleasures. Now, let’s talk about propagating this beauty. Is it a walk in the park for absolute beginners? Honestly, it can be a little finicky, leaning more towards an intermediate level. But with a bit of patience and these tips, you’ll be well on your way!
The Best Seedlings to Start
For Diospyros gilletii, I’ve found the sweet spot for propagation is during its active growing season. Think late spring to mid-summer. This is when the plant has plenty of energy to heal those cut ends and push out new roots. Trying to take cuttings when it’s dormant or stressed is just setting yourself up for disappointment. So, let the plant wake up and flourish, then work your magic!
Supplies You’ll Need
Gathering your tools beforehand makes the whole process smoother. Here’s what you’ll want to have on hand:
- Sharp, clean pruning shears or a sharp knife: This is crucial to avoid crushing the stems.
- Rooting hormone: A good quality rooting powder or gel will significantly boost your success rate.
- Well-draining potting mix: I prefer a blend of peat moss, perlite, and a bit of compost. A good seed-starting mix also works wonders.
- Small pots or propagating trays: Ensure they have drainage holes!
- Clear plastic bag or propagation dome: This creates a humid environment, which is vital for cuttings.
- Water: For misting and watering your cuttings.
- Optional: Bottom heat mat: This can speed up root development considerably.
Propagation Methods: Let’s Get Cutting!
My go-to method for Diospyros gilletii is stem cuttings. It’s reliable and gives you a good chance of success.
- Take Your Cuttings: Choose healthy, non-flowering stems that are about 4-6 inches long. Make your cut just below a leaf node – that’s the point where a leaf attaches to the stem. These nodes are where new roots are most likely to form.
- Prepare the Cuttings: Gently remove any leaves from the bottom half of your cutting. Leave just a couple of leaves at the very top. If the remaining leaves are very large, you can even cut them in half to reduce water loss.
- Apply Rooting Hormone: Dip the cut end of each stem into your rooting hormone. Tap off any excess.
- Plant Your Cuttings: Fill your pots or trays with your prepared potting mix. Make a small hole in the center of each pot with your finger or a pencil. Carefully insert the cutting into the hole, gently firming the soil around it. Make sure the leaf node that was dipped in hormone is buried.
- Create Humidity: Water the soil gently so it’s moist but not waterlogged. Then, cover the pots with a clear plastic bag, securing it with a rubber band or placing them under a propagation dome. This traps moisture and creates that essential humid microclimate.
The “Secret Sauce” (Pro Tips)
Here are a couple of things I’ve learned over the years that really make a difference:
- Don’t Let Leaves Drown! If you’re doing a method where the cutting sits in water (less ideal for Diospyros gilletii in my experience, but some try it), absolutely make sure no leaves are submerged. Rot happens fast when leaves are in stagnant water.
- Embrace Bottom Heat: If you have a heat mat, place your pots on it. This gentle warmth from below encourages root formation much faster than relying on ambient room temperature alone. It’s like giving your cutting a warm hug!
- Patience is Your Best Friend: Sometimes, cuttings can take weeks, even months, to show root development. Don’t despair if you don’t see progress immediately. Keep the environment consistent and try to resist the urge to constantly disturb them.
Aftercare & Troubleshooting
Once you start seeing new leaf growth or feel some resistance when you gently tug on your cutting, congratulations! Roots are forming! Keep the soil consistently moist but not soggy. Gradually acclimate your new plant to drier air by opening the plastic bag or dome for longer periods each day over a week or two.
The most common sign of failure is rot. If your cutting turns mushy or black, it’s usually a sign of too much moisture and not enough air circulation. Again, a well-draining mix and checking moisture levels are key. Another issue is drying out. If the leaves become limp and papery, your cutting is likely too dry and may not recover.
Happy Propagating!
Propagating Diospyros gilletii is a rewarding journey, and with these steps, you’re setting yourself up for success. Enjoy the process, learn from each attempt, and before you know it, you’ll have beautiful new plants to admire or share. Happy gardening!
Resource:
https://identify.plantnet.org/k-world-flora/species/Diospyros%20gilletii%20De%20Wild./data