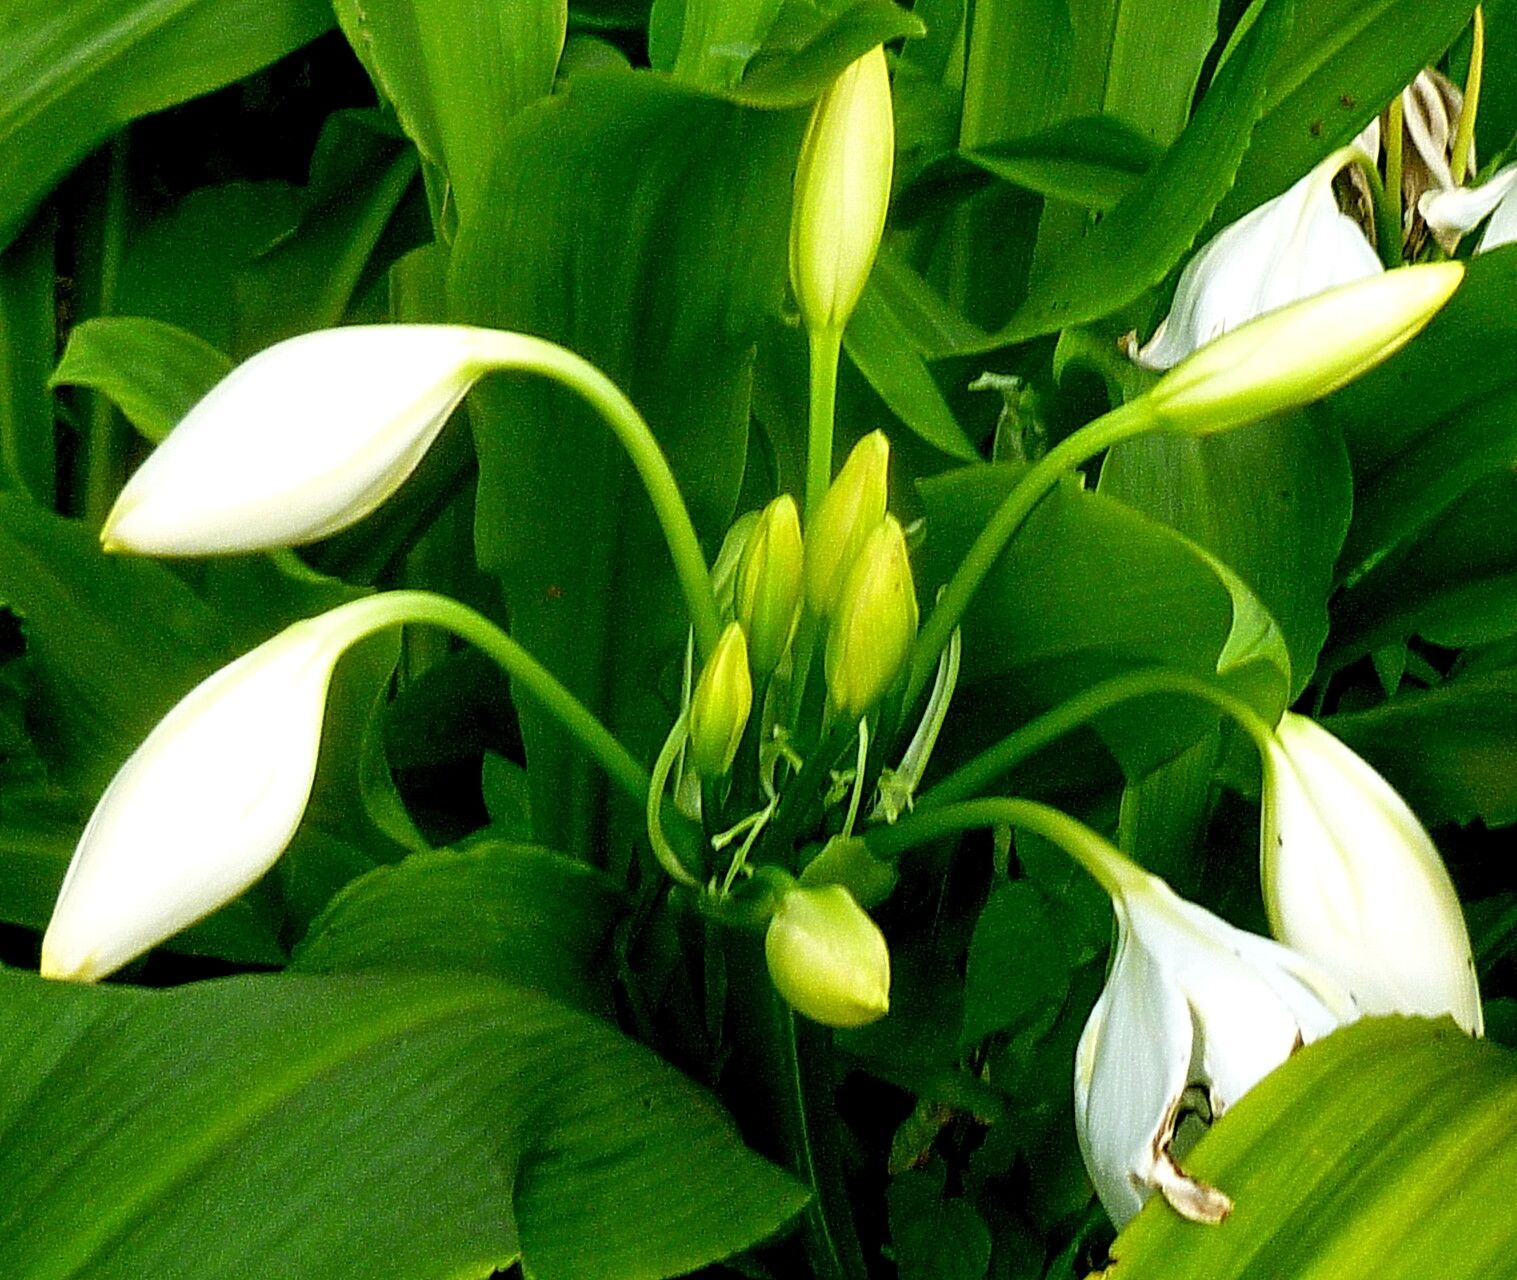
Hey there, fellow plant enthusiasts! Today, we’re diving into the wonderful world of Crinum jagus, a truly magnificent bulbous perennial that deserves a spot in every garden. If you’ve ever admired its elegant, lily-like blooms and dramatic foliage, you’re in for a treat. Propagating these beauties is incredibly rewarding, and while it might seem a little daunting at first, I’ve found it to be quite manageable, even for those just starting their gardening journey. Think of it as expanding your Crinum family, one happy new bulb at a time!
The Best Time to Start
For the highest success rate with Crinum jagus, I always aim to propagate in late spring or early summer. This is when the plant is actively growing and has plenty of stored energy. It’s also the perfect time to divide established clumps, which is often the easiest way to get started with this stunner.
Supplies You’ll Need
Before we get our hands dirty, let’s gather our essentials. You won’t need anything too fancy!
- Clean, sharp pruning shears or a trowel: For dividing bulbs.
- Well-draining potting mix: A good blend for bulbs or succulents works great. I often add extra perlite to my mix for improved drainage.
- Rooting hormone powder (optional): Especially helpful if you’re attempting to propagate from offsets.
- Small pots or containers: Terra cotta pots are lovely because they help prevent sogginess.
- Gloves: Some people find Crinum sap a bit irritating, so a pair can be helpful.
- A sunny spot: For your newly potted babies!
Propagation Methods
Let’s get down to business! For Crinum jagus, division is king. It’s the most tried-and-true method for expanding your collection.
Division
- Gently excavate: In late spring or early summer, when the soil is moist but not waterlogged, carefully dig up your established Crinum plant. You want to get as much of the root ball as possible.
- Shake loose the soil: Gently brush away excess soil so you can clearly see the bulb and its offsets.
- Identify the offsets: You’re looking for smaller bulbs attached to the main bulb. They might look like little baby bulbs nestled against the mother.
- Make the separation: Using your clean pruners or trowel, carefully cut or pry the offsets away from the mother bulb. Try to ensure each offset has at least a few roots attached. If you’re struggling, don’t force it – a clean break is best.
- Prepare the offset: If the offset seems a bit delicate, you can dip the cut end in rooting hormone powder. This is like giving it a little boost of encouragement.
- Pot them up: Plant each offset in its own pot, using your well-draining potting mix. The top of the bulb should be just at or slightly above the soil line. Water lightly.
The “Secret Sauce”
Here are a couple of my favorite tricks for ensuring those new Crinum jagus babies thrive:
- Don’t over-pot: It’s tempting to put a tiny offset in a big pot, but this can lead to the soil staying too wet. Use a pot that’s just slightly larger than the offset’s root system. This helps prevent root rot, which is the arch-nemesis of happy bulbs.
- Mimic nature’s warmth: While Crinums love sun, their roots can benefit from a little extra warmth when they’re trying to establish. Placing the potted offsets in a warm spot, perhaps on a heat mat if you have one, or just in a sunny corner that gets good afternoon sun, can significantly speed up root development.
Aftercare & Troubleshooting
Once your little Crinum jagus offsets are potted, the real fun begins – watching them grow!
- Watering: Water sparingly at first. The goal is to keep the soil lightly moist, not waterlogged. As the plant starts to show signs of new leaf growth, you can gradually increase watering.
- Light: Provide bright, indirect sunlight for the first week or two. Once they seem settled and are putting out new leaves, you can gradually move them into a sunnier spot.
- Signs of trouble: The most common issue you’ll encounter is rot. If you see a bulb turning mushy, brown, and smelling foul, it’s likely rotted. This usually happens from overwatering or poor drainage. Unfortunately, once a bulb rots, it’s usually beyond saving. Yellowing leaves can sometimes indicate overwatering, or simply the plant adjusting to its new environment. Don’t panic, but do check your soil moisture.
A Little Green-Thumb Encouragement
Propagating Crinum jagus is a journey, and like all good gardening adventures, it requires a little patience. Don’t be discouraged if not every single offset takes off immediately. Watch for those tiny signs of new growth – a little unfurling leaf is pure gold! Enjoy the process, learn from each experience, and soon you’ll have a lush collection of these magnificent blooms to share. Happy gardening!
Resource:
https://identify.plantnet.org/k-world-flora/species/Crinum%20jagus%20(J.Thomps.)%20Dandy/data