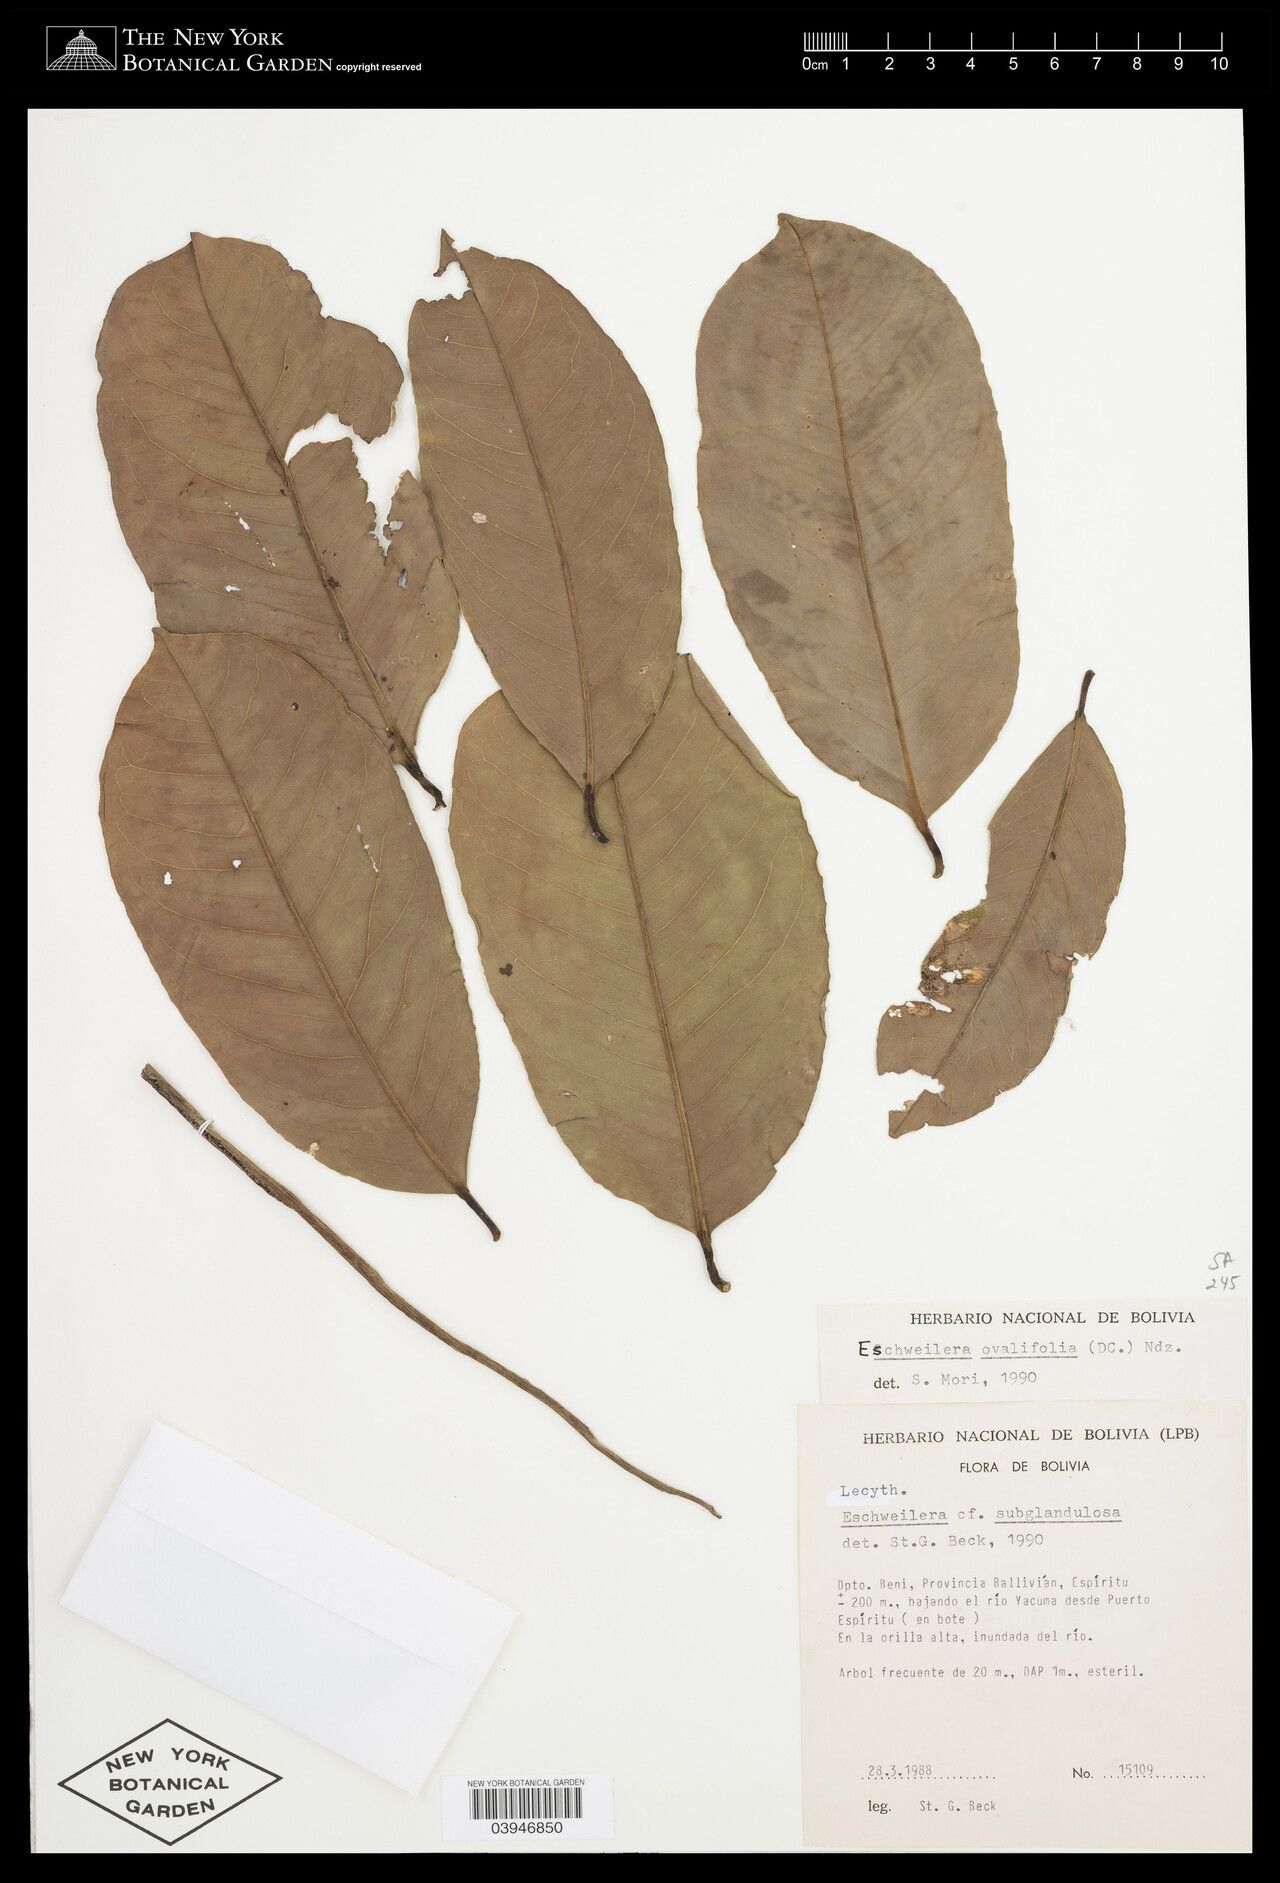
Hello fellow plant lovers! If you’ve ever admired the lush foliage and potential blooms of Eschweilera ovalifolia, then you’re in for a treat. This beautiful specimen, with its glossy leaves and promise of interesting flowers, is a real gem for any garden or indoor jungle. Propagating it yourself is not only incredibly satisfying, but it also means you can share this bit of tropical charm with friends or simply expand your own collection. Now, I won’t lie, Eschweilera ovalifolia can be a tad particular about getting started, so it might be a bit of a challenge for absolute beginners, but with a little patience and following these steps, you’ll be well on your way!
The Best Time to Start
For the highest success rate with Eschweilera ovalifolia, I always recommend propagation during its active growing season. This typically falls in late spring or early summer here in my neck of the woods. You want the plant to be energized and ready to put out new growth, which means it’ll have more vigor to establish new roots.
Supplies You’ll Need
Here’s what you’ll want to gather before we get our hands dirty:
- Sharp pruning shears or a clean knife: For making clean cuts.
- Rooting hormone (optional, but recommended): This gives your cuttings a helpful boost. Look for one specifically for woody or semi-hardwood cuttings.
- Well-draining potting mix: A good blend of perlite, peat moss, and coir works wonderfully. You can also use a commercial mix designed for cacti and succulents, as they drain very quickly.
- Small pots or propagation trays: Clean, with drainage holes.
- Plastic bags or a propagator: To create a humid environment.
- Watering can or spray bottle: For gentle watering.
- Labels and a marker: To keep track of your precious new plants!
Propagation Methods
We’ll focus on the most reliable method for Eschweilera ovalifolia: stem cuttings.
- Select Your Cuttings: Look for healthy, vigorous stems on your parent plant. Ideally, choose stems that are about 4-6 inches long and have at least two sets of leaves. Avoid stems that are too old and woody or too soft and new.
- Make the Cut: Using your sharp shears or knife, make a clean cut just below a leaf node (where a leaf attaches to the stem). This is crucial for encouraging root growth.
- Prepare the Cutting: Gently remove the lower leaves from the cutting. You want to expose the nodes where roots will form. You can leave the top 2-3 leaves intact, but if they are very large, consider cutting them in half horizontally to reduce water loss through transpiration. This helps the cutting conserve energy.
- Apply Rooting Hormone (Optional): If you’re using rooting hormone, lightly dip the cut end into the powder or gel. Tap off any excess.
- Plant Your Cuttings: Fill your clean pots or trays with your well-draining potting mix. Make a small hole with your finger or a pencil and insert the cut end of the Eschweilera ovalifolia cutting. Gently firm the soil around it.
- **Water
Resource:
https://identify.plantnet.org/k-world-flora/species/Eschweilera%20ovalifolia%20(DC.)%20Nied./data