Well hello there, fellow plant enthusiast! It’s so good to have you join me. Today, we’re diving into the wonderful world of propagating Knema conferta.
A Little About Knema Conferta
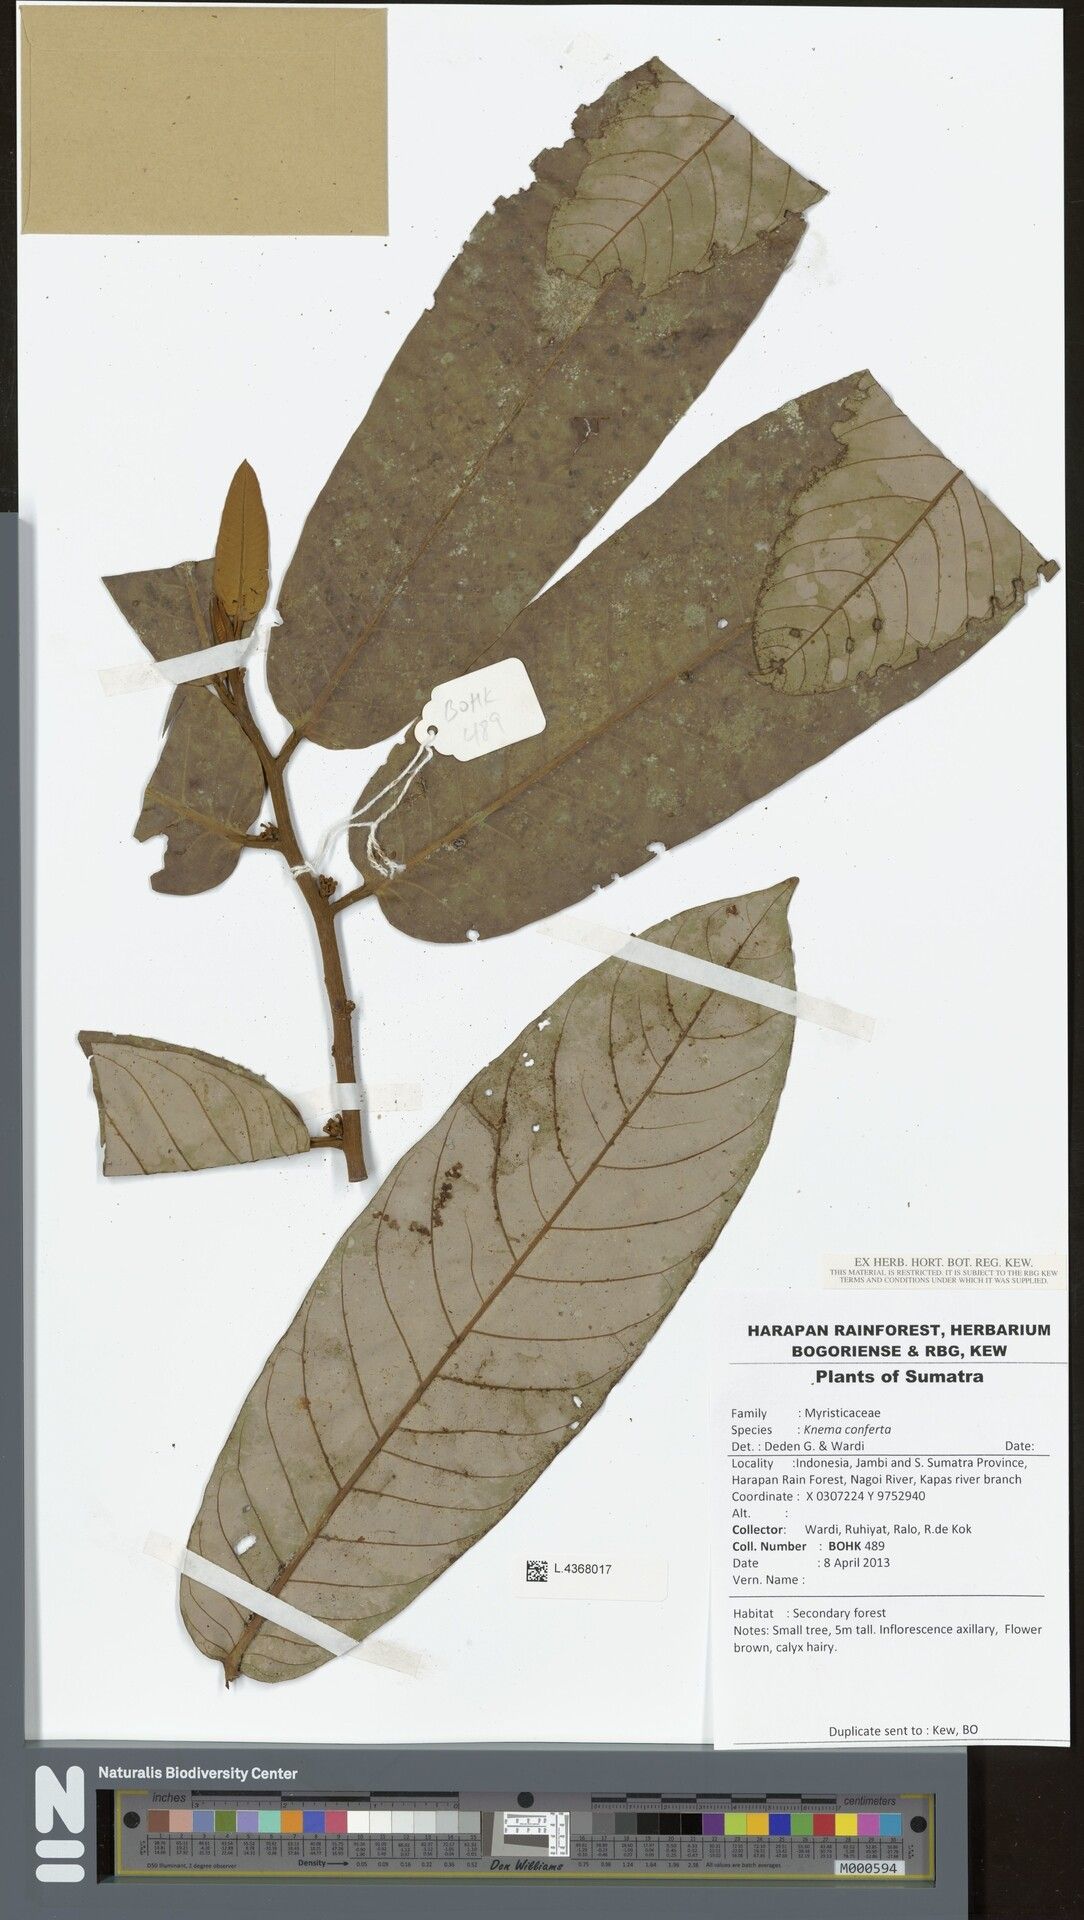
You know, I’ve always been drawn to Knema conferta‘s delicate, almost ethereal charm. Its graceful foliage and subtle beauty can truly elevate any space. And the best part? Being able to create more of these beauties from a single plant is incredibly satisfying. It’s like unlocking a little bit of horticultural magic. As for beginners, I’d say Knema conferta is moderately easy to propagate. It requires a little bit of attentiveness, but with the right approach, you’ll be rewarded with success.
When Is the Perfect Time to Get Started?
For the highest success rate with Knema conferta, I always aim to take cuttings during its active growing season. This typically falls in late spring through to mid-summer. The plant is buzzing with energy then, which means it’s more likely to push out those vital roots. You want to see fresh, vibrant growth on your parent plant; avoid taking cuttings from stressed or dormant specimens.
What You’ll Need to Gather
Before we get our hands dirty, let’s make sure we have our toolkit ready. Here’s a little list to get you started:
- Sharp, clean pruning shears or a hobby knife: Sterility is key to preventing disease.
- A well-draining potting mix: I like to use a blend of peat moss, perlite, and a little bit of coarse sand. About a 1:1:1 ratio works wonders.
- Small pots or seed trays: Make sure they have drainage holes!
- Rooting hormone (optional but recommended): This can significantly speed up root development.
- A clear plastic bag or propagator: To create a humid environment.
- Water: Clean, room-temperature water.
- Labels: So you don’t forget what you’ve propagated!
Let’s Get Propagating!
Now for the hands-on part! I find stem cuttings to be the most reliable method for Knema conferta.
- Select Your Cuttings: Look for healthy, non-flowering stems that are about 4-6 inches long. You want to see at least a couple of leaf nodes on each cutting.
- Make the Cut: Using your sterile shears or knife, make a clean cut just below a leaf node. This is where the magic happens for root formation.
- Prepare the Cutting: Gently remove the lower leaves, leaving about an inch or two of bare stem. If your cutting is very long, you can pinch off the very tip to encourage bushier growth later.
- Dip in Rooting Hormone (Optional): If you’re using rooting hormone, lightly dip the cut end into the powder or gel. Tap off any excess.
- Plant Your Cuttings: Fill your pots with your prepared potting mix. Make a small hole with your finger or a pencil, and gently insert the cutting. Make sure the nodes from which you removed leaves are below the soil surface.
- Water Gently: Water the soil thoroughly but gently. You don’t want to wash away the soil or disturb the cuttings.
- Create a Humid Environment: Cover the pots loosely with a clear plastic bag or place them in a propagator. This traps humidity, which is crucial for cuttings as they develop roots. Ensure the leaves don’t touch the plastic.
My Little “Secret Sauce” for Success
Over the years, I’ve learned a few tricks that have really boosted my propagation success, and I’m happy to share them with you!
- Bottom Heat is Your Friend: If you have a heated propagator mat, use it! Knema conferta really appreciates a little warmth from below. It encourages those roots to get going a whole lot faster.
- Don’t Let Leaves Drip-Dry: If you’re using the plastic bag method, I’ve found it helpful to gently shake the condensation off the inside of the bag every few days. Excessive moisture hanging on the leaves can invite fungal issues.
- Patience is a Virtue (and a Strategy): resist the urge to tug on your cuttings to check for roots too soon. You’ll disrupt delicate new root growth. Wait until you see new foliage emerging – that’s a sure sign they’re happy and have rooted.
Aftercare and What to Watch For
Once you start to see signs of new growth – little leaves unfurling or the plant feeling a bit more secure when gently tested – your cuttings have likely rooted!
- Gradual Acclimation: Slowly begin to remove the plastic bag or open the propagator vents over a week or so. This allows the new plant to adjust to lower humidity.
- Consistent Moisture: Keep the soil consistently moist but not soggy. Overwatering is the quickest way to invite root rot, which is our nemesis.
- Bright, Indirect Light: Place your newly rooted plants in a spot with bright, indirect light. Avoid direct sun, which can scorch delicate new leaves.
Now, if things aren’t going as planned, don’t despair! Signs of trouble usually look like this:
- Yellowing Leaves: This can indicate overwatering or a lack of light.
- Mushy Stems or Rotting Base: Definitely a sign of too much moisture. Back off on the watering and ensure good air circulation.
- Droopy, Lifeless Cuttings: This could mean they haven’t rooted and are drying out, or they’re already gone. If they feel loose in the soil and show no new growth, they probably didn’t make it. It happens to us all!
Keep Growing, My Friend!
Propagating plants is such a journey of discovery. Some will flourish, and some might not, but each attempt is a learning experience. Be patient, trust your instincts, and most importantly, enjoy the process of nurturing new life. Happy propagating!
Resource:
https://identify.plantnet.org/k-world-flora/species/Knema%20conferta%20(King)%20Warb./data