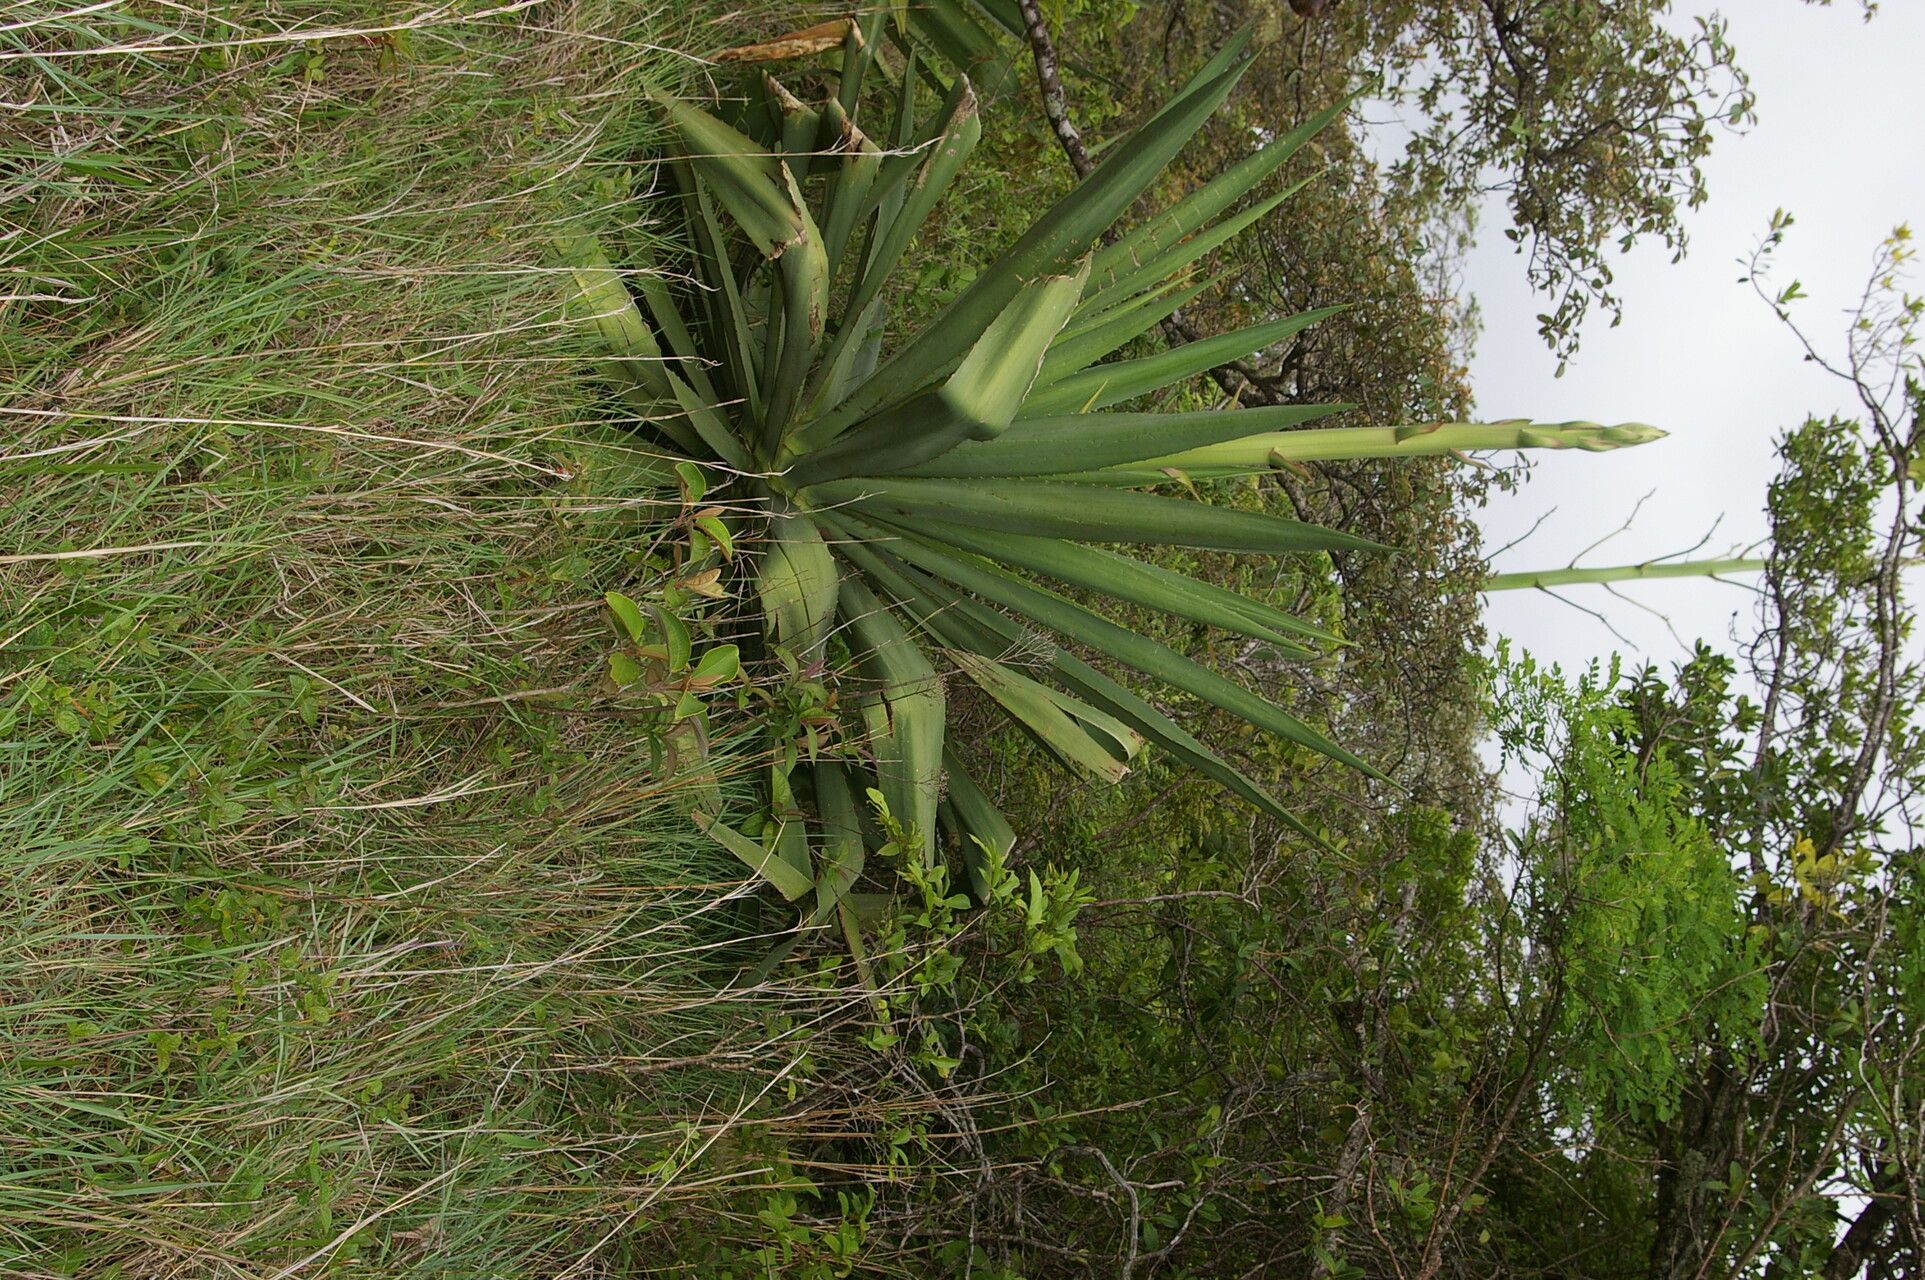
Hello, fellow plant lovers! Today, we’re diving into the wonderful world of propagating Furcraea cabuya, also known as the threadleaf false agave. If you’re drawn to its striking architectural form and the promise of growing your own beauties, you’re in for a treat. I’ve been nurturing these majestic plants for two decades, and let me tell you, bringing a new Furcraea to life from a piece of an old one is incredibly satisfying. For beginners, this plant is generally quite forgiving, which makes it a fantastic choice to get your propagation feet wet!
The Best Time to Start
The sweet spot for propagating Furcraea cabuya is during its active growing season. Think late spring through early summer. This is when the plant is energized and ready to put down new roots with gusto. Trying to propagate when it’s dormant, like in the depths of winter, will likely lead to disappointment. We want our little cuttings to feel that warmth and sunshine, urging them to grow!
Supplies You’ll Need
Gathering your tools beforehand makes the whole process smoother. Here’s what I always have on hand:
- Sharp, clean pruning shears or a knife: Sterilize them with rubbing alcohol to prevent disease.
- Rooting hormone (optional but recommended for faster results): Look for one formulated for succulents or woody plants.
- Well-draining potting mix: A cactus/succulent mix is perfect. You can also create your own by mixing equal parts potting soil, perlite, and coarse sand.
- Small pots or trays: Ensure they have drainage holes.
- Gloves: Those spiky leaves can be a bit pokey!
- A spray bottle: For gentle misting.
- A warm, bright location: Indirect light is key initially.
Propagation Methods
Furcraea cabuya is wonderfully versatile, and we can propagate it using a couple of primary methods.
Offsets (Pups)
This is arguably the easiest and most successful method for Furcraea. Mature plants often produce offsets, or “pups,” at their base.
- Identify the pups: Look for smaller plantlets emerging from the soil around the mother plant.
- Gently loosen the soil: Use your hands or a trowel to carefully clear away some soil from around the base of the pup.
- Separate the pup: Using your clean pruning shears or a sharp knife, cut the pup away from the mother plant, making sure to get a bit of its own root system if possible. If you can’t get roots, don’t worry too much; it will grow them.
- Allow to callous: This is crucial! Place the separated pup in a dry, shaded spot for a few days to a week. You’ll see the cut end dry out and form a protective callus. This prevents rot when you plant it.
- Plant the pup: Once calloused, plant the pup in your well-draining potting mix. Don’t water it immediately. Wait a week or so to allow any tiny root nicks to heal.
Bulbils
Sometimes, Furcraea will produce small bulbils, especially after flowering. These are essentially baby plants that form along the flower stalk.
- Harvest bulbils: Once the bulbils are a decent size and show signs of developing their own tiny leaves, carefully detach them from the stalk.
- Let them callous: Similar to offsets, these need to callous over for a few days in a dry location.
- Plant them: Gently press the calloused end into your well-draining potting mix. Keep the soil barely moist and in bright, indirect light. Patience is key here; they might take a little longer to establish.
The “Secret Sauce” (Pro Tips)
Here are a couple of things I’ve learned over the years that really make a difference:
- Don’t rush the watering after planting: I cannot stress this enough! For both offsets and bulbils, waiting that extra week to water after planting is your best defense against rot. The callus needs time to fully set, and the soil should be dry for initial root establishment. A light misting on the leaves occasionally is okay, but the roots need to seek out moisture.
- Bottom heat (if you have it!): If you plan on propagating a lot or want to give your bulbils that extra nudge, placing their pots on a gentle seedling heat mat can work wonders. It provides consistent, low warmth that mimics ideal growing conditions and encourages faster root development. Just ensure it’s not too hot – “warm to the touch” is the goal.
Aftercare & Troubleshooting
Once your pup or bulbil has shown new growth, that’s a good sign roots are forming! Water it sparingly at first, allowing the soil to dry out completely between waterings. Gradually introduce it to more direct sunlight, but always avoid intense, scorching afternoon sun, especially when it’s young.
The most common issue you’ll encounter is rot. If your cutting turns mushy, black, or smells foul, it’s likely rotted. This is usually a result of being planted too soon, overwatering, or a lack of proper callousing. If you catch it early, you might be able to cut away the rotten bit and try to let the healthy part callous over again.
A Encouraging Closing
Propagating Furcraea cabuya is a journey, and like all good gardening endeavors, it requires a little patience. Observe your new plants, learn their rhythms, and don’t be discouraged if not every attempt is a runaway success. The feeling of watching a tiny pup or bulbil transform into a thriving, beautiful new plant is truly unmatched. Happy propagating!
Resource:
https://identify.plantnet.org/k-world-flora/species/Furcraea%20cabuya%20Trel./data