Hello fellow plant enthusiasts! I’m so excited to dive into the wonderful world of Phyllanthus bourgeoisii with you today. If you’ve ever admired its delicate, lace-like foliage and enjoyed its vibrant, almost surreal charm, then you’ve definitely come to the right place. Propagating this beauty is not only incredibly rewarding, but it also allows you to share its magic with friends and family. Let’s get a few new little Phyllanthus babies growing!
What Makes Phyllanthus bourgeoisii So Special?
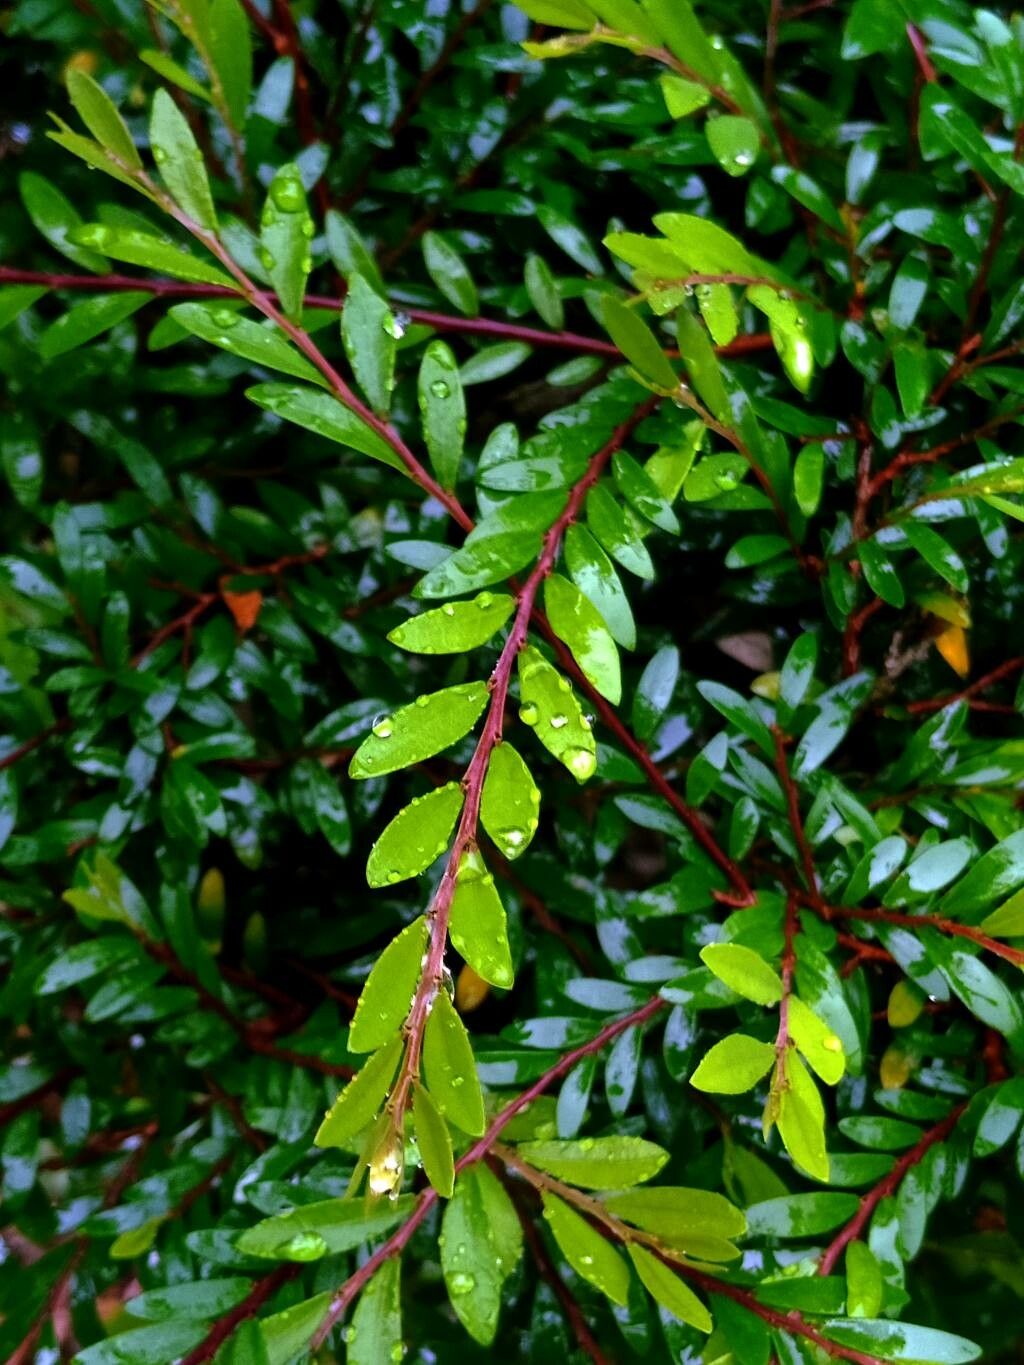
This plant just has a way of captivating you. Its leaves are so finely divided, they look like they’re spun from emerald lace. It brings a touch of the exotic to any indoor space, and knowing you grew it yourself? That’s a whole other level of satisfaction. For beginners, I’d say Phyllanthus bourgeoisii falls somewhere in the middle. It’s not as straightforward as a pothos, but with a little attention and the right approach, you’ll be successful. Don’t let that deter you; it’s a lovely challenge!
When is the Best Time to Start?
My favorite time to get propagating is when the plant is actively growing. That generally means late spring through early to mid-summer. You’ll want to take cuttings from healthy, vigorous stems that aren’t flowering. This is when the plant has the most energy to put into developing new roots. Trying to propagate when the plant is dormant or stressed will significantly lower your chances of success. Think of it as giving your new babies the best possible start.
What You’ll Need for Your Propagation Station
Gathering your supplies beforehand makes the whole process much smoother. Here’s what I always have on hand:
- Sharp, clean pruning shears or a sharp knife: Cleanliness is key to preventing disease.
- Rooting hormone (optional, but recommended): A little helps give cuttings a boost. I like the powder form.
- A good quality potting mix: I usually mix my own: one part peat moss or coco coir to one part perlite or coarse sand. You want something that drains really well.
- Small pots or trays: Clean, small containers with drainage holes are perfect.
- Clear plastic bags or a propagation dome: This creates a humid microclimate.
- Water: For misting and for water propagation.
- Labels and a marker: So you don’t forget what you’ve planted!
Let’s Get Propagating!
There are a couple of great ways to multiply your Phyllanthus bourgeoisii. I find stem cuttings to be the most reliable method.
Method 1: Stem Cuttings
- Choose your cutting: Select a healthy stem that’s about 4-6 inches long. Look for a stem that has several sets of leaves but isn’t woody or old.
- Make the cut: Using your clean shears, make a clean cut just below a leaf node (where a leaf attaches to the stem). This is where new roots are most likely to form.
- Prepare the cutting: Gently remove the lower leaves, leaving only the top 2-3 sets. This prevents them from rotting in the soil or water.
- Dip in rooting hormone (optional): If you’re using rooting hormone, lightly dip the cut end into the powder or gel. Tap off any excess.
- Plant your cutting: Fill your small pots with your prepared potting mix. Make a small hole with your finger or a pencil, and gently insert the cut end of the stem, ensuring the nodes where you removed leaves are below the soil surface. Firm the soil around the cutting.
- Water it in: Water gently to settle the soil.
- Create humidity: Cover the pot with a clear plastic bag, secured with a rubber band, or place it under a propagation dome. Make sure the bag doesn’t touch the leaves too much. Place it in a warm spot with bright, indirect light.
Method 2: Water Propagation (Use with Caution!)
While many plants root beautifully in water, Phyllanthus bourgeoisii can be a bit finicky. If you try this, be extra diligent.
- Prepare the cutting: Follow steps 1-3 from the stem cutting method.
- Place in water: Put the cutting in a clean jar or vase filled with fresh water.
- Crucial step: Make sure none of the remaining leaves are touching the water. This is where I see many people go wrong – submerged leaves quickly rot.
- Provide light and warmth: Place the jar in a bright spot with indirect light, just like you would for soil cuttings.
- Change the water regularly: Change the water every few days to keep it fresh and oxygenated.
- Wait for roots: You should start to see tiny white roots emerging from the node. Once they are about an inch long, you can try to carefully pot them in soil.
The “Secret Sauce” for Success
Here are a few little tricks I’ve learned over the years that really give your cuttings a leg up:
- Bottom Heat is Your Friend: Phyllanthus bourgeoisii loves a little warmth from below. Placing your pots on a seedling heat mat can dramatically speed up root development. It mimics the warmth of spring soil, which is exactly what these cuttings are signaling for.
- Don’t Over-Water, but Keep it Consistently Moist: This is a delicate balance. You want the soil to be consistently moist, like a wrung-out sponge, but never soggy. Overwatering is the quickest way to invite rot. I often give my cuttings a gentle misting each day if the humidity seems low inside their enclosures.
- Patience, Grasshopper! Some cuttings will root in a few weeks, while others might take a couple of months. Don’t give up too soon! I often gently tug on a cutting to feel for resistance – that’s a good sign of root development. Or, you might see little leaves unfurling.
Aftercare and What to Watch For
Once you see roots forming (you might even see new growth!) and the cutting feels firm when gently tugged, it’s time for a little adjustment.
- Gradual Acclimation: If you’ve used a plastic bag or dome, gradually introduce your new plant to lower humidity over a week. Start by opening the bag for a few hours each day.
- Move to a Slightly Larger Pot (if needed): If the pot is incredibly root-bound, you can move it to a slightly larger container with fresh potting mix.
- Continue Bright, Indirect Light: Keep it in a spot with good light but avoid direct sun, which can scorch delicate new leaves.
- Water as Needed: Water when the top inch of soil feels dry.
Troubleshooting: The most common problem you’ll encounter is rot. If your cutting turns black and mushy, it’s a sign of too much moisture and not enough air circulation. If you see this, try to salvage any healthy nodes, clean them, and start over with a better balance of moisture. Yellowing leaves can sometimes mean too much or too little water, or not enough light.
Go Forth and Propagate!
Watching a brand new plant emerge from a simple cutting is truly magical. It’s a process that connects you to the rhythm of nature and gives you a deep sense of accomplishment. Be patient with your new Phyllanthus babies, give them the light and moisture they crave, and don’t be afraid to experiment a little. Happy propagating, and enjoy the rewarding journey!
Resource:
https://identify.plantnet.org/k-world-flora/species/Phyllanthus%20bourgeoisii%20Baill./data