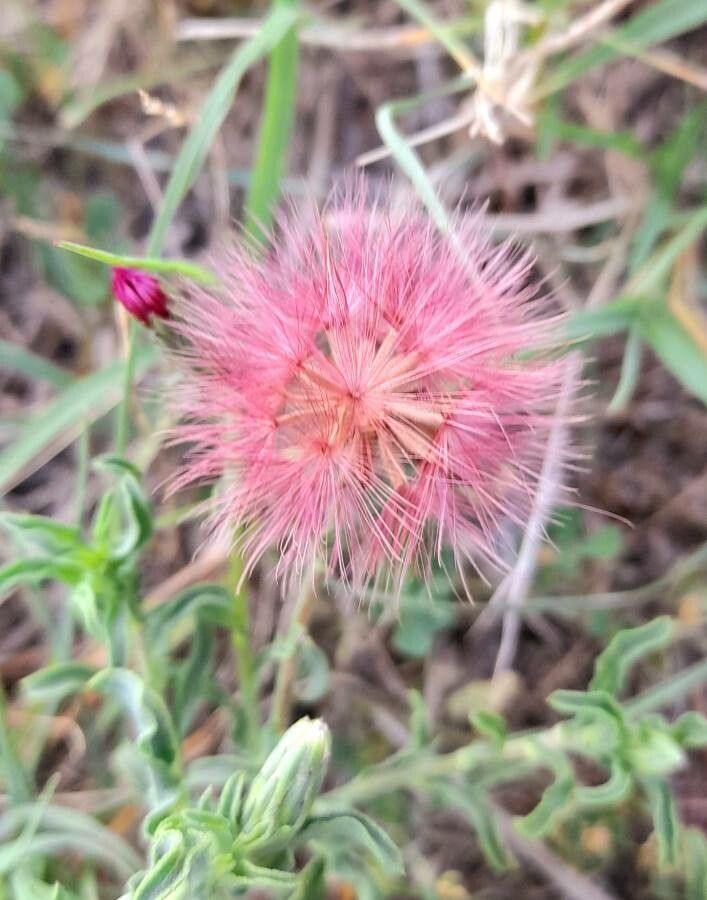
Oh, hello there! Come on in, let’s chat about one of my absolute favorites, Noticastrum diffusum. You know, the one with those gorgeous, airy blue flowers that just seem to dance in the breeze? They bring such a lovely, relaxed feel to any garden spot. And the best part? They’re surprisingly simple to grow from cuttings, which makes creating more of these beauties a truly rewarding adventure. Honestly, if you’ve got a bit of patience, you can absolutely nail this.
The Best Time to Start
For Noticastrum diffusum, the real sweet spot is late spring to early summer. This is when the plant is actively growing and has plenty of energy. You’re looking for new, but not overly soft, growth. Think of it like getting a healthy sprout – strong enough to make it, but still flexible.
Supplies You’ll Need
Gathering your tools makes the whole process smoother. Here’s what I always have on hand:
- A clean, sharp pruning shear or knife. Sterilize it with rubbing alcohol, please!
- A well-draining potting mix. I like a blend of perlite and peat moss, or even a dedicated seedling starter mix.
- Small pots or propagation trays. Make sure they have drainage holes.
- A dibber or pencil to make planting holes.
- Rooting hormone (optional, but can give you a helpful boost).
- A spray bottle for misting.
Propagation Methods
Let’s get our hands dirty! Stem cuttings are my go-to for Noticastrum diffusum.
- Take Your Cuttings: With your clean shear, snip off healthy stems that are about 4-6 inches long. Look for stems that have started to firm up a bit, not the brand-new, floppy growth. Remove the lower leaves, leaving just a few at the top. This helps prevent rot and directs the plant’s energy towards root formation.
- Prepare for Rooting: If you’re using rooting hormone, dip the cut end of the stem into it. Give it a gentle tap to shake off any excess.
- Plant Your Cuttings: Fill your pots with your prepared soil mix. Use your dibber or pencil to create a hole deep enough for the cutting. Gently insert the cutting into the hole, making sure the nodes (where the leaves were) are buried. Firm the soil gently around the stem.
- Water and Wait: Lightly water the soil until it’s moist but not soggy. You can cover the pots with a clear plastic bag or dome to create a mini-greenhouse effect, which helps keep humidity up. Just make sure the leaves aren’t touching the plastic! Place your pots in a bright spot, but out of direct, harsh sunlight.
The “Secret Sauce” (Pro Tips)
Here are a few little tricks I’ve picked up over the years that seem to make a big difference:
- Don’t Overcrowd: Give your cuttings space. They need good air circulation to prevent fungal issues. I usually only put one or two cuttings per small pot.
- Bottom Heat is Your Friend: If your space tends to be cooler, a heat mat placed under your propagation trays can significantly speed up root development. It’s like a cozy little incubator for your cuttings!
- The Water Test (If You Go That Route): While I prefer soil for these, if you’re tempted by water propagation, never let the leaves touch the water. Any submerged leaves will rot and can take the whole cutting with them.
Aftercare & Troubleshooting
Once you start seeing tiny roots poking out of the drainage holes, or if your cuttings show signs of new growth at the stem tip, it’s a good sign! Gradually remove the plastic cover over a few days to acclimate them to drier air. Continue to keep the soil consistently moist but not waterlogged. If you notice any signs of rot – mushy stems or blackening – don’t hesitate to discard that cutting. Cleanliness is key!
So there you have it! Propagating Noticastrum diffusum is a wonderful way to expand your garden and share these beauties with friends. Be patient, observe your little charges, and enjoy the process. Happy gardening!
Resource:
https://identify.plantnet.org/k-world-flora/species/Noticastrum%20diffusum%20(Pers.)%20Cabrera/data