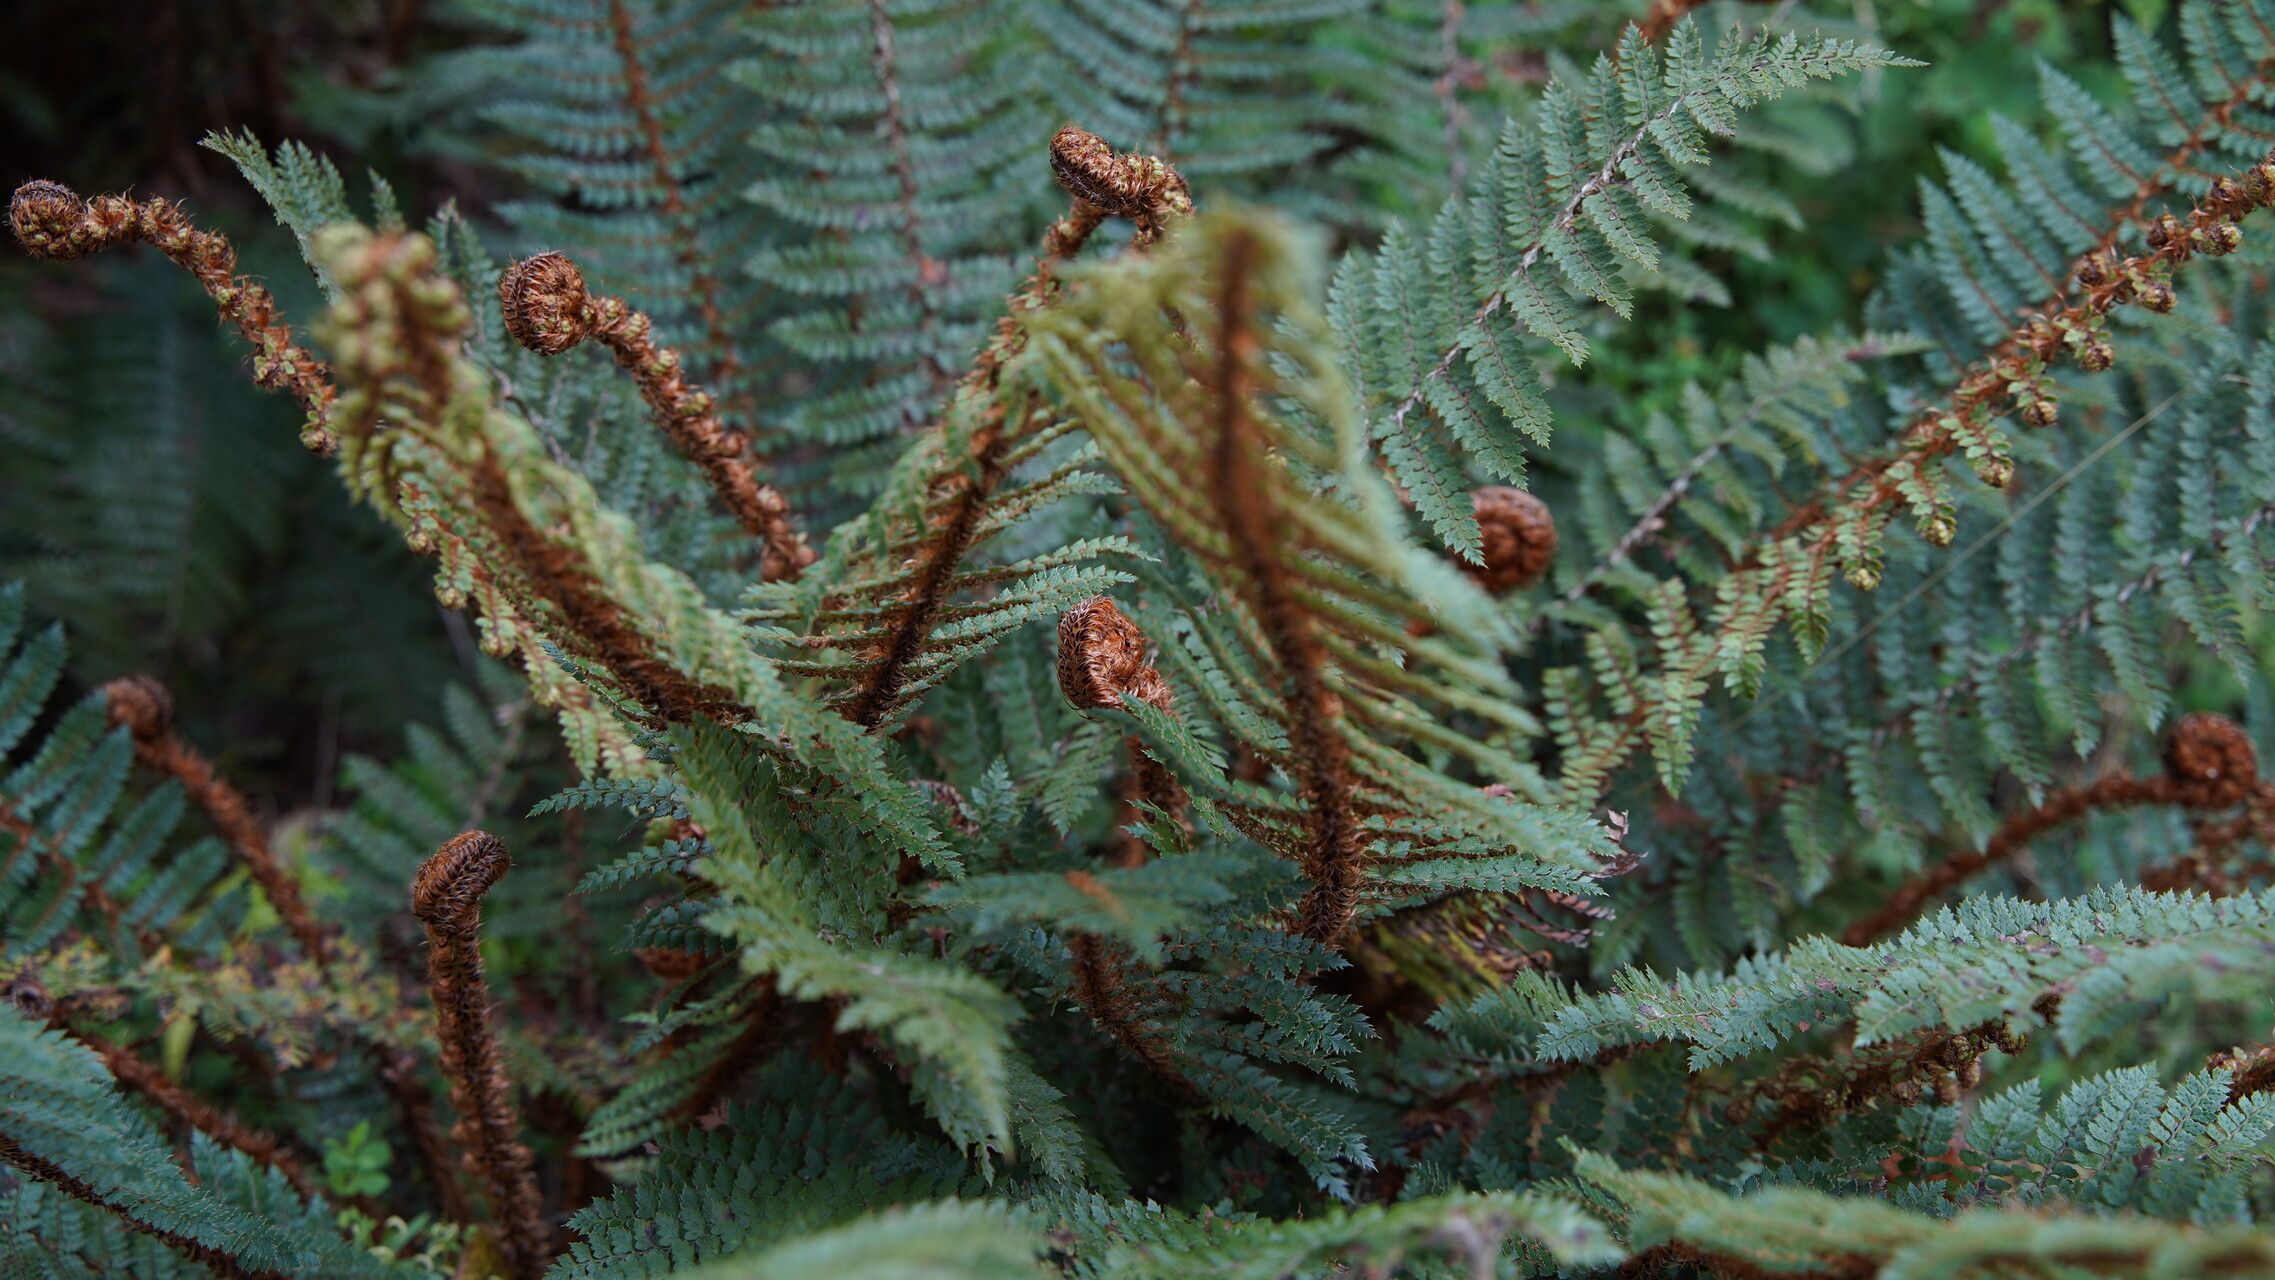
Oh, hello there! So, you’ve fallen for the charm of Polystichum vestitum, haven’t you? I don’t blame you one bit. This beautiful fern, often called the Shield Fern, has this wonderful, almost architectural grace. Its fronds are a deep, glossy green, and there’s just something so satisfying about those tightly unfurling fiddleheads. Propagating it is a true joy, like coaxing new life from something you already love. Now, for the exciting part: is it easy for beginners? I’d say it’s moderately easy. It rewards a bit of attention, but it’s not overly fussy.
The Best Time to Start
For the highest success, aim for spring or early summer. This is when the plant is actively growing and has the energy to put into developing new roots. You’ll have the most vigorous growth happening then, which is exactly what we want when we’re trying to create new plants.
Supplies You’ll Need
Gathering your tools beforehand makes the whole process so much smoother. You’ll want:
- Sharp pruning shears or a clean knife: For making precise cuts.
- Well-draining potting mix: A good blend for ferns often includes peat moss, perlite, and coarse sand. You can also find specific fern potting mixes.
- Small pots or seed trays: With drainage holes! Very important.
- Rooting hormone (optional but helpful): Especially for faster results.
- Watering can with a fine rose: For gentle watering.
- Clear plastic bags or a propagator: To maintain humidity.
- Compost or old compost: If you’re opting for division.
Propagation Methods
Polystichum vestitum is primarily propagated through division, which is my go-to method for this fern.
1. Division: The Fern’s Favorite
This is honestly the most natural way to multiply your Polystichum vestitum.
- Step 1: Gently Excavate. In spring or early summer, carefully dig up your mature fern. Try to disturb the root ball as little as possible.
- Step 2: Assess the Beast. Once it’s out of its pot or the ground, look for natural divisions. You’ll see where the plant has grown outwards, often with several crowns (the central growth point where fronds emerge) or distinct clumps of roots and stems.
- Step 3: Make the Cut. Using your sharp pruning shears or knife, carefully separate a section from the parent plant. You want to ensure each new division has a good portion of roots attached and at least one healthy crown with a few fronds. Don’t be too timid; they’re tougher than they look, but sharp tools make cleaner breaks which heal faster. If the roots are very tangled, you might need to gently tease them apart with your fingers or a small trowel.
- Step 4: Pot Them Up. Plant each division into its own pot filled with your well-draining potting mix. Make sure the crown is at soil level, not buried too deep.
- Step 5: Water and Shelter. Water thoroughly, then place the pots in a shaded, humid location. You can pop them inside a clear plastic bag (make sure the leaves don’t touch the plastic) or a propagator to keep the humidity high.
The “Secret Sauce”
Here are a couple of things I’ve learned over the years that really give divisions a boost:
- Don’t Over-Clean the Roots: While it’s tempting to wash off all the old soil, a little bit of the parent plant’s soil clinging to the roots can actually provide beneficial microbes for your new division. Just remove any really compacted or obviously unhealthy soil.
- Think “Morning Dew.” When you’re covering your potted divisions with plastic, ensure there’s good air circulation. You don’t want it to be a completely sealed terrarium that breeds fungal issues. A few small holes poked in the bag, or simply propping the lid of your propagator open slightly for a few hours a day, mimicking that gentle morning dew environment, works wonders.
Aftercare & Troubleshooting
Once your divisions are potted up, the key is to keep them consistently moist but not waterlogged. The plastic bag or propagator will help with this by creating a mini-greenhouse. Mist the fronds occasionally, and check the soil moisture by feeling it with your finger.
The first signs of success are new frond growth. If you see new fiddleheads unfurling, you’re golden!
Troubleshooting: The most common issue is rot, usually caused by overwatering and poor air circulation. If the fronds start to look yellow and limp, or you see mushy dark spots, it’s a sign things are too wet. In this case, reduce watering immediately and ensure there’s some air movement. Sometimes, if rot sets in severely, it’s best to discard the affected division and try again. Don’t let it discourage you; it’s a learning curve!
A Little Patience, A Lot of Joy
Propagating these beauties is such a rewarding experience. You’re not just making more plants; you’re learning to understand their life cycle and coaxing new growth from your care. Be patient – it can take a few weeks for roots to establish and new growth to become really noticeable. Enjoy the process, and before you know it, you’ll have a whole little fern family! Happy gardening!
Resource: