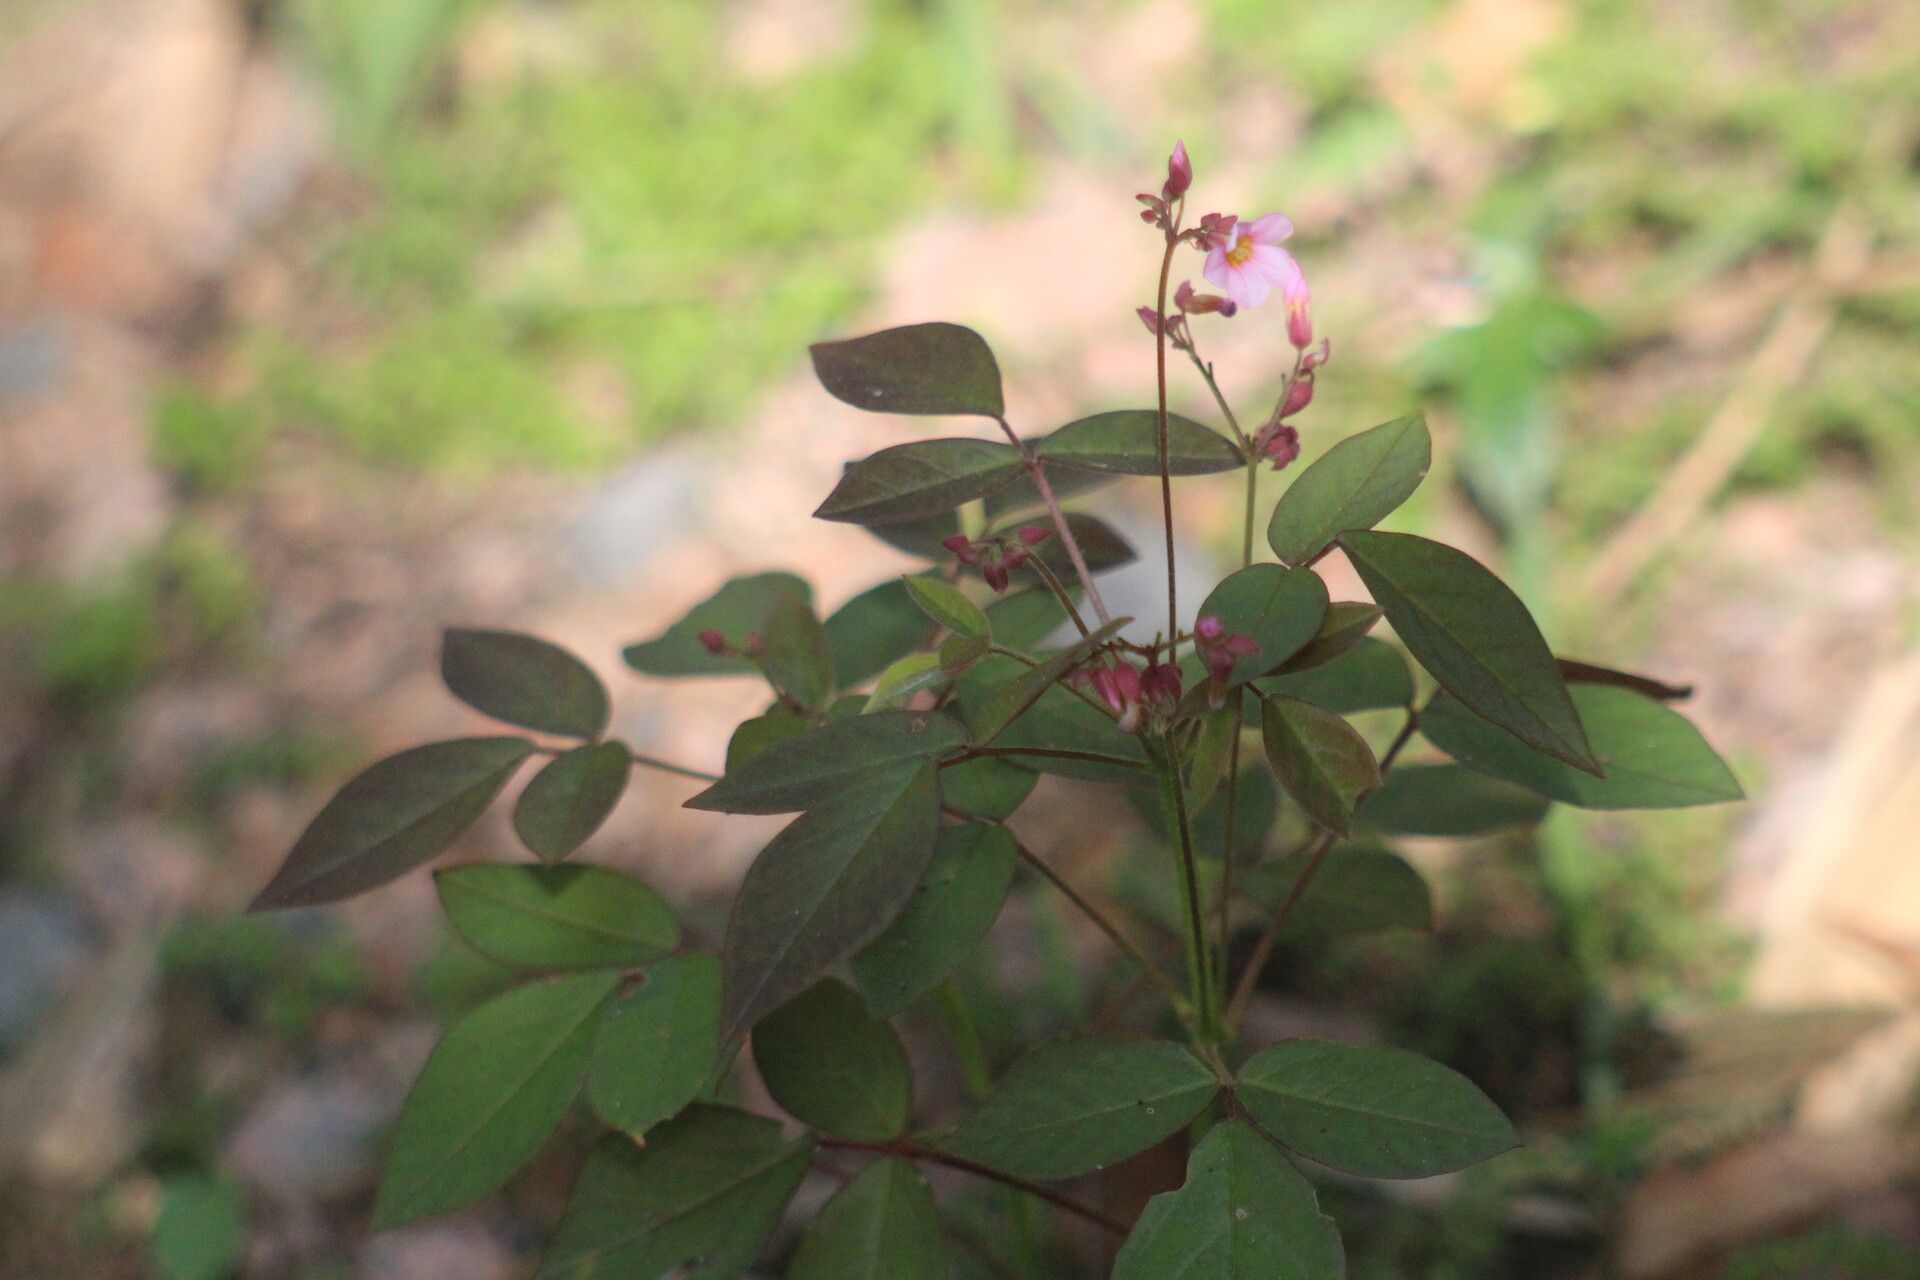
Hello fellow garden enthusiasts! Today, we’re diving into the delightful world of Oxalis cytisoides, also known as the “shamrock plant” or “woolly oxalis.” If you’ve ever admired its delicate, clover-like foliage and cheerful bloom, you’re not alone! Propagating this beauty is a fantastic way to fill your home with more of its charm, and I promise, it’s a rewarding journey. For beginners, I’d say Oxalis cytisoides is a generally easy and forgiving plant to propagate, making it a wonderful starting point for those new to the propagation game.
The Best Time to Start
The absolute sweet spot for propagating Oxalis cytisoides is during its active growing season. Think late spring through summer. This is when the plant is full of vigor, producing plenty of new shoots that are perfect for taking cuttings. You’ll find its energy is just bursting at this time, leading to quicker root development. Trying to propagate when the plant is dormant or stressed simply won’t give you the results you’re hoping for.
Supplies You’ll Need
Getting your workspace ready makes all the difference. Here’s what I always have on hand:
- Sharp Pruning Shears or Scissors: Clean cuts are paramount!
- Sterile Potting Mix: A blend of equal parts peat moss or coco coir and perlite works wonders. It’s light and drains well, which is crucial.
- Small Pots or Seedling Trays: About 3-4 inches in diameter is perfect for a few cuttings.
- Rooting Hormone (Optional but helpful): A powder or gel can give your cuttings a boost.
- Plastic Bags or Humidity Domes: To create a mini-greenhouse effect.
- Watering Can with a Fine Rose: For gentle watering.
- A Small Knife or Dibber: For making holes in the soil.
Propagation Methods
My go-to method for Oxalis cytisoides is stem cuttings. It’s straightforward and usually yields great results.
Stem Cuttings:
- Select Your Cuttings: Look for healthy, non-flowering stems that are at least 3-4 inches long. You want actively growing stems, not old woody ones.
- Make the Cut: Using your clean pruning shears, make a cut just below a leaf node (where a leaf attaches to the stem). This is where roots are most likely to form.
- Prepare the Cutting: Gently remove the lower leaves, leaving just a few at the top. This prevents them from rotting in the soil. If you’re using rooting hormone, dip the cut end into the powder or gel now.
- Planting: Use your dibber or a small finger to make a hole in your prepared potting mix. Gently insert the cutting, ensuring the leaf nodes are buried. Firm the soil around the base of the cutting.
- Water and Cover: Water gently to settle the soil. Then, cover the pot with a plastic bag or humidity dome. This traps moisture and creates the humid environment cuttings need.
The “Secret Sauce” (Pro Tips)
Here are a couple of things I’ve learned over the years that can really make propagation smoother:
- Don’t Let Leaves Swamp the Water (If Water Propagating): While I prefer soil for Oxalis cytisoides, if you ever try water propagation, ensure no leaves are submerged. They’ll rot quickly and take your cutting down with them. Only the stem should touch the water.
- Gentle Heat is Your Friend: Placing your pots on a seedling heat mat can significantly speed up root formation. It mimics the warmth of spring and encourages those roots to get going. Just a gentle warmth, nothing too hot!
- Patience with the Potting Mix: When planting cuttings, I often use a very well-draining mix. Think about what a plant naturally thrives in – it needs air around its roots, not a soggy mess. Perlite is your best buddy here.
Aftercare & Troubleshooting
Once your cuttings are planted, it’s time to let them do their magic. Keep them in a bright, indirect light location. Avoid direct sun, which can scorch those tender new leaves. Check the soil moisture regularly – it should be kept consistently moist but not soggy. You can lift the pot occasionally to feel its weight; a lighter pot means it’s time to water.
The most common sign of trouble is rot. If you see wilting, mushy stems, or yellowing leaves that aren’t just old growth falling off, it’s often a sign of too much moisture. If this happens, you might need to discard the affected cutting and try again, making sure your soil drains better and you’re not overwatering. You’ll know your cuttings have rooted when you see new growth appearing from the top or feel a slight resistance when you gently tug on the cutting.
A Encouraging Closing
Propagating plants is a wonderful way to connect with nature and multiply the joy your garden brings. Don’t be discouraged if every cutting doesn’t make it. Gardening is a journey of learning and observing. Be patient, enjoy the process, and soon you’ll have a whole tribe of happy Oxalis cytisoides plants to share and admire! Happy propagating!
Resource:
https://identify.plantnet.org/k-world-flora/species/Oxalis%20cytisoides%20Zucc./data