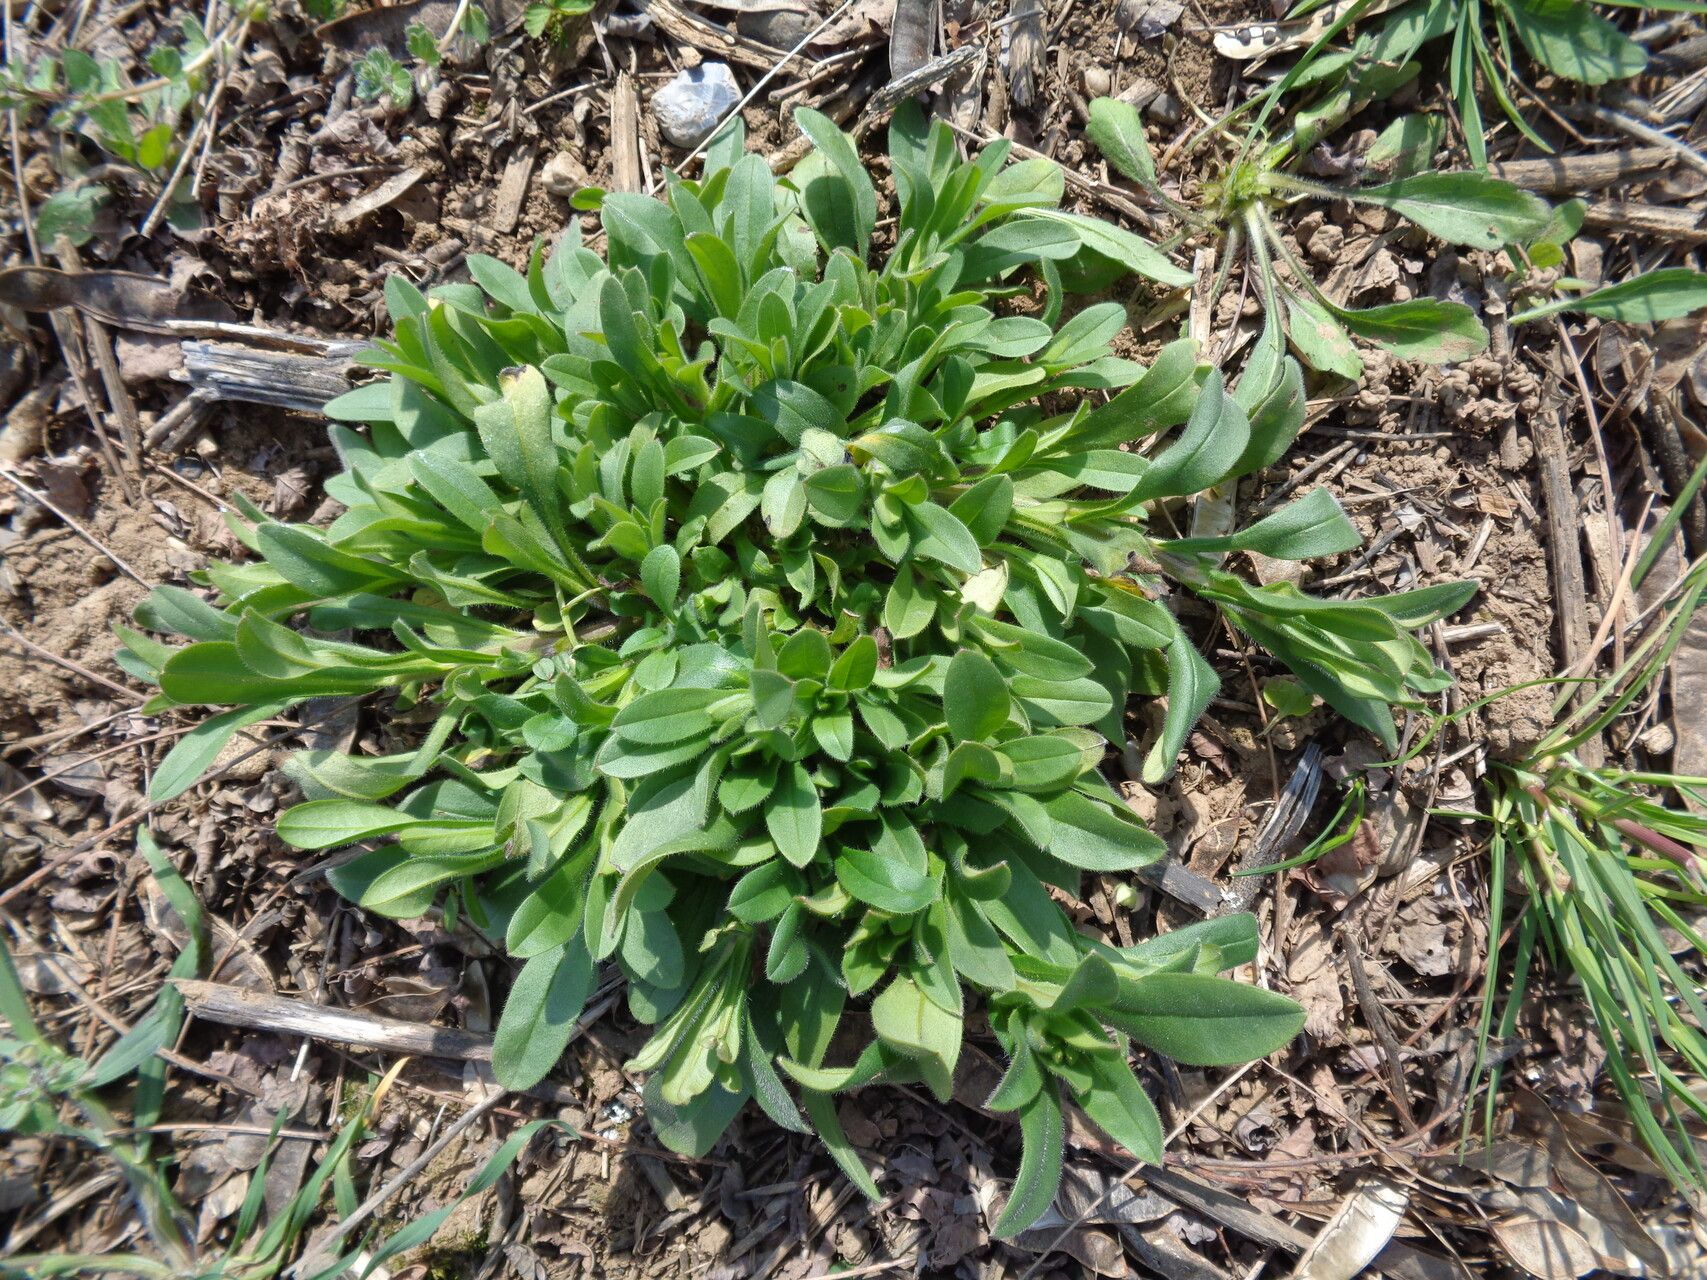
Oh, little Forget-Me-Nots! There’s something so charming about their sky-blue blooms, isn’t there? They carpet the ground in spring, bringing a gentle whisper of color to shady corners and woodland paths. If you’ve ever admired a patch of these beauties, you’ll be delighted to know that propagating Myosotis nemorosa, the wood Forget-Me-Not, is a truly rewarding endeavor. And for us beginners? I’d say it’s quite forgiving! You’ll likely have success with your first few tries.
The Best Time to Start
When it comes to getting the most bang for your buck (or rather, your plant cutting!), late spring to early summer is your golden window. After the main flowering flush has passed, the plant is putting on new growth, making it robust and ready to make more of itself. Aim for when the stems are firm but still flexible – not woody and old, but not so soft that they’ll flop over.
Supplies You’ll Need
Gathering your supplies beforehand makes the whole process smooth sailing. Here’s what I like to have on hand:
- Sharp pruning shears or a clean knife: For making nice, clean cuts.
- Small pots or seedling trays: Anything with drainage holes will do.
- A good quality potting mix: I prefer a blend that’s well-draining, often a mix of peat moss and perlite. You can also use a seed-starting mix if you’re aiming for very fine root structure.
- Rooting hormone (optional, but helpful): A liquid or powder to give those cuttings a little boost.
- Watering can or spray bottle: To keep things consistently moist.
- Plastic bags or a propagation dome: To create a humid environment for your cuttings.
Propagation Methods
There are a couple of tried-and-true ways to get more Forget-Me-Nots.
1. Stem Cuttings: My Go-To for Speedy Results
This is my favorite way to multiply these lovely plants.
- Find a healthy stem: Look for a non-flowering shoot from your established plant.
- Make your cut: Using your clean shears, cut a piece of stem about 4-6 inches long. Make the cut just below a leaf node (where a leaf attaches to the stem).
- Prepare the cutting: Gently remove the lower leaves, leaving just a couple at the very top. This prevents them from rotting in the soil.
- Dip in rooting hormone (if using): Lightly dip the cut end into your rooting hormone. You don’t need a ton, just a light dusting is fine.
- Plant them up: Fill your small pots or trays with your potting mix. Make a small hole with your finger or a pencil, and gently insert the cutting, making sure the leaf nodes are buried.
- Water gently: Water the soil thoroughly but with a gentle stream to avoid disturbing the cuttings.
- Provide humidity: Cover the pots with a plastic bag or place them under a propagation dome. This creates a mini-greenhouse effect.
2. Division: Simple and Satisfying
If your Forget-Me-Not plant has gotten a bit crowded and you want to give it more space anyway, division is an excellent choice.
- Dig up the plant: In spring or fall, carefully dig up the entire clump of Forget-Me-Nots.
- Gently tease apart: Use your hands or a trowel to gently separate the root ball into smaller sections. You’re looking for pieces that have both roots and shoots.
- Replant immediately: Plant these divisions back into your garden or into new pots, treating them like you would a small, established plant. Water them well.
The “Secret Sauce” (Pro Tips)
Here are a few little tricks I’ve learned over the years that make a big difference:
- Bottom heat is your friend: If you’re using stem cuttings and have a heat mat, placing your pots on it can significantly speed up root development. It mimics the warmth of spring.
- Don’t let those leaves touch the soil: For cuttings, it’s crucial that no leaves are buried in the potting mix. They will quickly rot and can take your cutting down with them.
- Air circulation is key: While humidity is important, ensure there’s a bit of airflow. Propagating domes usually have vents, or you can prop open a plastic bag for an hour each day to prevent fungal issues.
Aftercare & Troubleshooting
Once your cuttings are in their cozy, humid homes, keep the soil consistently moist but not waterlogged. Think of a wrung-out sponge. You should start to see new growth within a few weeks. A good indicator that roots are forming is when the cuttings resist a gentle tug.
If you notice mushy stems or blackening at the base of your cuttings, that’s a sign of rot. This usually means conditions are too wet, or there’s not enough airflow. Don’t be discouraged! Just remove the affected cuttings and try again, paying closer attention to moisture levels and ventilation.
A Encouraging Closing
Propagating Forget-Me-Nots is a journey, and like all gardening endeavors, it’s about enjoying the process. Be patient with your little cuttings, celebrate every sign of new growth, and don’t be afraid to experiment. Soon enough, you’ll have a whole sky full of blue to enjoy! Happy gardening!
Resource:
https://identify.plantnet.org/k-world-flora/species/Myosotis%20nemorosa%20Besser/data