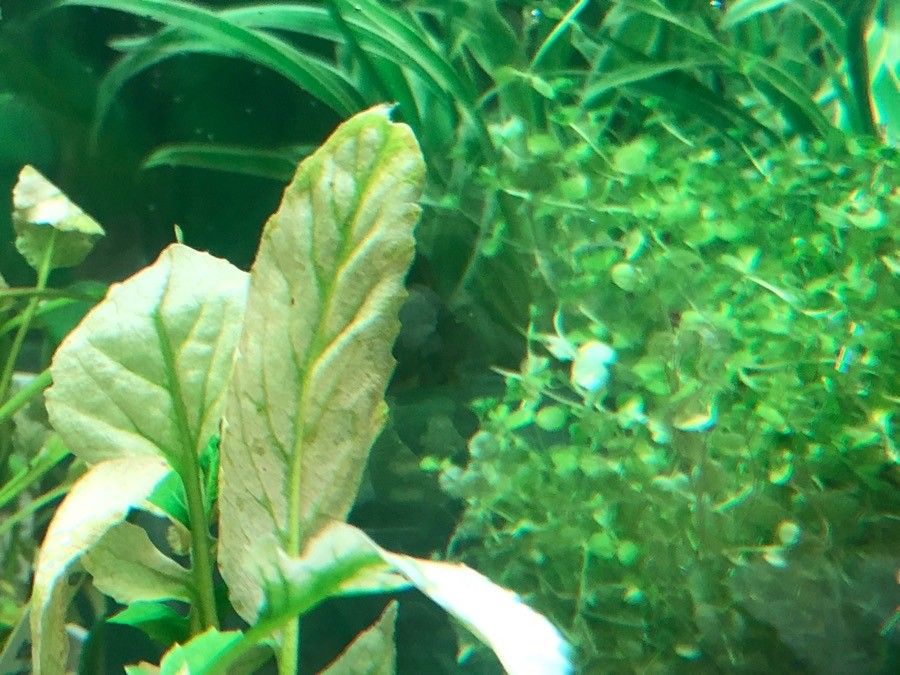
Hey there, fellow plant lovers! Today, we’re diving into something truly special: propagating Rorippa aquatica. If you’re not familiar, imagine delicate, feathery foliage spilling over the edge of a pond or a water feature, adding a touch of wild beauty. It’s a real charm that brings a bit of the marsh’s magic right into your garden.
I find propagating this water-dweller incredibly satisfying. It’s like getting free plants, and watching those tiny roots emerge is just pure joy. For beginners, I’d say Rorippa aquatica is moderately easy. It’s not as foolproof as some, but with a little attention, you’ll be successful.
The Best Time to Start
The sweet spot for propagating Rorippa aquatica is definitely late spring to early summer. This is when the plant is in its most vigorous growth phase. You want to take cuttings from healthy, actively growing stems, not from those that are looking a bit tired or haven’t quite woken up from dormancy. Think of it as harvesting the best of its youthful energy!
Supplies You’ll Need
Here’s what you’ll want to have on hand:
- Sharp Pruning Shears or Scissors: Clean cuts are crucial for preventing disease.
- Rooting Hormone (Optional but Recommended): This can give your cuttings a helpful boost, though Rorippa aquatica is often quite good at rooting on its own.
- Small Pots or Containers: Terracotta pots are nice if you’re potting up, but for water propagation, any clean glass jar or beaker will do perfectly.
- Well-Draining Potting Mix: If you’re potting cuttings directly, a mix of peat moss and perlite, or a specialized aquatic plant mix, works wonders.
- Clean Water: Fresh tap water that’s been sitting out for 24 hours to let chlorine evaporate is ideal.
- Labeling Tool: So you don’t forget what you’ve planted where!
Propagation Methods
Rorippa aquatica is a trooper and readily propagates through a couple of simple methods.
Stem Cuttings
This is my go-to method. It’s quick and effective.
- Select Healthy Stems: Find a vibrant, non-flowering stem that’s at least 4-6 inches long. Look for stems that are pliable and green, not woody or brittle.
- Make the Cut: Using your clean shears, make a straight cut just below a leaf node. A leaf node is where a leaf emerges from the stem. This is where new roots will typically form.
- Prepare the Cutting: Gently remove any leaves from the bottom half of the cutting. You want to expose the nodes where roots will emerge, and removing lower leaves prevents them from rotting in the water or soil.
- Apply Rooting Hormone (Optional): Dip the cut end into your rooting hormone powder or liquid, tapping off any excess.
- Place in Water: Put the prepared cutting into a clean glass of water. Make sure the leaf nodes you exposed are submerged, but don’t let any leaves sit in the water.
- Find a Bright Spot: Place the jar in a location that receives bright, indirect light. Avoid direct sunlight, which can scorch the delicate cuttings.
- Change Water Regularly: Change the water every few days, or whenever it looks cloudy. This keeps things fresh and helps prevent bacterial growth.
- Watch for Roots: Be patient! You should start to see small white roots emerging from the nodes within a couple of weeks.
Water Propagation (Directly in Water)
This is essentially the same as step 5 onwards in stem cuttings, but it’s so successful for Rorippa aquatica that it deserves its own mention. You basically just skip the potting and let the plant establish its roots in water first.
The “Secret Sauce” (Pro Tips)
Here are a few things I’ve learned over the years that make a difference:
- Don’t Crowd Your Cuttings: Give each cutting its own space in the water or pot. Overcrowding can lead to poor air circulation and increase the risk of fungal issues.
- Consider Bottom Heat: If you’re potting cuttings directly into soil and the air is cool, placing them on a gentle heating mat can significantly speed up root development. It mimics the warmth of spring soil.
- “Bruise” the Node (Gently!): This is a bit of an old-school trick. After removing the lower leaves, you can very gently nick or lightly scrape the bark just above the leaf nodes on the submerged part of the stem. This can sometimes encourage root formation, but be very careful not to do any significant damage.
Aftercare & Troubleshooting
Once your cuttings have developed a good root system – say, about an inch or two long – it’s time to move them!
If you propagated in water, you can either leave them in water (if you have a suitable pond or water feature) or carefully transplant them into pots filled with your well-draining potting mix. Gently firm the soil around the new roots.
Water them thoroughly after potting. Keep the soil consistently moist, but not waterlogged, as they establish. They’ll appreciate that bright, indirect light for a while longer before you gradually introduce them to more sun.
The most common issue you’ll encounter is rot. If your cuttings turn black or mushy, or develop a foul smell, it’s usually a sign of too much moisture, poor air circulation, or a bacterial infection. Discard any rotting cuttings immediately to prevent it from spreading. If you’re propagating in water, changing the water more frequently is key.
A Encouraging Closing
Growing your own Rorippa aquatica is a journey, and like all good things, it requires a little patience. Don’t get discouraged if every single cutting doesn’t make it – that’s part of the learning process! Just keep observing, keep trying, and most importantly, enjoy the satisfaction of nurturing new life. Happy gardening!
Resource: