Oh, hello there! Pull up a chair. I’m so glad you’re curious about Eremochloa ophiuroides, or as we more commonly know it, Centipede Grass. I’ve been growing it for years, and there’s something incredibly satisfying about nurturing a patch of this lovely, low-growing grass from a tiny slip or cutting. Its fine texture and gentle green hue are such a quiet joy in any garden, and honestly, propagating it yourself is a wonderfully rewarding endeavor. For most home gardeners, I’d say this is a pretty beginner-friendly project. You’ll find it quite forgiving!
When Should You Get Your Hands Dirty?
The absolute best time to propagate Centipede Grass is when it’s actively growing, which means late spring through early summer. This is when the plant has the energy and resources to put into developing new roots. Avoid trying this when it’s stressed from heat or cold. Think of it like giving a new baby the best possible start – lots of warmth and good food!
Your Propagation Toolkit
You don’t need anything too fancy to get started. Here’s what I usually grab:
- Sharp Pruning Shears or Scissors: Clean cuts are key.
- A Good Potting Mix: I like a well-draining mix, something that includes perlite or coarse sand. You can even make your own by blending equal parts of peat moss and perlite.
- Rooting Hormone (Optional but Recommended): This isn’t strictly necessary for Centipede Grass, but it can give your cuttings an extra boost.
- Small Pots or Seed Trays: Whatever you have on hand will work. Make sure they have drainage holes!
- A Spray Bottle: For misting.
- A Trowel or Dibber: For making holes in the soil.
- A Marker and Labels: So you don’t forget what you planted where!
Bringing Your Centipede Grass to Life
There are a couple of main ways to get more Centipede Grass, and I find division to be the easiest, especially if you already have a healthy patch.
Method 1: Division – The Gentle Approach
This is my go-to method. It’s like giving an established plant a little haircut and splitting it into its own babies.
- Choose Your Plant: Select a healthy, vigorous clump of Centipede Grass.
- Gently Excavate: Carefully dig up the entire clump. Try not to disturb the roots too much.
- Examine the Roots: Turn the clump over and gently shake off excess soil. You’ll see where the plant naturally divides into smaller sections.
- Divide Away: Using your hands or a clean trowel, gently split the clump into smaller pieces. Each piece should have both roots and some foliage. Don’t be afraid to split it into quite small sections; Centipede Grass is tenacious!
- Prepare the New Home: Fill your small pots with your prepared potting mix. Make a little well in the center with your trowel or finger.
- Plant the Divisions: Place one divided section into each pot, making sure the roots are spread out and covered with soil. Gently firm the soil around the base.
Method 2: Stem Cuttings – A Little More Patience
This method takes a bit more time but can yield a lot of new plants if you have a good source.
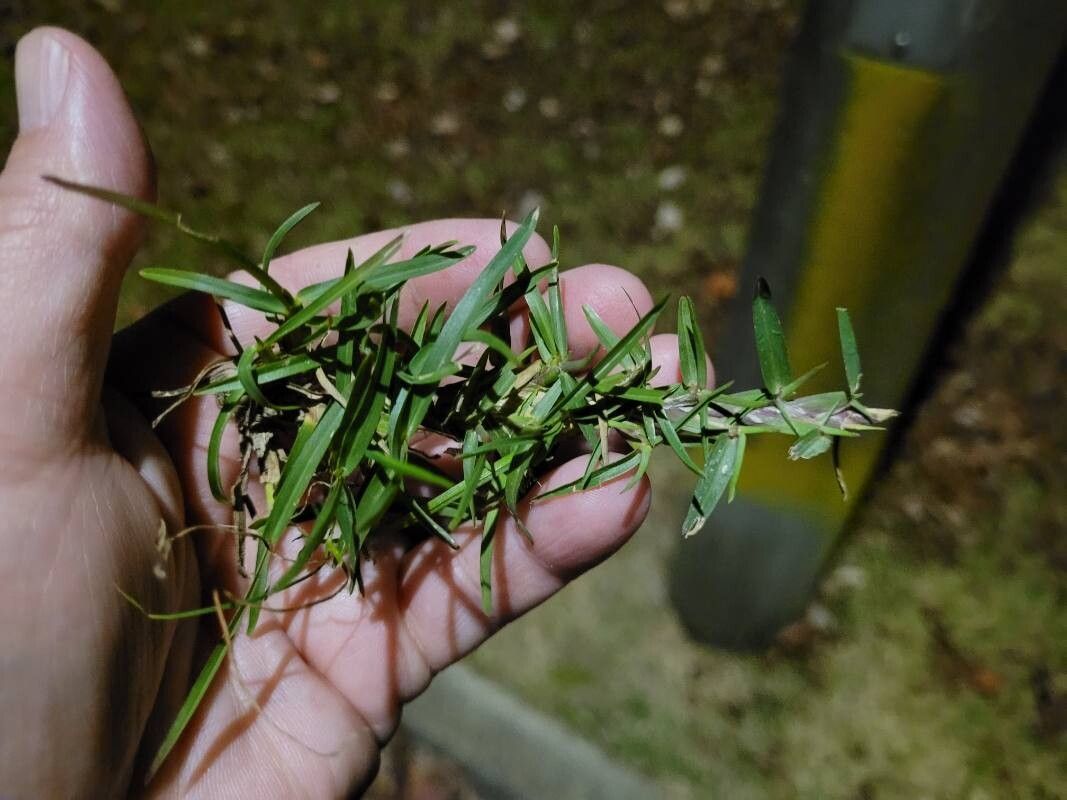
- Take Your Cuttings: During the active growing season, look for stems that are actively growing and have at least 2-3 nodes (those little bumps where leaves emerge). Using your clean shears, snip off pieces that are about 3-4 inches long. Remove the lower leaves, leaving just a couple at the top.
- Dip in Hormone (Optional): If you’re using rooting hormone, dip the cut end of each stem into it.
- Prepare Your Pots: Fill small pots with your well-draining potting mix.
- Plant the Cuttings: Use your dibber or a pencil to make a hole deep enough to bury at least one node. Insert the stem cutting into the hole and gently firm the soil around it to ensure good contact.
- Water Gently: Water the soil thoroughly but gently.
The “Secret Sauce” from the Garden Bench
Here are a couple of things I’ve learned that can really make a difference:
- Keep Leaves Out of the Water (if water propagating): While I didn’t detail water propagation above as division is usually easier, if you decide to try it with cuttings, never let the leaves touch the water. They’ll rot before they can root. Only the cut stem should be submerged.
- Bottom Heat is Your Friend: For stem cuttings, placing your pots on a gentle heat mat can significantly speed up root development. It mimics the warmth of the soil in summer and gives those little root cells a nudge.
- Humidify Without Drenching: Young cuttings and divisions are delicate. I love to mist them gently with my spray bottle once or twice a day, especially in warm weather. This keeps them from drying out without waterlogging the soil, which can lead to rot.
Aftercare and What to Watch For
Once your divisions are planted or your cuttings are in their pots, the real waiting game begins!
- Keep Them Moist and Warm: Continue to water regularly, keeping the soil consistently moist but not soggy. Place them in a bright spot, but avoid direct, intense sunlight for the first week or two, especially for cuttings. They’re still getting established.
- Signs of Life: You’ll know your cuttings or divisions are happy when you see new growth emerging from the top! For divisions, the foliage will look perkier. For cuttings, you might see new shoots or feel a gentle tug when you carefully try to lift a stem – that means roots are forming!
- Troubleshooting Rot: The biggest enemy of propagation is rot. If you see any mushy stems or leaves turning black, it’s likely rot. This usually happens from overwatering or poor air circulation. If it’s just a single leaf, you can often remove it and let the plant dry out a bit. If the whole cutting goes, sadly, it’s time to try again.
Happy Growing!
Propagating Centipede Grass is such a satisfying way to multiply your garden’s beauty. Don’t be discouraged if your first few attempts aren’t perfect. Gardening is a journey, and with a little patience and practice, you’ll be amazed at what you can grow. Enjoy the process, and soon you’ll have more of this lovely grass than you know what to do with!
Resource:
https://identify.plantnet.org/k-world-flora/species/Eremochloa%20ophiuroides%20(Munro)%20Hack./data