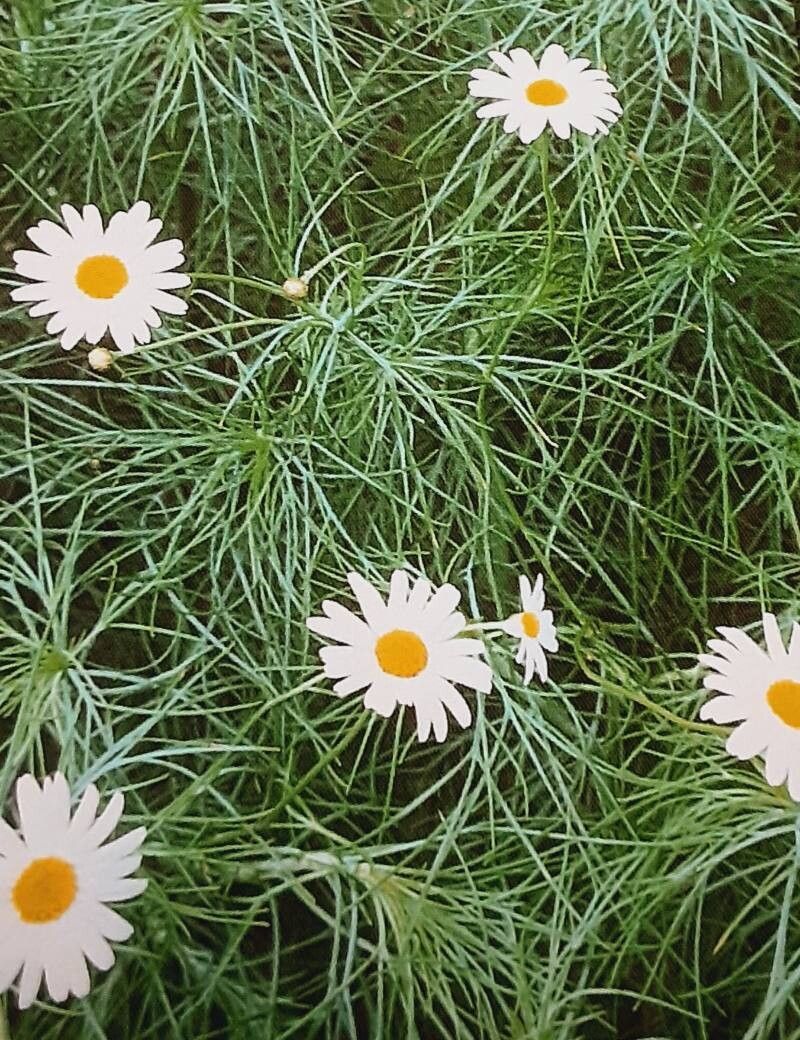
Oh, hello there! Come on in, grab a mug. I’m so glad you’re interested in Argyranthemum gracile, also known as our lovely little daisy bush. These beauties, with their delicate white or pink flowers and feathery foliage, are just wonderful additions to any garden or container. And the best part? They’re surprisingly easy to propagate, which means you can easily fill your garden with them or share them with friends. If you’re new to the glorious world of plant propagation, this is a fantastic one to start with.
The Best Time to Start
For the highest success rate when propagating Argyranthemum gracile, the early to mid-spring is your sweet spot. Think of it as when the plant is just waking up from its winter nap and has that fresh, vigorous energy. You want to take cuttings from softwood growth – those new, flexible shoots that haven’t started to harden and get woody yet. Avoid taking cuttings from flowering stems if you can, as the energy is going into those blooms rather than root development.
Supplies You’ll Need
Here’s what you’ll want to have on hand:
- Sharp pruning shears or a clean, sharp knife: For making clean cuts without crushing the stems.
- Potting mix: A well-draining, sterile potting mix is crucial. I like to use a blend of equal parts peat moss or coco coir and perlite. You can also buy specific seed-starting or cutting mixes.
- Small pots or trays: Clean pots are a must to prevent disease. Small 3-4 inch pots are perfect.
- Rooting hormone (optional but recommended): A powder or gel will significantly boost your success.
- Plastic bags or a propagator lid: To create a humid environment.
- Watering can with a fine rose: For gentle watering.
- Labels and a marker: So you don’t forget what’s what!
Propagation Methods
I usually stick to stem cuttings for Argyranthemum gracile, as it’s the most straightforward and yields the best results.
- Taking the Cuttings: In early spring, select a healthy stem. Using your clean shears, make a cut just below a leaf node (where a leaf attaches to the stem). You want cuttings that are about 4-6 inches long. Remove the leaves from the bottom half of the cutting, leaving just a few at the top. This reduces water loss and energy expenditure.
- Preparing the Cuttings: If you’re using rooting hormone, dip the cut end into it, tapping off any excess. Don’t be shy; it’s quite helpful!
- Planting the Cuttings: Fill your clean pots with your well-draining potting mix and water it thoroughly. Make a small hole in the center of the soil with your finger or a pencil. Insert the cutting into the hole, ensuring the leaf nodes you stripped of leaves are buried in the soil. Gently firm the soil around the base of the cutting.
- Creating Humidity: Place a clear plastic bag over the pot, making sure the leaves don’t touch the plastic. You can use stakes to keep the bag away from the foliage. Alternatively, use a propagator lid. This creates a mini-greenhouse effect, keeping the humidity high.
The “Secret Sauce” (Pro Tips)
Here are a few things I’ve learned over the years that can make a big difference:
- Don’t let the leaves touch the water: If you opt for water propagation (which is possible but I find less reliable for Argyranthemum), ensure the leaves are well above the water level. They’ll rot if submerged. For stem cuttings in soil, this applies to the bag – keeping the foliage dry helps prevent fungal issues.
- Bottom heat is your friend: While not strictly essential, placing your pots on a heat mat can significantly speed up the rooting process. It mimics the warmth of spring soil and encourages those roots to get going.
- Be patient with drainage: Once your cuttings are potted, never let them sit in soggy soil. Good drainage is paramount. If you see water pooling on the surface after watering, your soil mix might be too heavy, or your pot might not have enough drainage holes.
Aftercare & Troubleshooting
Once your cuttings are potted, place them in a bright, indirect light location. Avoid direct sun, which can scorch them. Keep the soil consistently moist but not waterlogged. You can gently lift the bag or lid daily for a few minutes to allow for air circulation.
You’ll know your cuttings have rooted when you see new growth emerging from the top. You can also gently tug on a cutting – if there’s resistance, roots are forming! This usually takes 3-6 weeks. Once rooted well, you can gradually acclimate them to drier air by slowly opening the bag or lid over a few days. Then, you can transplant them into individual pots.
The most common issue you might encounter is rot. This is usually due to overwatering and poor drainage. If you see a cutting turning yellow and mushy, or developing black spots, it’s likely rot. Unfortunately, it’s hard to recover from that. The key is prevention through good sanitation, proper soil, and careful watering.
A Rewarding Endeavor
Propagating Argyranthemum gracile is such a satisfying process. It’s wonderful to watch these little snippets of life transform into full plants. Don’t get discouraged if a few don’t make it; it happens to all of us. Just keep at it, try again, and soon you’ll have a whole host of these cheerful daisy bushes to enjoy. Happy propagating!
Resource:
https://identify.plantnet.org/k-world-flora/species/Argyranthemum%20gracile%20Sch.Bip./data