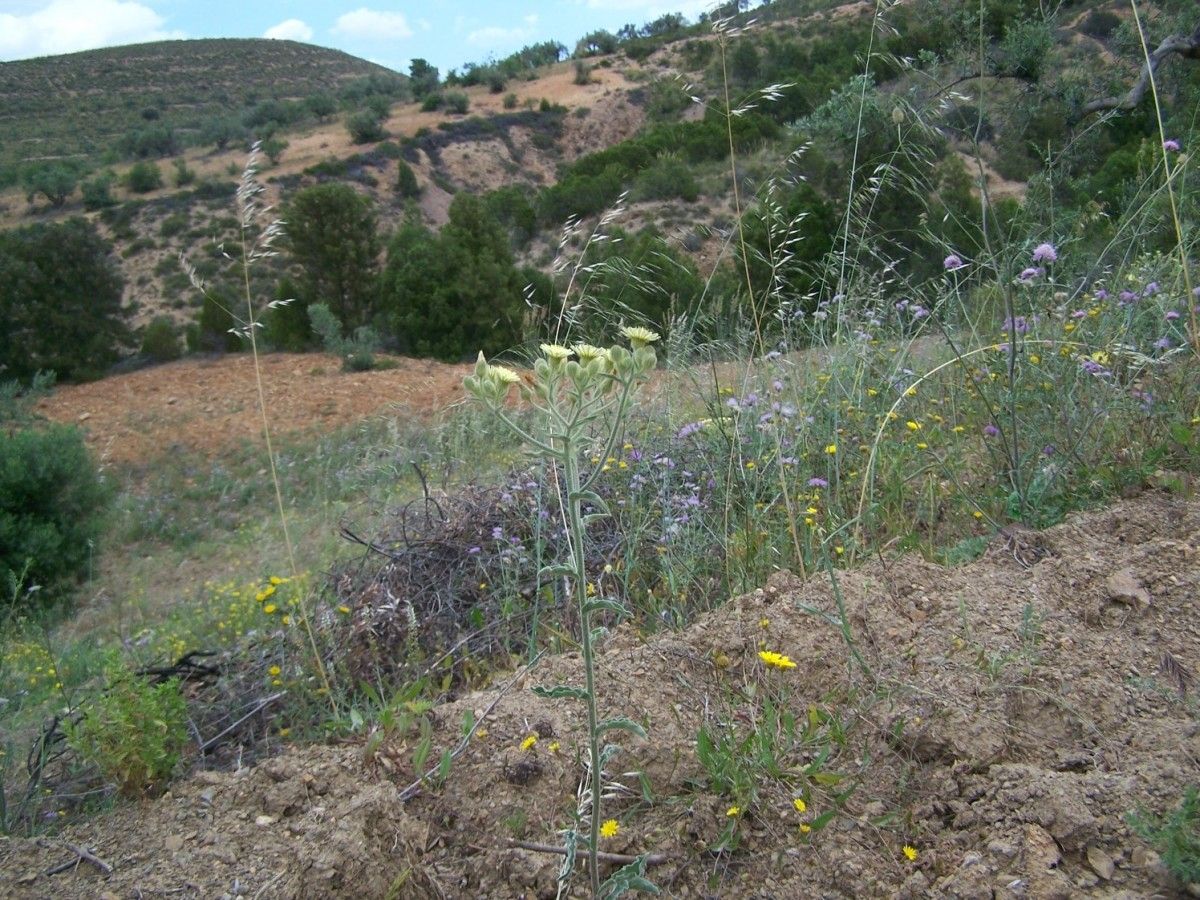
Hello there, fellow garden enthusiasts! Today, we’re diving into a plant that’s often overlooked but brings such wonderful texture and charm to a garden: Andryala nigricans. Often called Black-rooted Sowthistle (though thankfully, it’s far more polite than its name suggests!), this Mediterranean beauty boasts lovely silvery foliage and cheerful yellow daisy-like flowers that bloom for months. Propagating it is a fantastic way to fill your garden beds with more of its wonderful presence, and I find it wonderfully rewarding. For beginners, I’d say it’s moderately easy, a good step up from your most basic houseplants.
The Best Time to Start
My favorite time to get started with Andryala nigricans propagation is in the late spring to early summer. This is when the plant is actively growing, full of vigor, and has plenty of healthy stems to work with. You’ll find that cuttings taken during this period are much more likely to root successfully. Avoid the heat of high summer or the chill of autumn, as these can stress the cuttings.
Supplies You’ll Need
Here’s what I always have on hand when I’m getting ready to propagate:
- Sharp pruning shears or a clean knife: For making precise cuts.
- Rooting hormone (optional but recommended): Willow bark tea can also work in a pinch!
- A well-draining potting mix: I like a blend of equal parts potting soil, perlite, and coarse sand.
- Small pots or trays: Clean containers are key!
- A watering can with a fine rose attachment: To avoid disturbing your cuttings.
- A plastic bag or propagation dome: To create a humid environment.
- Labels: So you don’t forget what you planted!
Propagation Methods
Andryala nigricans is quite amenable to propagation by stem cuttings. It’s my go-to method, and usually gives the best results.
- Taking the Cuttings: Select healthy, non-flowering stems from your established plant. You want pieces that are about 4-6 inches long. Using your sharp shears, make a clean cut just below a leaf node (where a leaf meets the stem). Remove the lower leaves, leaving just a few at the top.
- Applying Rooting Hormone (Optional): If you’re using rooting hormone, dip the cut end of each stem into the powder, tapping off any excess. This helps to stimulate root development.
- Planting the Cuttings: Fill your small pots with the well-draining potting mix. Make a smallhole in the center of the soil with a pencil or your finger. Insert the cut end of the stem into the hole, ensuring that at least one leaf node is buried in the soil. Gently firm the soil around the cutting.
- Creating Humidity: Water the soil thoroughly until it drains from the bottom. Then, cover each pot loosely with a plastic bag or place them under a propagation dome. This creates a mini-greenhouse, keeping the humidity high, which is crucial for cuttings to root.
- Placement: Place the pots in a bright location out of direct sunlight. A warm spot is ideal.
The “Secret Sauce” (Pro Tips)
Here are a few things I’ve learned over the years that can really make a difference:
- Don’t let the leaves touch the water! If you’re propagating in water (which I’m less fond of for Andryala, but if you try it!), make sure no leaves are submerged. They’ll just rot, and that’s a fast track to failure.
- Bottom heat is your friend. If you have a heat mat designed for seedlings, placing your pots on it can significantly speed up the rooting process. It mimics the warmth of spring soil and encourages those roots to get going.
- Be patient with the foliage. Even if the leaves look a little sad initially, don’t give up. They might perk up once the roots start to establish.
Aftercare & Troubleshooting
Once your cuttings have been planted, keep the soil consistently moist but not waterlogged. Check the humidity under the plastic frequently; you want condensation, but you don’t want it to be dripping wet.
You’ll know your cuttings are rooting when you see new leaf growth and feel a gentle resistance when you lightly tug on the stem. This usually takes anywhere from 3 to 8 weeks, depending on conditions.
The most common problem you’ll encounter is rot. If you see stems turning mushy or black, it’s usually a sign of too much moisture or poor drainage. In this case, sadly, the cutting is likely lost. Make sure your soil mix is airy enough, and don’t overwater.
Once you have good root development, you can gradually acclimatize your new plants to normal humidity by opening the plastic bag a little more each day. Then, you can transplant them into slightly larger pots or their final garden location when they are big enough to handle.
Happy Propagating!
There you have it! Propagating Andryala nigricans is a lovely little project that rewards you with more of this sweet plant. Don’t be discouraged if a few don’t make it; it happens to all of us! The process itself is part of the joy of gardening. So gather your supplies, get your hands dirty, and happy propagating!
Resource:
https://identify.plantnet.org/k-world-flora/species/Andryala%20nigricans%20Poir./data