Hello fellow plant enthusiasts!
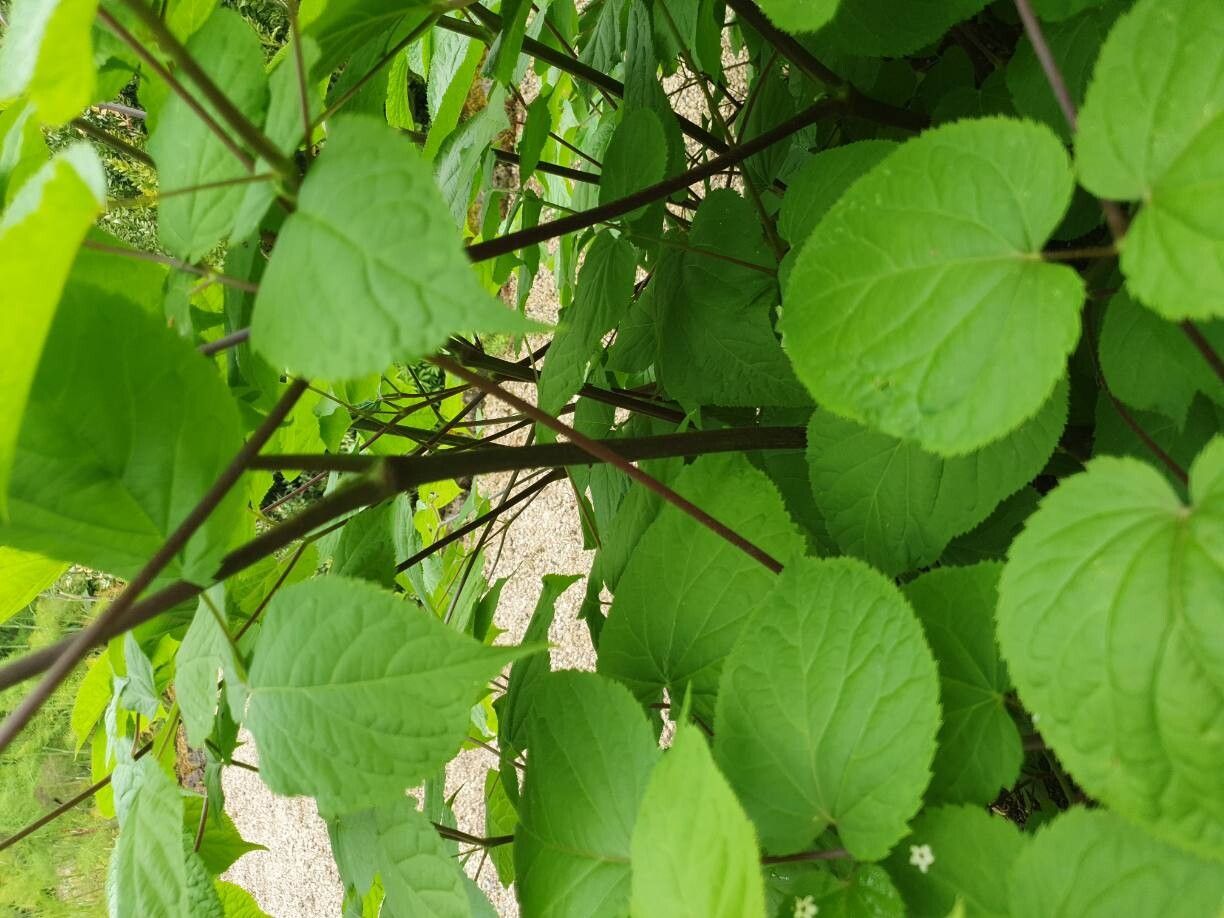
Today, we’re diving into the wonderfully rewarding world of propagating Panax pseudoginseng. You know, the plant often sought after for its striking foliage and the quiet satisfaction of nurturing something new from a piece of the old. It’s a real thrill to watch those little roots form and a new plant unfurl its first leaves. Now, I won’t lie, Panax pseudoginseng can be a little bit of a diva when it comes to propagation. It’s not always the easiest for absolute beginners, but with a little patience and the right approach, you’ll soon be successful.
The Best Time to Start
For Panax pseudoginseng, the sweetest spot for propagation is late spring to early summer. This is when the plant is actively growing, and its stems are firm but not yet woody. You want to work with pieces that have a good amount of energy to draw from. Starting too early in the spring, or too late in the fall, can mean slower growth and reduced success rates.
Supplies You’ll Need
Here’s what I keep on hand when I’m ready to get my hands dirty:
- Sharp, clean pruning shears or a sharp knife: Essential for making clean cuts.
- Well-draining potting mix: A good blend is about 50% peat moss or coco coir and 50% perlite or coarse sand. You can also buy specific potting mixes for succulents or cacti, just make sure they’re not too heavy.
- Small pots or trays: Clean containers with drainage holes are a must.
- Rooting hormone (optional but highly recommended): This is a powder or gel that encourages root development.
- Clear plastic bag or propagator: This will create a humid environment for your cuttings.
- Watering can with a fine rose: For gentle watering.
- Labels and a marker: To keep track of what you’ve planted and when!
Propagation Methods
While Panax pseudoginseng can technically be propagated in a few ways, for us home gardeners, stem cuttings are generally the most reliable and straightforward method.
Here’s how I do it:
-
Take Your Cuttings: Select a healthy, vigorous stem from your mature plant. Using your sharp pruning shears, make a clean cut just below a leaf node (that little bump where the leaf attaches to the stem). You’re looking for cuttings that are about 4-6 inches long and have at least two to three leaves. Remove the lower leaves, leaving just a couple at the top. This reduces moisture loss and prevents leaves from rotting in the soil.
-
Prepare the Cutting: If you’re using rooting hormone, dip the cut end of the stem into the powder or gel. Tap off any excess. This step really gives your cutting a head start.
-
Plant Your Cuttings: Fill your small pots with your prepared, well-draining potting mix. Make a small hole in the center of the soil with your finger or a pencil. Gently insert the cut end of the stem into the hole, ensuring it’s standing upright. Firm the soil gently around the base of the cutting.
-
Create a Humid Environment: Water your potted cuttings gently until the soil is evenly moist but not soggy. Now, cover the pot with a clear plastic bag or a propagator lid. If you’re using a bag, you can secure it with a rubber band around the rim of the pot, making sure the leaves don’t touch the plastic. This mini-greenhouse traps moisture, which is crucial for cuttings that haven’t developed roots yet.
-
Place in Suitable Light: Find a bright spot for your cuttings, but avoid direct sunlight. Bright, indirect light is ideal. Too much sun will scorch the leaves and dry out the cuttings.
The “Secret Sauce” (Pro Tips)
Here are a few things I’ve learned over the years that can really boost your success:
- Bottom Heat is Your Friend: If you have the option, using a propagator tray with a heating mat can make a significant difference. This gentle warmth encourages root formation from below. It’s like giving your cuttings a cozy warm bed to start their journey!
- Sterilization is Key: Always make sure your tools and pots are clean. This might seem obvious, but it’s a common pitfall. Any lingering bacteria or fungus on your tools can easily transfer to your cuttings and lead to rot.
- Don’t Be Afraid to Experiment (Slightly!): While stem cuttings are generally best, sometimes I’ll try a leaf cutting with a small piece of stem attached, especially if I have a particularly precious specimen. Just be extra careful to keep those leaves from touching the soil or anything that could cause them to rot.
Aftercare & Troubleshooting
Once your cuttings are potted and covered, the waiting game begins! Check on them regularly. The soil should remain consistently moist but never waterlogged. If you see condensation build up heavily on the inside of the plastic bag, gently air out the propagator for a few hours to prevent fungal issues.
You’ll know your cutting is taking root when you see new leaf growth, or when you gently tug on the stem and feel a slight resistance. This can take several weeks, sometimes even a couple of months, so patience is your best virtue here!
The most common sign of failure is rot, where the stem turns black and mushy. This is usually due to overwatering or poor air circulation. If you see this, unfortunately, that cutting is likely lost. Just remove it and try again, adjusting your watering routine. Yellowing leaves can sometimes indicate it’s too dry, or it’s just getting rid of old foliage to focus energy on rooting.
A Encouraging Closing
Propagating Panax pseudoginseng is a journey, not a race. Each cutting is a little experiment, and every success, big or small, is a reason to celebrate. Don’t be discouraged if your first few attempts aren’t perfect. Learn from them, adjust your technique, and keep nurturing. The joy of watching a new plant emerge from a tiny piece of another is truly special. Happy propagating!
Resource:
https://identify.plantnet.org/k-world-flora/species/Panax%20pseudoginseng%20Wall./data