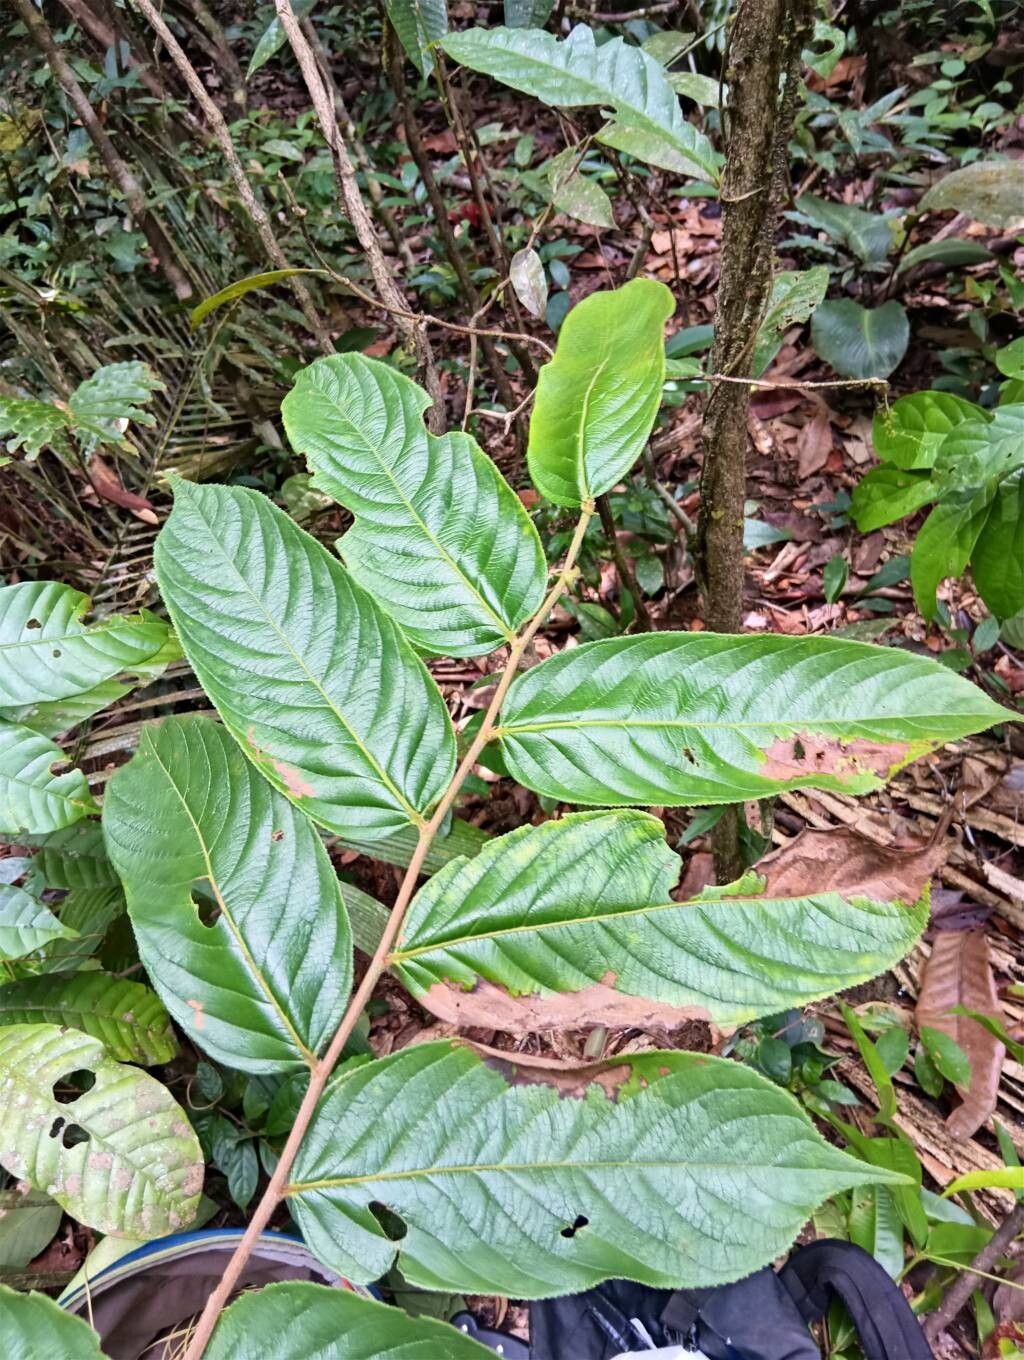
Hey there, fellow plant lovers!
If you’ve ever admired the delicate beauty or unique charm of Casearia rusbyana, you know it’s a special plant. Its whispery foliage and often delicate blooms bring a touch of the ethereal to any garden space. Getting more of these beauties to grow from your existing plants is not just satisfying; it’s like sharing a secret with nature. For those of you just dipping your toes into propagation, I’d say Casearia rusbyana is moderately easy, but with a little love and attention, you’ll be well on your way to success.
The Best Time to Start
Spring is absolutely my favorite time to get propagating. As the days get longer and the weather warms up, plants are bursting with new growth. This vigorous energy is exactly what we need to encourage successful rooting. Look for stems that are firm and have healthy, green leaves – not the brand-new, flimsy growth, and definitely not woody, old stems.
Supplies You’ll Need
Before we get our hands dirty, let’s gather our tools. Having everything ready makes the process smooth and enjoyable.
- Sharp Pruning Shears or a Craft Knife: For clean cuts that heal quickly.
- Small Pots or Trays: Clean and with drainage holes!
- Rooting Hormone (Optional but Recommended): This gives your cuttings a little boost. Look for one with a high percentage of IBA.
- Propagation Mix: A light, airy blend. I usually use a 50/50 mix of perlite and good quality peat moss or coco coir. Some gardeners like to add a bit of perlite for even better drainage.
- Water: For soaking cuttings or for water propagation.
- Clear Plastic Bag or Dome: To create a humid environment.
- Small Watering Can or Spray Bottle: For gentle watering.
Propagation Methods
Let’s dive into how we can gently coax beautiful new Casearia rusbyana plants into existence.
Stem Cuttings
This is my go-to method for Casearia rusbyana. It’s straightforward and generally gives you the most bang for your buck.
- Take Your Cuttings: Using your sterile pruning shears, take tip cuttings that are about 4-6 inches long. Make the cut just below a leaf node (where a leaf joins the stem).
- Prepare the Cuttings: Gently remove the lower leaves from the cutting, leaving just 2-3 leaves at the top. This prevents them from rotting in the soil.
- Apply Rooting Hormone: If you’re using rooting hormone, dip the cut end of the stem into the powder or gel. Tap off any excess.
- Plant Them Up: Fill your small pots with the propagation mix. Make a hole with your finger or a pencil, and gently insert the cutting. Firm the soil around the base.
- Water Gently: Water thoroughly until you see water draining from the bottom.
- Create Humidity: Cover the pot with a clear plastic bag, propped up with a stick or two so it doesn’t touch the leaves, or use a clear plastic dome. Place in a warm spot with bright, indirect light.
Water Propagation
Sometimes, you just can’t resist watching the roots grow! This method is lovely for a visual treat.
- Prepare the Cuttings: Take your cuttings as described above, and remove the lower leaves.
- Place in Water: Fill a clean jar or glass with fresh water. Place the cuttings in the water, ensuring no leaves are submerged.
- Location, Location, Location: Put the jar in a spot with bright, indirect light.
- Change the Water: Refresh the water every few days to keep it clean and oxygenated.
- Plant When Ready: Once you see a good network of roots, typically an inch or two long, you can transplant them into your propagation mix.
The “Secret Sauce” (Pro Tips)
Here are a few little tricks I’ve picked up over the years that can really make a difference.
- Bottom Heat is Your Friend: If you have a seedling heat mat, placing your pots on it can significantly speed up root development. It replicates that lovely warm soil feeling plants crave.
- Don’t Let Those Leaves Touch the Water! I can’t stress this enough for water propagation. Submerged leaves will rot and can take your cutting down with them. Keep them high and dry!
- Mist Them, Don’t Drench Them: While humidity is crucial, overwatering the soil is a common pitfall. A light misting of the leaves can help keep them turgid, but ensure the soil is just consistently moist, not soggy.
Aftercare & Troubleshooting
Once you start seeing signs of life – tiny new leaves or noticeable roots peeking out of the drainage holes – it’s time to transition.
- Acclimatization: Gradually un-cover your plants. Start by opening the plastic bag for a few hours each day, then removing it completely over a week or so. This helps them adjust to lower humidity.
- Transplanting: Once the roots are well-established (you can gently tug on the cutting and feel some resistance), you can transplant them into slightly larger pots with a good quality potting mix.
- Watch for Rot: The most common sign of failure is rot. This usually looks like mushy, black stems. If you see this, it’s often too late, but it’s a signal to ease up on watering and ensure good airflow for future attempts. Another sign is wilting that doesn’t perk up after watering; this can also point to root rot or simply not enough moisture.
A Little Patience Goes a Long Way
Propagating plants is a journey, and every experience is a lesson. Don’t get discouraged if your first few attempts aren’t perfect. Nature has its own pace, and with Casearia rusbyana, a little patience and consistent care will reward you with beautiful new plants to cherish and share. Happy propagating!
Resource:
https://identify.plantnet.org/k-world-flora/species/Casearia%20rusbyana%20Briq./data