Hello there, fellow plant enthusiasts! It’s lovely to connect with you all again. Today, we’re diving into one of my favorite spring bloomers: Arabis collina, also known as Foothill Rock Cress. If you, like me, adore its frothy carpets of delicate white flowers that dance in the spring breeze, then you’re in for a treat. Propagating Arabis collina is a wonderfully rewarding endeavor, and I’m thrilled to share how I coax new life from my established plants. For beginners, I’d say this little beauty is moderately easy to propagate, offering a good chance of success with a little care.
The Best Time to Start
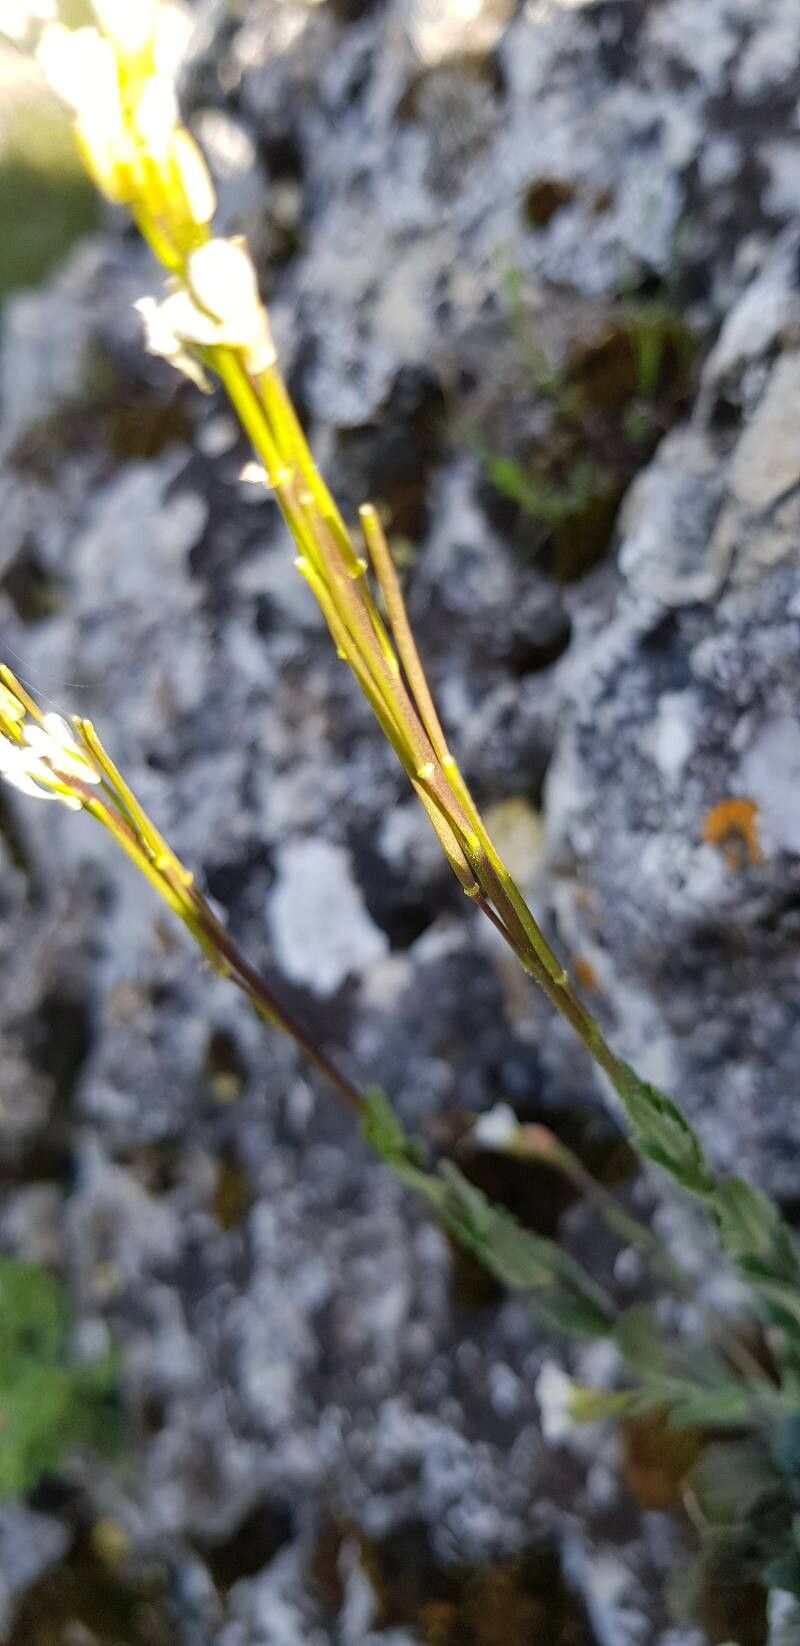
The sweet spot for propagating Arabis collina is late spring to early summer. This is when the plant is actively growing but before the intense heat of midsummer sets in. You’re looking for new, non-flowering shoots that are still a bit soft and bendy, not woody stems. This vigorous new growth has the best energy to take root.
Supplies You’ll Need
Here’s a small collection of goodies to gather before we get our hands dirty:
- Sharp, clean pruning shears or a sharp knife: For making clean cuts.
- Rooting hormone (optional but helpful): A powder or gel to encourage faster root development.
- A good quality potting mix: I often use a seed starting mix or a light, gritty potting compost. A mix with perlite or grit is key for drainage.
- Small pots or trays: Clean containers with drainage holes are essential.
- A watering can with a fine rose: To water gently without disturbing your cuttings.
- A plastic bag or propagation dome: To create a humid environment for your cuttings.
- Labels and a marker: To keep track of what you’ve planted.
Propagation Methods
There are a couple of tried-and-true ways to multiply your Arabis collina. I find stem cuttings to be the most reliable.
1. Stem Cuttings:
This method is my go-to for a reason. It’s incredibly effective!
- Take your cuttings: In late spring or early summer, select healthy, non-flowering shoots. Using your clean shears, cut a section about 3-4 inches long. Make the cut just below a leaf node (the point where a leaf attaches to the stem).
- Prepare the cuttings: Gently remove the lower leaves from the cutting, leaving just a few at the top. This prevents them from rotting when buried or sitting in water. If you’re using rooting hormone, lightly dip the cut end into it, tapping off any excess.
- Plant the cuttings: Fill your small pots or trays with your prepared potting mix. Make a small hole in the center of each pot with your finger or a pencil. Insert the cut end of the Arabis collina cutting into the hole, ensuring the node where you removed the leaves is below the soil surface. Firm the soil gently around the base.
- Water and cover: Water the cuttings gently until the soil is moist but not waterlogged. Then, cover the pots with a clear plastic bag or place them inside a propagation dome. This traps humidity, which is crucial for cuttings to root.
2. Division (for well-established plants):
If you have a mature, clump-forming Arabis collina, division is a great option.
- Excavate the plant: In early spring, before it gets too excited about flowering, carefully dig up the entire plant.
- Gently separate: Loosen the soil from the roots and gently pull the clumps apart. You’re looking for sections that have roots and at least a few shoots. If the roots are tangled, you can use a clean trowel or even your hands to tease them apart.
- Replant immediately: Plant each division into its new home, amending the soil with some compost if needed. Water them in well.
The “Secret Sauce” (Pro Tips)
Now, for those little nuggets of wisdom I’ve picked up over the years:
- Don’t overcrowd the pots: Give your cuttings a bit of elbow room. Overcrowding can lead to poor air circulation and increase the risk of fungal issues.
- Consider bottom heat: While not strictly necessary for Arabis collina, placing your pots on a gentle heat mat can significantly speed up the rooting process. It mimics the warmth of spring soil and gives those roots a real boost.
- Think grit, grit, grit: Arabis collina absolutely hates wet feet. Even with cuttings, using a very gritty soil mix is paramount. A bit of extra perlite or coarse sand in your potting mix will make all the difference in preventing rot.
Aftercare & Troubleshooting
Once your cuttings are planted and sheltered, patience is key! Check the moisture level of the soil every few days, misting lightly if the surface feels dry, but always allow it to dry out slightly between waterings.
You’ll know your cuttings have rooted when you see new growth appearing at the top, or when you gently tug on a cutting and feel a bit of resistance. This usually takes 3-6 weeks. Once they’ve rooted, you can gradually acclimatize them to normal garden conditions by opening the plastic bag or dome for a few hours each day for a week. Once they’re robust, you can transplant them to their permanent spots.
The main issue you might encounter is rot. This usually happens when the soil stays too wet. If you see your cuttings turning black and mushy, it’s a sign they’ve succumbed to the damp. Don’t despair! Just discard them and try again with a slightly drier mix and better drainage.
A Gentle Encouragement
Propagating plants is a journey of observation and a little bit of faith in nature’s processes. With Arabis collina, you’re essentially helping a determined plant make more of itself. Be patient, enjoy the simple act of nurturing new life, and soon you’ll be rewarded with even more of those darling white blooms to enjoy in your garden. Happy propagating!
Resource:
https://identify.plantnet.org/k-world-flora/species/Arabis%20collina%20Ten./data