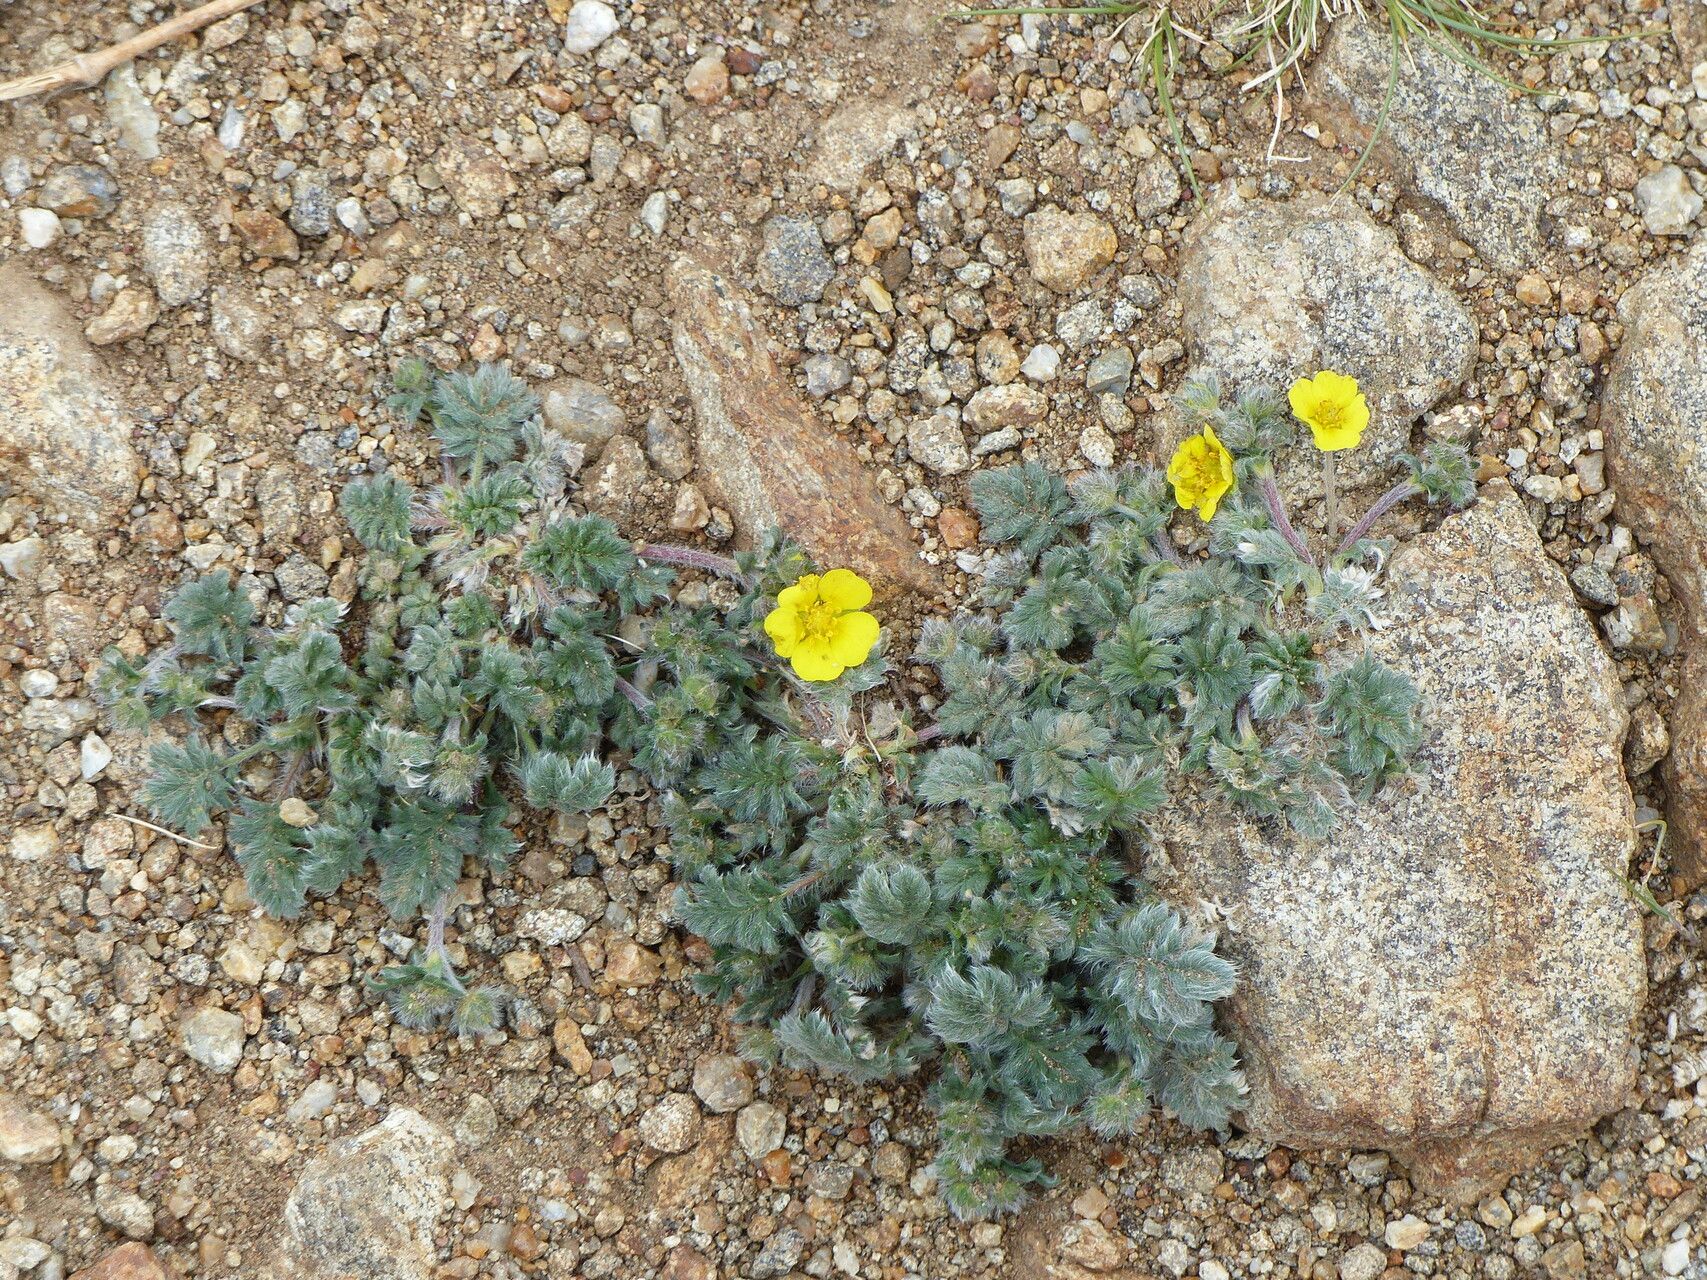
Oh, Potentilla concinna! Isn’t she a beauty? I’ve always admired her delicate, sunny flowers and the way she seems to just glow in the garden. Cultivating more of this cheerful little shrub is such a satisfying endeavor. If you’re looking to fill a sunny spot or share the joy with a friend, propagating your own Potentilla is a fantastic idea. And good news for beginners – this plant is generally quite forgiving, making it a wonderful introduction to the world of plant propagation.
The Best Time to Start
The sweet spot for propagating Potentilla concinna is late spring to early summer. This is when the plant is actively growing, and the new shoots are still soft and pliable, making them ideal for cuttings. You’re essentially catching the plant at its most vigorous, which gives your cuttings the best possible start.
Supplies You’ll Need
Gathering your tools beforehand makes the whole process smoother. Here’s what I usually have on hand:
- Sharp pruning shears or a clean razor blade: For making nice, clean cuts.
- Rooting hormone: This isn’t always essential for Potentilla, but it can give your cuttings a significant boost. Look for a powder or gel.
- Small pots or trays: Clean ones are crucial to prevent disease.
- Propagating mix: A good blend is about 50% peat moss or coco coir and 50% perlite or coarse sand. This ensures excellent drainage, which is key for preventing rot.
- Plastic bags or a clear propagator lid: To create a humid environment for your cuttings.
- Water: For moistening the soil and, well, watering!
- Labels: So you don’t forget what you planted where!
Propagation Methods
Potentilla concinna is quite happy to propagate from softwood cuttings. This is usually the most straightforward and successful method for this particular plant.
- Taking the Cuttings: On a mild day, head out to your Potentilla. Look for healthy, new green shoots that are supple and bend easily without snapping. Using your sharp pruners or blade, take cuttings that are about 4-6 inches long. Make your cut just below a leaf node (where a leaf attaches to the stem).
- Preparing the Cuttings: Gently remove the leaves from the bottom half of each cutting. You want to expose the nodes, as this is where roots will form. If your cuttings have any flowers or flower buds, pinch them off. These take energy away from root development.
- Applying Rooting Hormone (Optional but Recommended): Dip the cut end of each prepared cutting into your rooting hormone. Tap off any excess.
- Planting the Cuttings: Fill your clean pots or trays with your propagating mix. Moisten the mix thoroughly – it should be damp but not soggy. Make a small hole in the soil with your finger or a pencil. Insert the cut end of a Potentilla cutting into the hole, pushing it down deep enough so that at least one leaf node is buried. Gently firm the soil around the stem.
- Creating Humidity: Water your planted cuttings lightly. Then, cover the pots with a clear plastic bag, securing it around the rim with a rubber band, or place the pots inside a propagator with the lid on. This traps moisture and creates a humid microclimate, preventing the cuttings from drying out before they can root.
The “Secret Sauce”
Here are a couple of things that have really made a difference for me:
- The Air Layering Approach: If you’re feeling a bit more ambitious and want to try something with a potentially higher success rate for particularly woody pieces, consider air layering. You can carefully wound a small section of a mature stem, wrap it with moist sphagnum moss, and then encase the whole package in plastic. Roots will form within the moss, and you can then sever the stem below the roots to plant as a new specimen. It takes a bit more effort but is incredibly rewarding.
- Don’t Let Those Leaves Drip: If you’re using a plastic bag to cover your cuttings, make sure no leaves are touching the inside of the bag. Condensation can gather on the leaves and drip, leading to fungal diseases. You can use small stakes to prop up the bag or trim any leaves that are too long.
Aftercare & Troubleshooting
Once your Potentilla cuttings are planted, place them in a bright spot out of direct sunlight. The goal is to keep them consistently moist but not waterlogged. You can lift the plastic bag daily for a few minutes to allow for air circulation, which helps prevent mold.
You’ll know your cuttings have rooted when you see new leaf growth. It might take anywhere from 3 to 6 weeks, sometimes longer. Gently tug on a cutting; if there’s resistance, it has rooted.
The most common problem you might encounter is rot. If you see stems turning black and mushy, it’s usually a sign of too much moisture or poor drainage. Unfortunately, rotten cuttings are usually a goner, so it’s best to discard them and try again, ensuring better airflow and less water next time.
A Encouraging Closing
Propagating plants is a bit like nurturing a little miracle. There might be a few attempts that don’t pan out, and that’s perfectly normal! Don’t get discouraged. Each time you try, you learn a little more. So grab your shears, enjoy the feel of the soil, and be patient. Soon enough, you’ll have a whole new clutch of these delightful Potentillas to enjoy in your garden. Happy propagating!
Resource:
https://identify.plantnet.org/k-world-flora/species/Potentilla%20concinna%20Richardson/data