Spreading the Sunshine: Propagating Ornithogalum Montanum with Ease
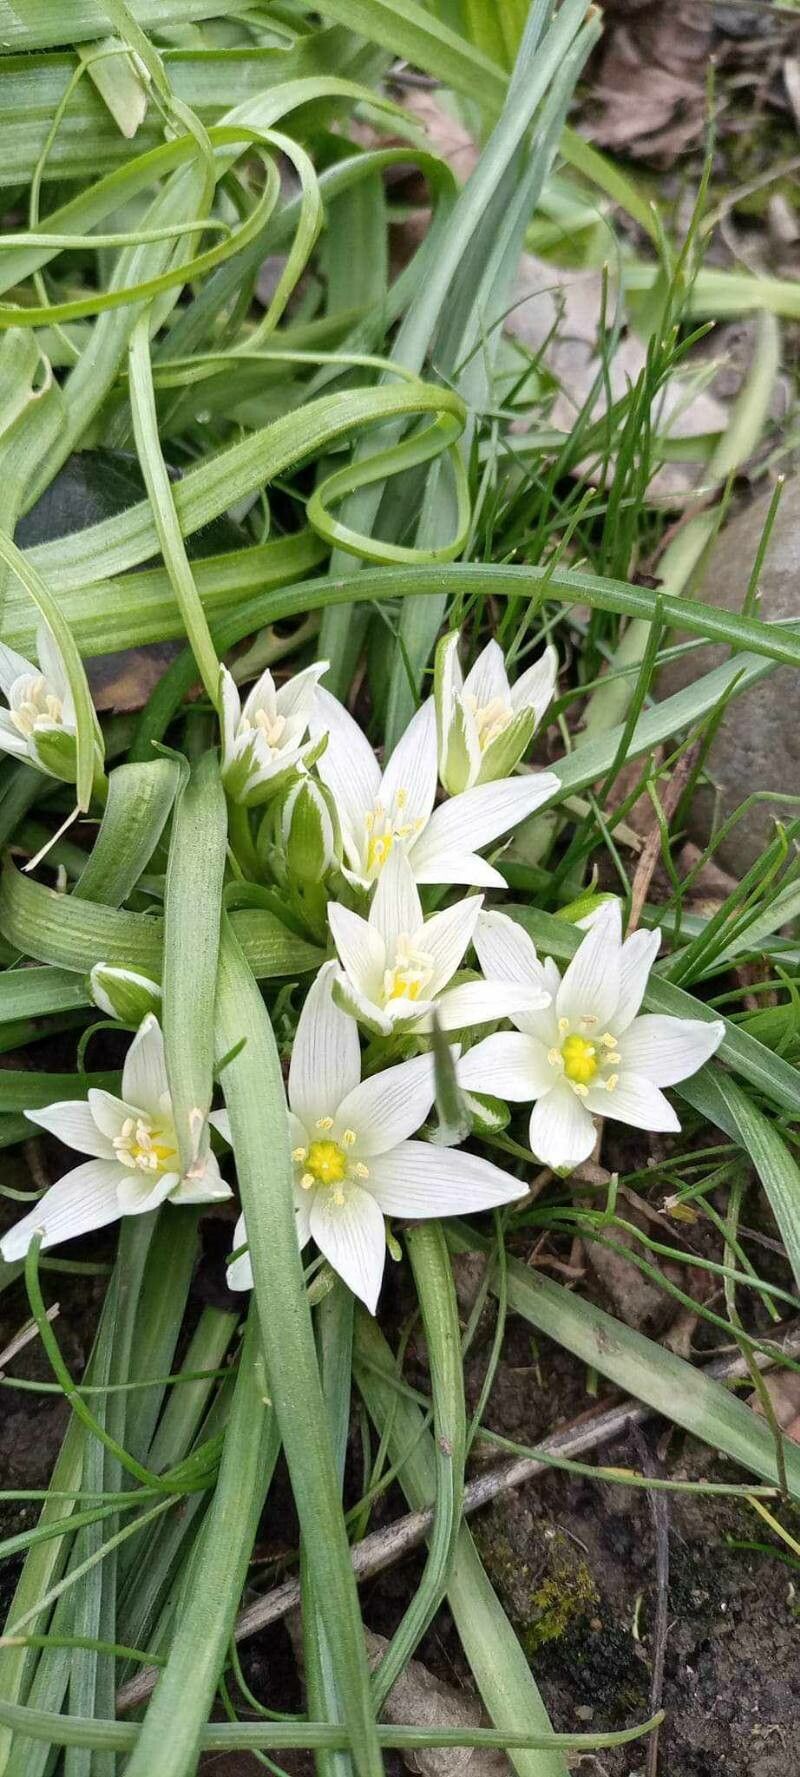
Oh, Ornithogalum montanum! Isn’t it just a ray of sunshine in the garden? Those star-like, white blossoms always bring a smile to my face, especially as they unfurl in late spring or early summer. They have this wonderful way of lighting up borders and containers, and if you’re anything like me, you’ll quickly find yourself wanting more of them to share the joy. Happily, propagating these beauties is a wonderfully rewarding endeavor, and I’m thrilled to guide you through it. For beginners, this plant is a fantastic starting point – it’s quite forgiving, which is always a plus when you’re learning new gardening skills.
When to Get Your Hands Dirty
The absolute best time to start propagating Ornithogalum montanum is after flowering has finished. This is usually in late summer or early autumn. The bulbs have gathered their energy for the season, and now they’re ready to put it towards growing new offsets. Trying to propagate too early might take energy away from the parent plant’s bloom or bulb development, so patience is key here.
Your Propagator’s Toolkit
Here’s what you’ll want to have on hand to make the process smooth sailing:
- Sharp pruning shears or a clean knife: For cleanly separating bulbs or cuttings.
- Well-draining potting mix: A good quality general potting mix amended with perlite or coarse sand is perfect. We want to avoid soggy feet at all costs!
- Small pots or trays: Terracotta pots are lovely, or you can use seed trays. Make sure they have drainage holes.
- Labeling stakes and a pen: To keep track of what you’ve planted and when.
- Watering can with a fine rose: For gentle watering.
- (Optional) Rooting hormone: While often not strictly necessary for this plant, it can give cuttings a little boost.
Spreading the Stripes: Propagation Methods
There are a couple of straightforward ways to increase your Ornithogalum montanum collection.
Method 1: Division – The Most Reliable Route
This is my go-to method for Ornithogalum montanum because it’s simple and incredibly successful.
- Gently unearth the parent plant after it has finished blooming and the foliage has started to yellow. You can do this in late summer or early autumn.
- Carefully brush away excess soil to reveal the bulbs. You’ll notice the main bulb often has smaller ‘offsets’ or baby bulbs nestled around its base.
- Use your clean knife or shears to gently separate these offsets from the mother bulb. Make sure each offset has at least a small piece of the basal plate where roots will emerge. If they don’t easily separate, a clean cut is better than yanking.
- Allow the separated offsets to “cure” for a day or two in a dry, shaded spot. This helps the cut surfaces to callous over, reducing the risk of rot.
- Plant your new bulbs about 2-3 inches deep in your well-draining potting mix. Give them a little space – they’ll want to grow!
- Water lightly after planting.
Method 2: Stem Cuttings (for the Adventurous!)
While division is easiest, you can try propagating from the stems, though success can be a bit more variable.
- Select a healthy stem from a mature plant before it has fully flowered. Look for a stem with a developing flower bud.
- Using your clean shears, cut the stem about an inch or two below the bud.
- Remove any lower leaves, leaving just the top few.
- Dip the cut end into rooting hormone (if you’re using it).
- Insert the cutting into a pot filled with your well-draining mix.
- Water gently and keep the potting mix consistently moist but not waterlogged.
The “Secret Sauce”: My Insider Tips
Over the years, I’ve picked up a few little tricks that seem to make all the difference:
- Don’t rush the “cure”: That short drying period for divided bulbs is crucial. It’s like giving them a little protective bandage before they go into the soil.
- Think warmth for cuttings: If you’re trying stem cuttings, placing the pot on a heating mat designed for propagation can significantly speed up root development. It mimics the warmth of spring and gives those struggling cuttings a better chance.
- Fresh bulbs, happier beginnings: For divided bulbs, try to plant them within a week or two of separation. The longer they sit out of the soil, the more they dehydrate.
Tending to Your Tiny Treasures & What to Watch For
Once your divisions or cuttings are planted, they’ll need a bit of TLC.
- Watering: Keep the soil consistently moist, but never soggy. A good rule of thumb is to water when the top inch of soil feels dry.
- Light: Place your pots in a bright location, but avoid direct, harsh sunlight initially. Dappled shade or a spot with morning sun is ideal.
- Patience is a virtue: It can take several weeks, sometimes even a couple of months, for new roots to establish, especially with cuttings. Resist the urge to dig them up too soon to check! You might see new leaf growth, which is a good sign.
If you encounter problems, rot is the most common culprit. This usually happens due to overwatering or poor drainage. If you see a bulb or cutting turning mushy and dark, it’s likely lost. Remove it immediately to prevent it from affecting other plants and reassess your watering and soil drainage.
Go Forth and Grow!
Propagating Ornithogalum montanum is a truly satisfying gardening pursuit. It’s a chance to multiply the joy these beautiful plants bring and to share them with friends. Be patient with the process, enjoy the feeling of nurturing new life, and before you know it, you’ll have a whole constellation of these delightful stars gracing your garden. Happy propagating!
Resource:
https://identify.plantnet.org/k-world-flora/species/Ornithogalum%20montanum%20Cirillo/data