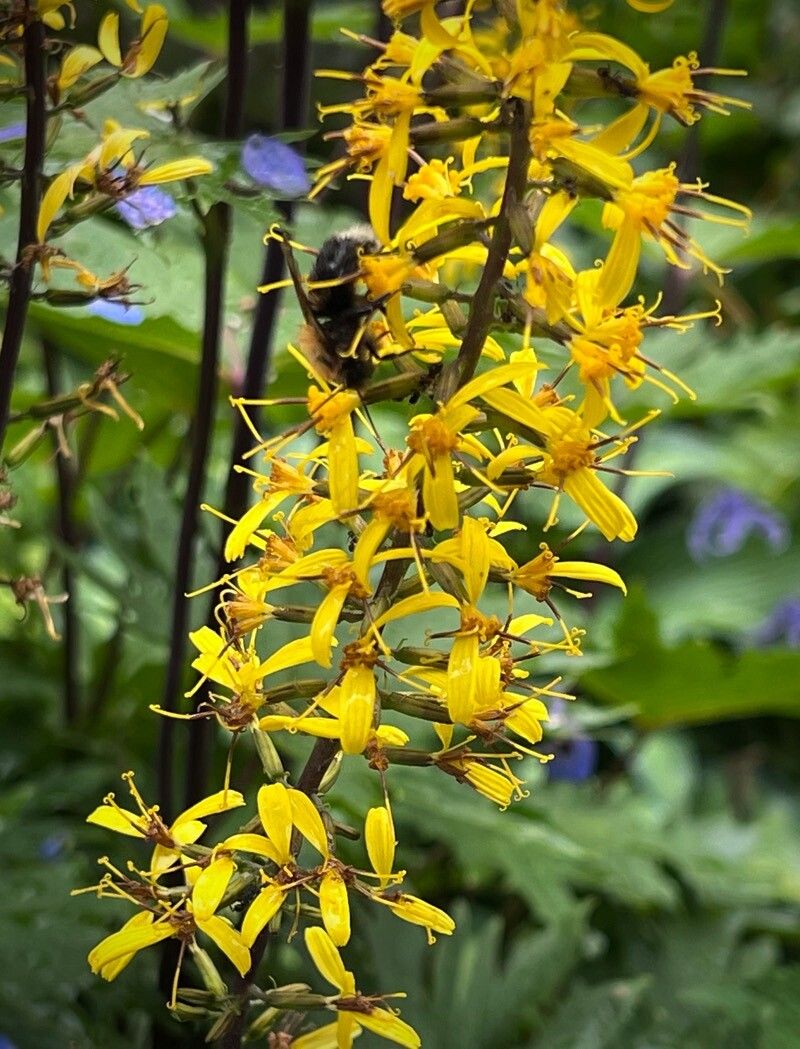
Hey there, fellow plant lovers! It’s lovely to have you join me today. We’re going to chat about a garden stunner that brings a real splash of color and drama: Ligularia wilsoniana.
The Allure of Ligularia wilsoniana
Oh, the bold foliage and those statuesque spikes of sunny yellow flowers! Ligularia wilsoniana is a plant that commands attention. It’s perfect for adding height and a touch of wildness to shady, moist garden spots. And the best part? Propagating it is a fantastic way to fill your garden, or to share these beauties with friends! Now, I wouldn’t say it’s the absolute easiest plant for a brand new gardener to start with, but with a little care and these tips, you’ll find it quite achievable and incredibly rewarding.
When to Get Your Hands Dirty
For Ligularia, the sweet spot for propagation is late spring or early summer. This is when the plant is actively growing and has plenty of energy to put into new roots. You’re looking for stems that are firm but not yet woody.
Your Propagation Toolkit
Here’s what you’ll want to gather before we get started:
- Sharp Pruning Shears or a Craft Knife: Cleanliness is key!
- Rooting Hormone (Optional but Recommended): A little boost never hurts. I prefer the powder kind.
- Potting Mix: A good quality, well-draining mix is essential. I like to use a blend of equal parts peat moss or coco coir and perlite or coarse sand.
- Small Pots or Seed Trays: Clean ones, of course!
- Plastic Bags or a Propagation Dome: To keep humidity high.
- Watering Can or Spray Bottle: For gentle watering.
- Labels: To keep track of your ventures!
Methods for Multiplying Your Ligularia
Let’s dive into the fun part – getting more of these beauties!
Stem Cuttings: A Tried and True Method
This is my go-to for Ligularia.
- Take the Cuttings: On a slightly overcast day (less stress on the plant), use your clean shears to take cuttings. Aim for stems about 4-6 inches long. Make your cut just below a leaf node (where a leaf attaches to the stem).
- Prepare the Cuttings: Gently remove the lower leaves, leaving just a couple at the top. If you’re using rooting hormone, dip the cut end into it up to the first leaf node.
- Pot Them Up: Fill your small pots with your prepared potting mix. Make a small hole with your finger or a pencil and insert the cutting, ensuring the leaf nodes are below the soil surface. Firm the soil gently around the stem.
- Water Gently: Water thoroughly, but avoid making the soil soggy.
Division: A Faster Approach
If you already have a mature Ligularia, division is a super efficient way to get new plants.
- Excavate the Mother Plant: In early spring, before new growth really takes off, gently dig around the base of your established Ligularia. You want to lift the entire clump.
- Inspect and Separate: Shake off some of the excess soil. You should be able to see natural divisions. Use your hands or a clean spade to carefully pull or cut the root ball into sections. Each section should have at least a few healthy shoots and a good portion of roots.
- Replant Immediately: Plant your divisions back into prepared garden beds or into pots, just as you would a new plant. Water well.
The “Secret Sauce” – My Insider Tips
Here are a couple of things I’ve learned over the years that make a big difference:
- Don’t Let Leaves Touch the Water: If you decide to try water propagation with cuttings (less common for Ligularia but possible), it’s crucial that the leaves don’t sit in the water. They will rot quickly and take your cutting down with them. Only the submerged stem should be in contact with the water.
- Embrace Bottom Heat: For stem cuttings, placing your pots on a heating mat can dramatically speed up root development. It mimics the warmth of summer soil and gives those roots a real kickstart. Keep an eye on moisture levels if you do this, as it can dry out your potting mix faster.
Aftercare and What to Watch For
Once your cuttings are potted, it’s time for TLC.
- Keep it Humid: Place the pots inside a plastic bag or cover them with a propagation dome. Mist the leaves occasionally if they look a bit dry. Place them in a bright spot out of direct sunlight.
- Be Patient: Rooting can take anywhere from 3-6 weeks, sometimes longer. You’ll know they’ve rooted when you see new growth appearing or when you give the stem a very gentle tug and feel resistance.
- Troubleshooting: The most common issue is rot. If your stem cutting turns mushy or black, it’s likely rotted. This usually happens from too much moisture and lack of air circulation. If you see this, discard the cutting. Overwatering is the main culprit here. Ensure your potting mix drains well and don’t keep it constantly waterlogged.
Happy Propagating!
See? It’s not so intimidating, is it? Gardening is all about experimenting and learning, and propagating Ligularia wilsoniana is a wonderfully satisfying journey. Be patient with yourself and your new little plant friends, and enjoy the process of bringing more of this magnificent plant into your world. Happy gardening!
Resource:
https://identify.plantnet.org/k-world-flora/species/Ligularia%20wilsoniana%20(Hemsl.)%20Greenm./data