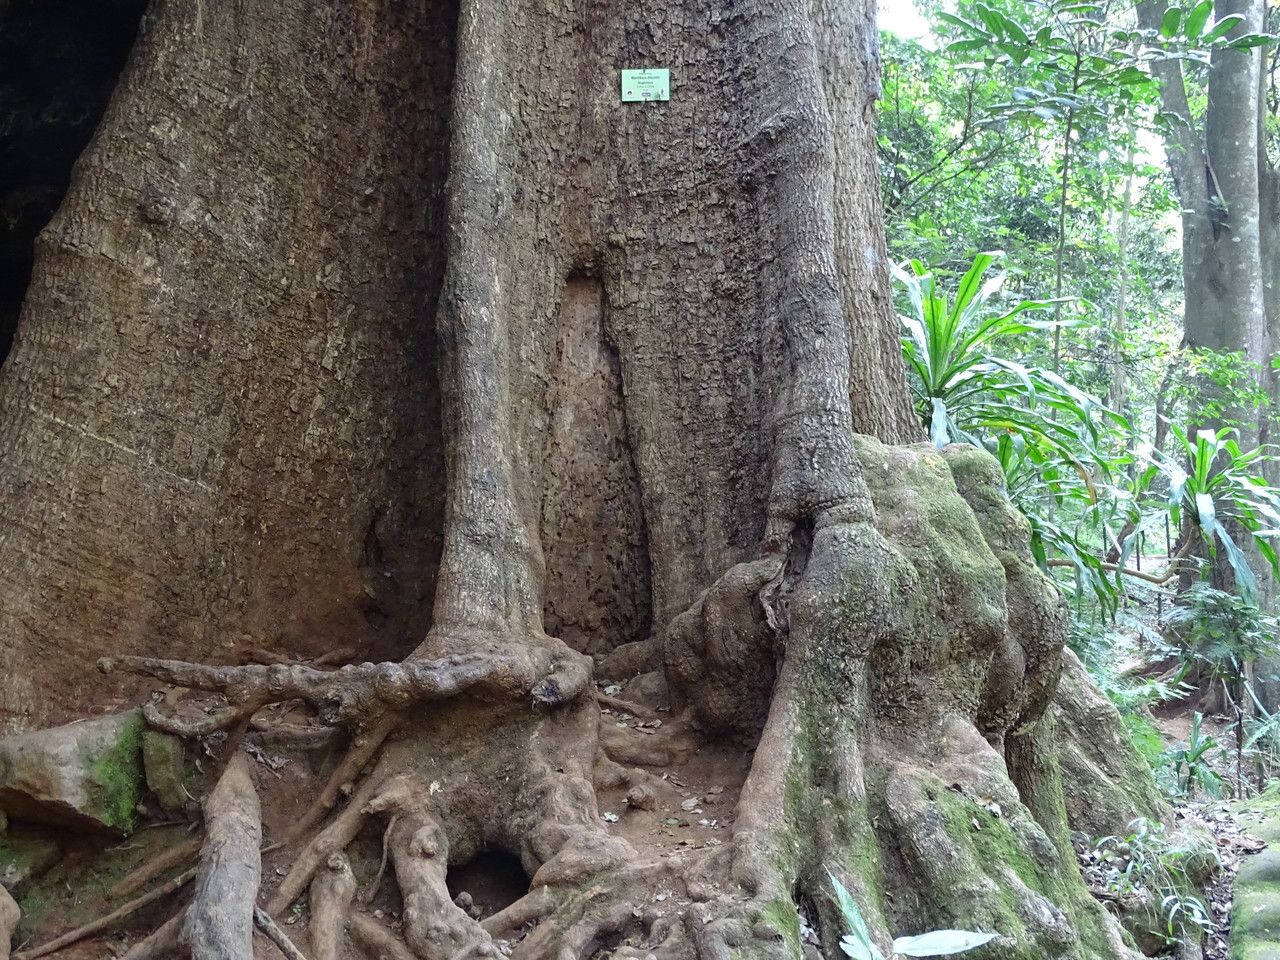
Hello fellow garden enthusiasts! Today, we’re diving into the wonderful world of propagating Manilkara discolor, also known as the False Mimusops or, more charmingly, the Coastal Milkwood. If you love plants with a lush, tropical feel and a glossy, dark green foliage, you are going to adore this one. Seeing a new plant sprout from a piece of an existing one is just plain magic, isn’t it? Personally, I find propagating Manilkara discolor to be a moderately challenging but incredibly rewarding endeavor. It’s definitely one to tackle once you’ve gotten your feet wet with some of the easier houseplants, but the satisfaction you’ll feel is well worth the effort.
The Best Time to Start
For the highest success rate with Manilkara discolor, I always aim for late spring to early summer. You’re looking for healthy, semi-hardwood cuttings. This means the stem is not brand new and soft, but also not old and woody. It should be flexible but firm. Think of it as the prime time for growth, when the plant has plenty of energy to put into developing roots.
Supplies You’ll Need
Gathering your tools beforehand makes the whole process so much smoother. Here’s what I usually have on hand:
- Sharp pruning shears or a clean knife: For making clean cuts.
- Rooting hormone powder: This is a game-changer for encouraging root development.
- A well-draining potting mix: I often use a blend of equal parts perlite, coco coir, and coarse sand. Some people like to add a bit of orchid bark for extra aeration.
- Small pots or propagation trays: Clean and with drainage holes is key!
- Clear plastic bags or a propagation dome: To maintain humidity.
- Water: For misting and hydration.
- Optional: A heat mat: For providing bottom warmth.
Propagation Methods
While there are a few ways to go about this, stem cuttings have always been my most reliable method for Manilkara discolor.
Stem Cuttings:
- Take the Cuttings: Using your sharp tool, select a healthy stem that exhibits that semi-hardwood quality. You want cuttings that are about 6-8 inches long. Make your cut just below a leaf node (where the leaves attach to the stem). Remove the lower leaves, leaving just a couple at the top.
- Prepare the Cuttings: Dip the cut end of the stem into rooting hormone powder, tapping off any excess. This step is crucial for boosting your chances of success.
- Plant Them Up: Fill your clean pots or trays with your prepared potting mix. Make a small hole in the center with your finger or a pencil. Gently insert the prepared cutting into the hole, ensuring the rooting hormone stays on the cut end and that at least one leaf node is below the soil surface. Firm the soil gently around the stem.
- Water and Cover: Water the soil thoroughly but avoid waterlogging. Then, cover the pots with a clear plastic bag or a propagation dome. This creates a humid environment, which is essential for the cuttings to root. If using a bag, you can support it with stakes so it doesn’t touch the leaves.
The “Secret Sauce” (Pro Tips)
Here are a couple of things I’ve learned over the years that really make a difference:
- Don’t let the leaves touch the water! When you water, make sure the soil is moist, not saturated to the point where the lower leaves are sitting in a puddle. Rot can set in quickly if leaves are constantly wet while trying to root.
- Bottom heat is your friend. If you can, place your pots on a heat mat set to a gentle temperature (around 70-75°F or 21-24°C). This warmth encourages root development from below, giving your cuttings a real head start. Think of it as a warm blanket for those developing roots.
Aftercare & Troubleshooting
Once your cuttings are planted, mist them regularly to keep the humidity high, especially if you’re not using a dome. Check the soil moisture every few days – it should be consistently moist but not soggy. You should start to see signs of new growth or feel some resistance when you gently tug at the cutting after about 4-8 weeks.
The most common issue you’ll encounter is rot. If you see the stem turning mushy or black, it’s likely rot. Often, this is due to overwatering or poor drainage. If this happens, you might need to discard the cutting and start again, making sure your soil mix is extra gritty and you’re not watering too frequently. Another sign of failure is a cutting that simply shrivels up and dies without any root development – this might mean the cuttings were too old, the rooting hormone wasn’t effective, or the environment wasn’t humid enough.
A Encouraging Closing
Propagating plants is a journey of patience and observation. Don’t be discouraged if your first few attempts aren’t perfect. Every gardener has had cuttings that didn’t make it! Celebrate the successes, learn from the challenges, and most importantly, enjoy the process of nurturing new life. Happy propagating, and I hope you soon have a beautiful new Manilkara discolor to show off!
Resource:
https://identify.plantnet.org/k-world-flora/species/Manilkara%20discolor%20(Sond.)%20J.H.Hemsl./data