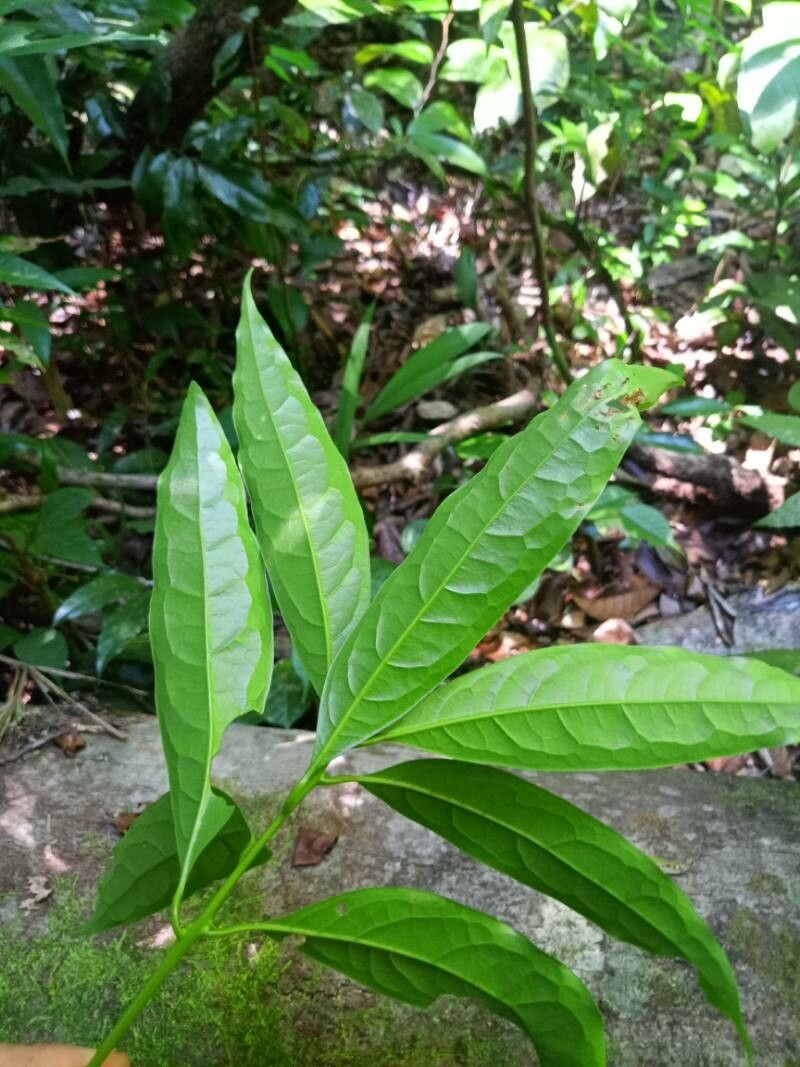
Well hello there, fellow plant lover! Have you ever stumbled upon a truly stunning Aiouea guianensis and just had to have more? I know I have. Those gorgeous, glossy leaves and their elegant form are just captivating, aren’t they? Bringing a bit of that jungle magic into our own spaces is such a joy. And the truly wonderful thing about plants is that we can often coax new life from a single specimen. Propagating them is, in my book, one of gardening’s most rewarding experiences. It’s like giving a gift to your future self, or even to a friend.
Now, about Aiouea guianensis specifically. For beginners, I’d say it’s moderately easy. It’s not as fuss-free as a pothos, but with a little attention to detail, you’ll be celebrating success.
The Best Time to Start
The absolute sweet spot for propagating Aiouea guianensis is during its active growing season. Think late spring through summer. This is when the plant is full of energy, pushing out new growth, and has the best chance of successfully forming roots. Trying to propagate in the dead of winter is usually a recipe for disappointment.
Supplies You’ll Need
Here’s what I always have on hand when I’m ready to get my propagation station going:
- Sharp Pruning Shears or a Clean Knife: Essential for making clean cuts.
- Rooting Hormone (Powder or Gel): This really gives your cuttings a boost.
- Well-Draining Potting Mix: I like a blend of perlite, peat moss, and a bit of compost. You can also buy specific succulent or cactus mixes, which work wonderfully.
- Small Pots or Seedling Trays: Clean containers are a must.
- Plastic Bags or a Clear Dome: To create a humid environment.
- Watering Can with a Fine Rose or Spray Bottle: For gentle watering.
- Labels and a Permanent Marker: Keep track of what you’ve planted!
Propagation Methods
For Aiouea guianensis, the most reliable method I’ve found is stem cuttings.
- Select Your Cutting: Look for a healthy, semi-hardwood stem. This is a stem that’s mostly mature but still has a bit of flexibility. Avoid brand-new, fleshy growth or old, woody stems. You want a cutting that’s about 4-6 inches long.
- Make the Cut: Using your sharp shears or knife, make a clean cut just below a leaf node (the little bump where a leaf attaches to the stem). This is where the magic of root development usually happens.
- Prepare the Cutting: Gently remove the lower leaves from the cutting, leaving just a couple of leaves at the top. If the remaining leaves are very large, you can cut them in half horizontally to reduce water loss. Dipping the cut end into rooting hormone is your next step. Tap off any excess.
- Planting: Fill your small pots with your moistened potting mix. Make a small hole with your finger or a pencil and carefully insert the prepared cutting, ensuring the leaf nodes are buried. Gently firm the soil around the base of the cutting.
- Create Humidity: Water the soil lightly so it’s moist but not soggy. Then, either cover the pot with a clear plastic bag (making sure the leaves don’t touch the plastic) or place it under a clear dome. This creates that essential humid microclimate.
The “Secret Sauce”
Here are a couple of tricks I’ve learned over the years that really improve my success rates:
- Bottom Heat is Your Friend: If you have a seedling heat mat, using it under your pots makes a world of difference. It encourages root formation from below, giving your cuttings a real head start.
- Don’t Drench, Just Dampen: It’s so tempting to water generously, but overwatering is the quickest way to rot your cuttings. Aim for consistently moist soil, like a wrung-out sponge, not a swamp.
Aftercare & Troubleshooting
Once your cuttings are planted, place them in a bright spot with indirect light. Avoid direct sun, as it can scorch the tender cuttings.
Check the moisture levels regularly. You’ll want to mist the leaves occasionally and ensure the soil stays evenly damp. Be patient! It can take several weeks to a few months for roots to develop. You can gently tug on the cutting – if there’s resistance, you likely have roots.
The most common problem you’ll encounter is rot. If you see your cutting turning mushy or developing black spots and wilting, it’s usually a sign of too much moisture and not enough air circulation. If this happens, you might need to discard the cutting and try again, making sure to adjust your watering and humidity control.
A Encouraging Closing
Propagating plants is a journey, and like any good journey, there will be triumphs and perhaps a few stumbles. But don’t get discouraged! Each attempt teaches you something new. Celebrate the successes, learn from the setbacks, and most importantly, enjoy the deeply satisfying process of nurturing new life. Happy propagating!
Resource:
https://identify.plantnet.org/k-world-flora/species/Aiouea%20guianensis%20Aubl./data