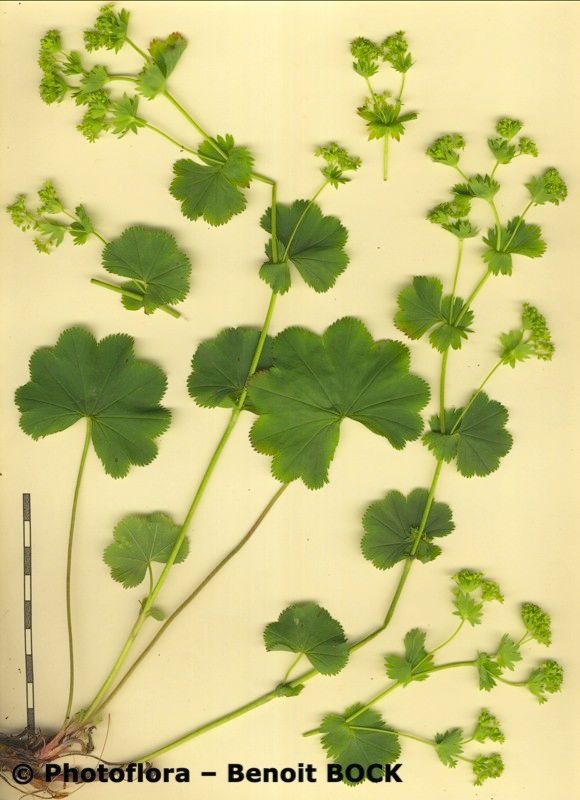
Hello green thumbs! Let’s talk about a garden gem that truly delights: Alchemilla flexicaulis, or as many of us affectionately call it, Lady’s Slipper or Lady’s Mantle. Its ruffled, lime-green leaves are like miniature fans collecting morning dew, creating a magical sparkle. Plus, its frothy, chartreuse flowers in early summer are just lovely. Propagating it myself has always felt like getting a little bit of that garden magic to take home with me – and it’s a genuinely rewarding process. For beginners, you’ll be happy to hear that Alchemilla flexicaulis is quite forgiving. You’ll likely have great success!
The Best Time to Start
For the very best results, I find that late spring to early summer is the sweet spot. Think late May or June, right after the plant has finished its main flush of flowers, or even while it’s still blooming if you’re careful. The new growth at this time is vigorous and ready to take root. Fall is also an option, but spring propagation usually gives you a bit more time to establish a good root system before winter truly sets in.
Supplies You’ll Need
- Sharp pruning shears or a clean knife: For taking clean cuts.
- Seed-starting mix or a gritty potting mix: Something that drains exceptionally well is key! I often use a 50/50 blend of peat moss and perlite, or even a cactus/succulent mix works wonders.
- Small pots or trays: Clean ones, of course!
- Rooting hormone (optional, but helpful): A powdered one is easy to use.
- Plastic bags or a propagator lid: To create a humid environment.
- Watering can with a fine rose: For gentle watering.
- Labels and a marker: To keep track of what’s what!
Propagation Methods
There are two main ways I like to propagate Alchemilla flexicaulis, and both are quite straightforward.
Stem Cuttings
- Select your material: Look for healthy, non-flowering stems. Aim for lengths of about 4-6 inches.
- Make the cut: Using your clean shears or knife, cut just below a leaf node (where a leaf grows from the stem). This node is where roots are most likely to form.
- Prepare the cutting: Gently remove the lower leaves from the stem, leaving just a few at the top. The fewer leaves, the less chance of moisture loss. If the remaining leaves are very large, you can even snip them in half.
- Apply rooting hormone (optional): Dip the cut end of the stem into your rooting hormone powder, tapping off any excess.
- Pot them up: Fill your small pots with your well-draining potting mix. Make a hole in the center with your finger or a pencil.
- Insert the cutting: Place the prepared cutting into the hole, ensuring the leaf nodes you removed are below the soil surface. Gently firm the soil around the stem.
- Water and cover: Water the pot gently until water drains from the bottom. Then, cover the pot with a plastic bag or place it in a propagator, securing it to trap humidity.
Division
This is perhaps the easiest method for Alchemilla flexicaulis.
- Dig carefully: In late spring or early fall, carefully dig up the entire plant. Try to disturb the roots as little as possible.
- Gently separate: You’ll often find that the plant naturally breaks apart into smaller clumps. If not, use your hands or a clean trowel to gently divide the root ball into sections.
- Inspect the roots: Make sure each section has a good amount of healthy roots and some leafy growth.
- Replant immediately: You can replant these divisions directly into freshly prepared soil in their new homes, or pot them up individually to give them a bit of a head start. Water them well after planting.
The “Secret Sauce” (Pro Tips)
Here are a few little tricks I’ve picked up over the years that really boost success:
- Humidity is your friend: That plastic bag or propagator lid? It’s crucial! Alchemilla flexicaulis cuttings need high humidity to prevent drying out before they can establish roots. Make sure the leaves aren’t touching the sides of the bag, or they might rot.
- Warm feet, happy roots: If you seem to be struggling with cuttings, try giving them a bit of bottom heat. A heated propagator mat or placing the pots on top of a small, turned-off radiator (if it’s still a bit cool) can significantly speed up root formation.
- Don’t overwater: While humidity is important, soggy soil is the enemy. Allow the surface of the soil to dry out slightly between waterings. It’s a delicate balance, but you’ll get the feel for it.
Aftercare & Troubleshooting
Once you see new growth appearing on your cuttings (which can take anywhere from 2-6 weeks, so be patient!), it’s a good sign that roots are forming. You can gently tug on the stem – if there’s resistance, you’ve probably got roots!
Continue to keep them humid and the soil moist but not waterlogged. Once they look well-established and have a decent bit of growth, you can gradually acclimate them to normal air by opening the bag or propagator lid for short periods, increasing the time each day. Eventually, you can remove the cover entirely.
The most common problem you’ll face is rot. This usually happens if the cuttings are kept too wet or in poor-draining soil. If you see stems turning black and mushy, sadly, those cuttings are likely lost. Just remove them and try to correct your watering or soil mix for the remaining ones.
A Encouraging Closing
Propagating Alchemilla flexicaulis is a wonderful way to share its beauty with friends or simply to expand your own garden collection. Don’t be discouraged if your first few attempts aren’t textbook perfect. Gardening is all about learning and observing. Enjoy the process, celebrate each new little plant you create, and happy growing!
Resource:
https://identify.plantnet.org/k-world-flora/species/Alchemilla%20flexicaulis%20Buser/data