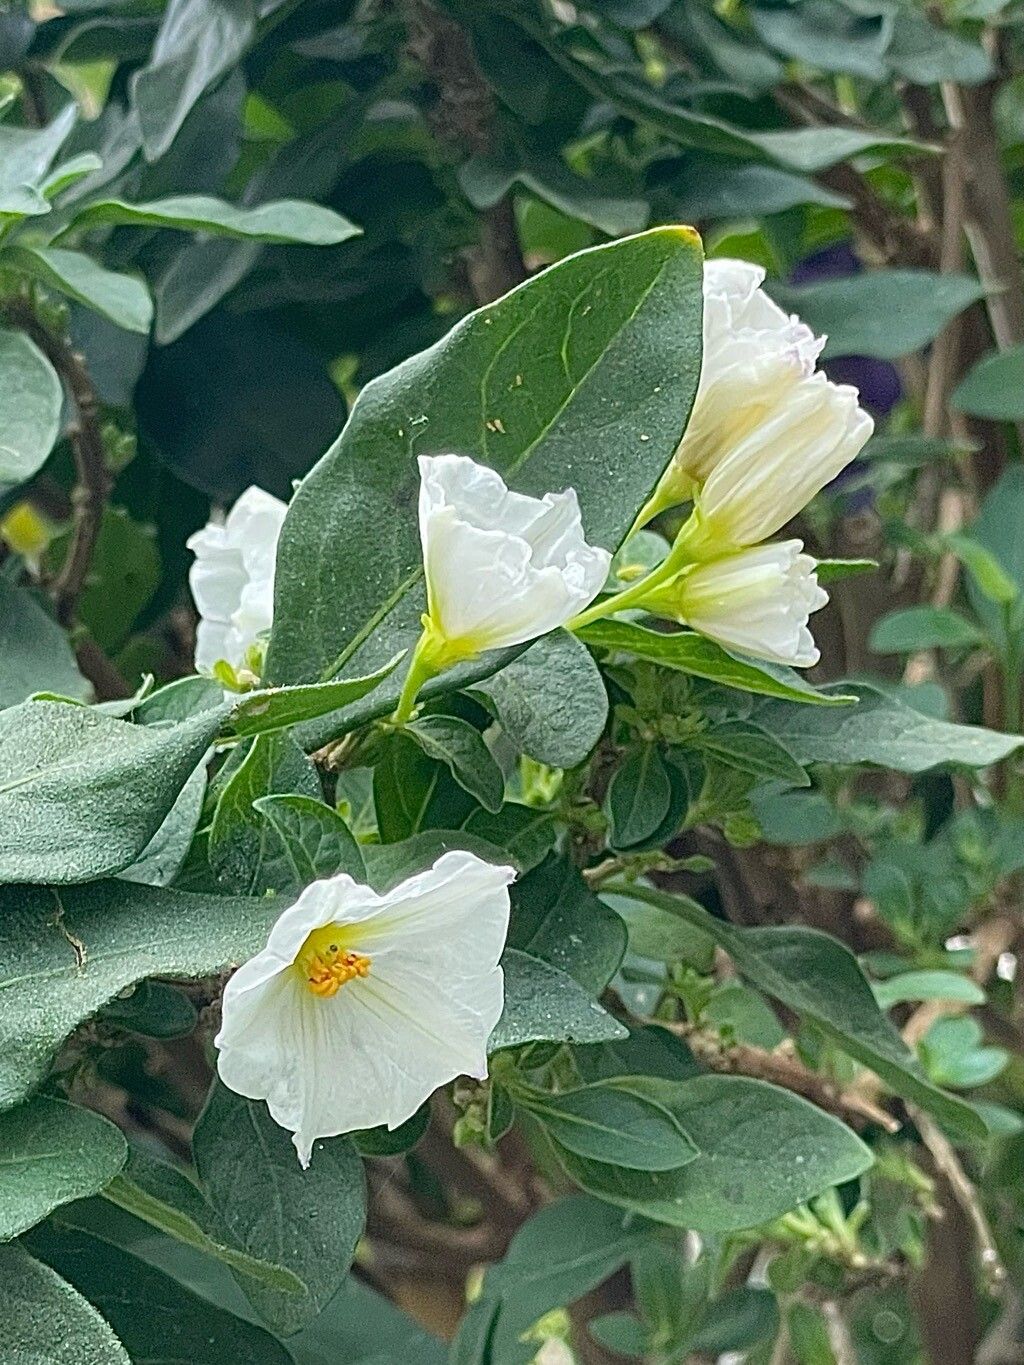
Oh, hello there! Pull up a chair and let’s chat about a plant that’s truly captured my heart over the years: Lycianthes lycioides. You know, it’s got these wonderfully cheerful, often vibrant flowers, and then to see those little developing fruits… it’s just a joy. And the best part? Getting more of them! Propagating this beauty is absolutely rewarding, and while it might seem a little daunting at first, I promise, it’s quite manageable once you’ve got the hang of it. It’s definitely one I’d recommend for gardeners looking to expand their collections without a huge initial investment.
The Best Time to Start
For Lycianthes lycioides, the prime time to get your propagation on is really during its active growing season. For most of us, that means late spring through early to mid-summer. You’re looking for stems that are firm and have a bit of new growth on them, but aren’t overly woody. Young, vigorous pieces will root much more readily than old, tough stems.
Supplies You’ll Need
Gathering your supplies beforehand makes the whole process so much smoother. Here’s what I always have on hand:
- Clean, sharp pruning shears or a sharp knife: Essential for making clean cuts without crushing the plant tissue.
- Rooting hormone (optional, but recommended): I like to use a powder or gel. It really gives cuttings a helpful boost.
- Well-draining potting mix: A good blend of peat moss or coco coir and perlite or coarse sand works wonders. You want something that won’t hold too much moisture.
- Small pots or containers: Clean ones are a must to prevent disease.
- A clear plastic bag or humidity dome: To keep the humidity high around your cuttings.
- Water: To lightly moisten your soil mix.
- Labels and a marker: To keep track of what you’ve planted and when.
Propagation Methods
Let’s dive into how we’ll get more Lycianthes lycioides plants!
Stem Cuttings: My Go-To Method
This is, hands down, my favorite and most reliable way to propagate Lycianthes lycioides.
- Take Your Cuttings: Select a healthy stem and make a clean cut just below a leaf node (that little bump where a leaf attaches to the stem). Your cuttings should be about 4-6 inches long and have at least two or three leaf nodes.
- Prepare the Cuttings: Gently remove the lower leaves from the bottom half of the cutting. You can leave the top few leaves on, but if they’re very large, you might want to pinch or cut them in half. This reduces water loss.
- Apply Rooting Hormone (Optional): Dip the cut end of the stem into your rooting hormone, tapping off any excess.
- Plant Your Cuttings: Make a small hole in your prepared potting mix with a pencil or your finger. Insert the hormone-coated end of the cutting into the hole, ensuring the leaf nodes are below the soil surface. Gently firm the soil around the stem.
- Water and Cover: Water the soil lightly until it’s evenly moist, but not soggy. Then, pop your pot into a clear plastic bag, sealing it loosely at the top, or place it under a humidity dome. This creates that much-needed humid microclimate.
Water Propagation: A Peek into Root Development
While I generally prefer soil for Lycianthes lycioides, you can try water propagation for a little visual gratification!
- Prepare Cuttings: Follow steps 1 and 2 from the stem cutting method.
- Place in Water: Put your prepared cuttings in a jar or glass of clean water. Make sure the leaf nodes are submerged, but the remaining leaves are above the water line.
- Change Water Regularly: Change the water every few days to keep it fresh and prevent bacterial growth.
- Wait for Roots: You should start seeing small roots emerge from the nodes in a few weeks. Once these roots are about an inch long, it’s time to carefully transplant them into soil, treating them as you would newly rooted cuttings.
The “Secret Sauce” (Pro Tips)
Here are a few little tricks that have made all the difference for me:
- Don’t let the leaves touch the water in your propagation jar. This is a quick way to invite rot and discouragement. Keep those leaves high and dry!
- Bottom heat is your best friend. Placing your pots on a seedling heat mat really encourages root development. It mimics the warmth of spring soil and speeds up the process considerably.
- Use filtered or rainwater if you can. Tap water can sometimes have too many minerals that might hinder root formation.
Aftercare & Troubleshooting
Once you start seeing new leaf growth on your cuttings, that’s a fantastic sign that roots are forming! Gradually acclimate your new plants to lower humidity by opening the plastic bag a little each day for about a week before you remove it entirely. You can gently tug on a cutting; if there’s resistance, it has rooted.
The most common issue you’ll face is rot. If your cutting turns black and mushy, it’s usually a sign of too much moisture and not enough air circulation. Don’t be discouraged! Try again with a slightly drier mix and ensure good ventilation. Sometimes, leaf yellowing can happen as the plant uses up its stored energy, but if the stem remains firm, keep an eye on it.
A Encouraging Closing
Growing new plants from cuttings is a journey, and like any good journey, it requires a bit of patience and a whole lot of love. Watch your little Lycianthes lycioides cuttings, provide them with the right environment, and don’t be afraid to try again if things don’t work out perfectly the first time. The satisfaction of seeing those first tiny roots emerge is truly unparalleled. Happy propagating!
Resource:
https://identify.plantnet.org/k-world-flora/species/Lycianthes%20lycioides%20(L.)%20Hassl./data