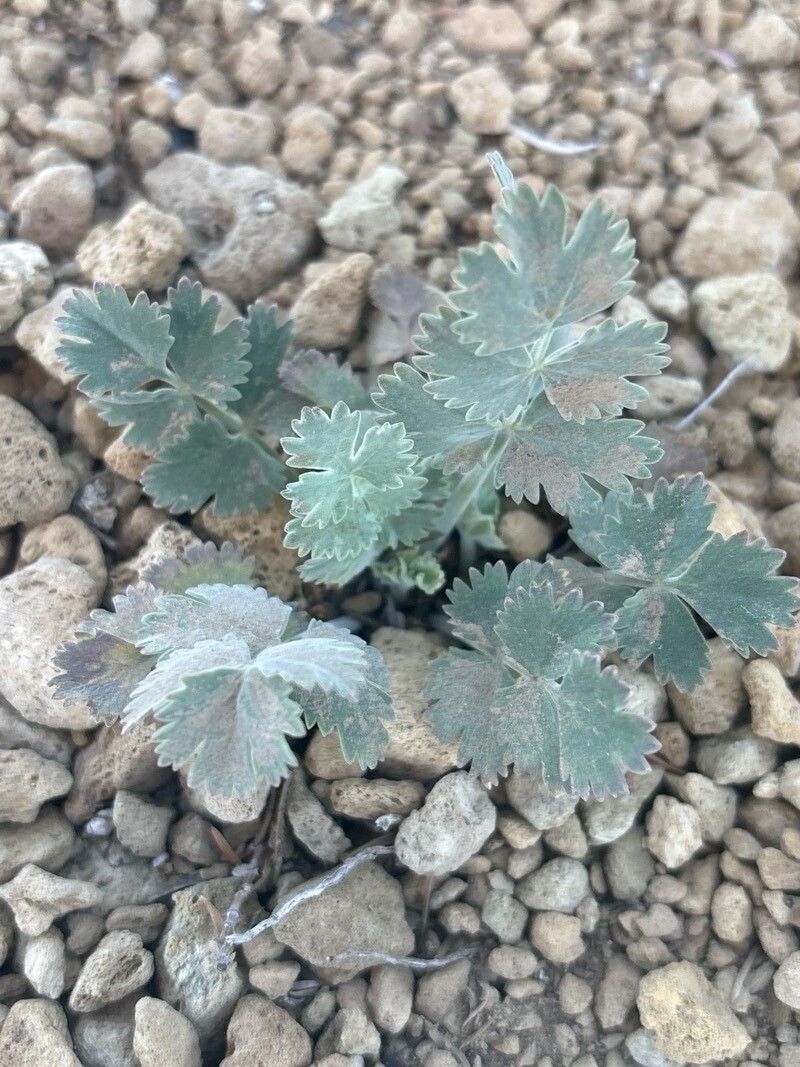
Hello, fellow garden lovers! Today, we’re diving into the wonderful world of Pimpinella cumbrae. If you haven’t met this beauty yet, imagine delicate, lacy foliage and the promise of lovely, subtle blooms. It’s a plant that adds a touch of elegant whimsy to any garden or indoor space. And the best part? Learning to propagate it yourself is incredibly satisfying. For beginners? I’d say it’s generally quite forgiving, which makes it a fantastic plant to practice your propagation skills on.
The Best Time to Start
When is the magic moment for Pimpinella cumbrae propagation? I find the sweet spot is in late spring to early summer. This is when the plant is actively growing and has plenty of energy to put into developing new roots. You’re looking for healthy, vigorous stems that aren’t flowering or producing seeds. So, give your established plant a good look-over when the days are getting longer and warmer.
Supplies You’ll Need
Gathering your tools before you begin always makes the process smoother. Here’s what I like to have on hand:
- Sharp pruning shears or a clean knife: For making clean cuts.
- Potting mix: A well-draining blend is key. I often use a mix of equal parts peat moss and perlite, or a good quality all-purpose potting soil amended with extra perlite.
- Small pots or seed trays: Clean ones are essential to prevent disease.
- Rooting hormone (optional but recommended): This really gives your cuttings a head start.
- Plastic bags or a propagator: To create a humid environment.
- Watering can with a fine rose: For gentle watering.
- Labels and a marker: Trust me, you won’t remember which plant is which!
Propagation Methods
Pimpinella cumbrae is wonderfully amenable to a couple of propagation techniques. Let’s explore the ones I use most often.
Stem Cuttings: My Go-To Method
This is my absolute favorite way to get more Pimpinella cumbrae.
- Take your cuttings: Gently select healthy stems that are about 4-6 inches long. Using your sharp shears or knife, make a clean cut just below a leaf node (that little bump where a leaf grows from the stem).
- Prepare the cuttings: Remove any lower leaves, leaving just one or two sets at the top. This helps prevent rotting and focuses the plant’s energy on root development.
- Apply rooting hormone (if using): Dip the cut end of each stem into your rooting hormone powder, tapping off any excess.
- Pot them up: Fill your small pots with your prepared potting mix. Make a small hole in the center of each pot with your finger or a pencil.
- Insert the cuttings: Gently place each cutting into the hole, firming the soil gently around the base. Make sure at least one leaf node is buried in the soil.
- Water gently: Water thoroughly but avoid waterlogging the soil.
- Create humidity: Cover the pots loosely with a plastic bag or place them in a propagator. This is crucial for keeping the cuttings from drying out.
Division: For Established Plants
If your Pimpinella cumbrae has become a bit overcrowded and is looking a bit leggy, division is a great option.
- Gently unearth the plant: Carefully lift the entire plant from its pot or the ground.
- Inspect the root ball: Look for distinct sections, often with their own shoots or crowns.
- Separate the divisions: Using your hands or a clean trowel, carefully gently pull or cut the root ball apart into smaller sections. Each division should have a healthy amount of roots and at least a few stems.
- Replant immediately: Pot up each division into its own container with fresh potting mix, or replant them back into the garden. Water them well as you would a regular transplant.
The “Secret Sauce” (Pro Tips)
Here are a few little tricks I’ve picked up over the years that can really boost your success rate:
- Warmth is key: While you want to avoid direct sun on your cuttings, a little gentle bottom heat can work wonders. Propagators often have this feature, or you can place your pots on a heating mat designed for plants. It encourages those roots to form much faster.
- Don’t crowd them: When taking stem cuttings, give each one a little breathing room in its own pot or ample space in a tray. Overcrowding can invite fungal diseases and lead to competition for resources.
- Fresh water is your friend: If you opt for water propagation for shorter cuttings (though I prefer soil for this plant), change the water every few days. Stagnant water is a breeding ground for bacteria and can rot the stem before roots can form. Also, try to ensure leaves don’t sit in the water.
Aftercare & Troubleshooting
Once you see little white roots peeking out from the drainage holes or new growth emerging, that’s a sign your cuttings are happy!
- Acclimatize slowly: Gradually introduce your new plants to less humid conditions. If they were in a propagator, slowly open the lid or vent over a few days.
- Water with care: Continue to keep the soil consistently moist but not waterlogged. As they grow, you can start watering them as you would mature Pimpinella cumbrae.
- Watch for rot: The most common issue is stems turning black and mushy. This is usually a sign of too much moisture and not enough air circulation, or a sign that the cutting wasn’t healthy to begin with. Remove any affected cuttings immediately to prevent it from spreading. It’s better to lose a few than to lose them all. Another sign of trouble is wilting that doesn’t improve after watering – this can indicate that the roots haven’t taken or have rotted.
Happy Growing!
Propagating Pimpinella cumbrae is a wonderfully rewarding experience that allows you to share this lovely plant with friends, fill more of your garden, or simply enjoy the magic of new life. Be patient with the process – nature has its own rhythm. Soon you’ll have a whole new generation of these delightful plants flourishing under your care. Happy propagating!
Resource:
https://identify.plantnet.org/k-world-flora/species/Pimpinella%20cumbrae%20Link/data