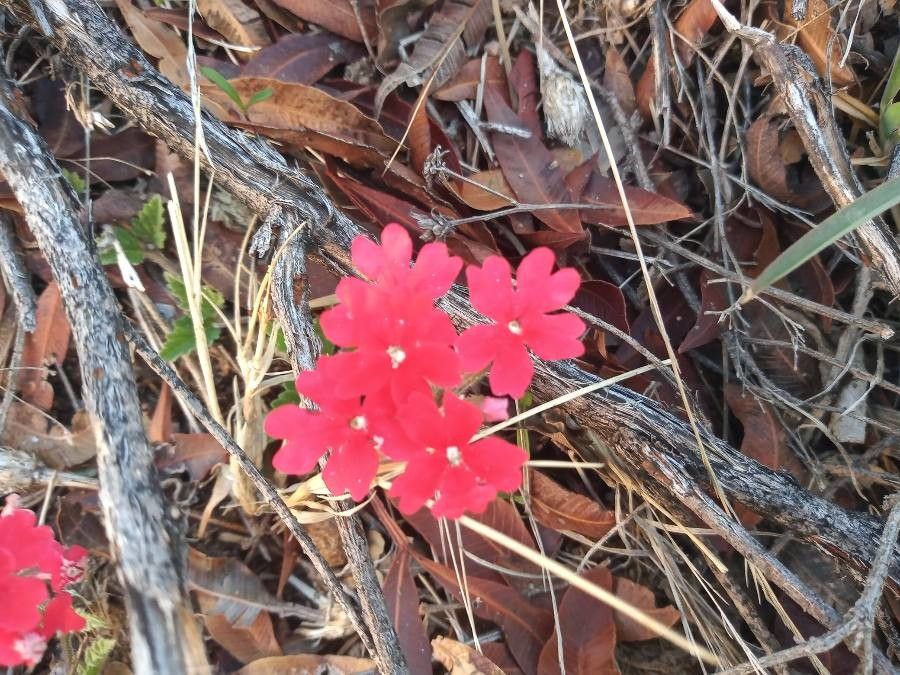
Oh, hello there! Come on in and grab a mug of something warm. Today, we’re diving into the delightful world of propagating Verbena californica. If you’ve ever admired this beauty in a garden – its charming blooms and graceful sprawl – you’re in for a treat. Getting more of these beauties from your existing plants is incredibly satisfying. And the good news? For the most part, Verbena californica is quite forgiving when it comes to starting new plants from it. While a few tricks can certainly boost your success, even relatively new gardeners can find joy in this process.
The Best Time to Start
I’ve found that the late spring to early summer is simply the sweet spot for propagating Verbena californica from cuttings. This is when the plant is actively growing, and those new shoots are full of life and energy to put into developing roots. You’re looking for stems that are semi-hardwood. That means they’re not super floppy and green (too soft), but they’re also not woody and stiff (too mature). Imagine a pencil – they should have a little give but feel firm.
Supplies You’ll Need
Before we get our hands dirty, let’s gather our tools:
- Sharp pruning shears or a clean knife: For making precise cuts.
- Rooting hormone (optional but recommended): A powder or gel that encourages root development.
- Potting mix: I like a light, well-draining mix. A blend of peat moss, perlite, and a bit of compost works wonderfully.
- Small pots or trays: With drainage holes, of course!
- Plastic bags or a propagator: To create a humid environment.
- Watering can or spray bottle: For gentle watering.
Propagation Methods
We’ll focus on the most reliable method for Verbena californica: stem cuttings. This is how you can easily multiply your plants.
- Take Your Cuttings: Using your clean shears or knife, select healthy stems from your mature plant. Make a cut just below a leaf node (where a leaf attaches to the stem). Your cuttings should be about 4 to 6 inches long.
- Prepare the Cuttings: Gently remove the lower leaves from the cutting, leaving just a few at the top. This prevents them from rotting in the soil. If your leaves are quite large, you can even cut them in half horizontally to reduce water loss through transpiration.
- Apply Rooting Hormone (if using): Dip the cut end of the stem into your rooting hormone. Tap off any excess. This step really gives your cuttings a head start.
- Pot Them Up: Fill your small pots or trays with your prepared potting mix. Make a small hole in the center with your finger or a pencil.
- Plant the Cuttings: Insert the cut end of each cutting into the hole, making sure the leaf nodes that will be below the soil are covered. Gently firm the soil around the stem to ensure good contact.
- Water Gently: Water the soil thoroughly but be careful not to disturb the cuttings. A gentle shower from a watering can or a mist from a spray bottle is ideal.
- Create Humidity: Cover the pots with a clear plastic bag or place them inside a propagator. This is crucial for keeping the cuttings from drying out while they’re trying to root. Make sure the plastic doesn’t touch the leaves if possible – it can encourage rot.
The “Secret Sauce” (Pro Tips)
Now for a couple of little secrets I’ve picked up over the years:
- Bottom Heat is a Game-Changer: If you can, place your pots on a heat mat designed for seedlings. A gentle warmth from below signals to the cutting that it’s time to grow roots. It’s amazing how much faster and more reliably they root with this little boost.
- Don’t Rush the Water: When you water your newly potted cuttings, especially if you’ve just taken them, water from the bottom if you can. Place the pots in a tray of water for about 30 minutes. This allows the soil to absorb moisture evenly without disturbing the delicate cuttings or washing away rooting hormone.
Aftercare & Troubleshooting
Once your cuttings have begun to root – you’ll notice new leaf growth and you can gently tug on a cutting to feel resistance – it’s time to start thinking about their new home. Gradually acclimate them to drier air by opening the plastic bag for short periods each day. Once they’re robust enough, you can transplant them into slightly larger pots.
Now, what about things going wrong? The most common culprit is rot. If your cuttings turn black and mushy, or the leaves start to wilt and yellow without any signs of root development, it’s usually a sign of too much moisture and not enough airflow or drainage. Make sure your potting mix is airy and your pots have good drainage. Sometimes, if a cutting is too soft when you take it, or if it gets too hot and humid without any air circulation, rot can set in quickly.
A Little Patience Goes a Long Way
Propagating plants is a journey, and with Verbena californica, you’re embarking on a beautiful one. Be patient with your cuttings. They might look a little shy at first, but with the right conditions, they’ll reward you with lovely new plants. Enjoy the process, and don’t be discouraged if not every single cutting takes. That’s just part of the gardening dance! Happy propagating!
Resource:
https://identify.plantnet.org/k-world-flora/species/Verbena%20californica%20Moldenke/data