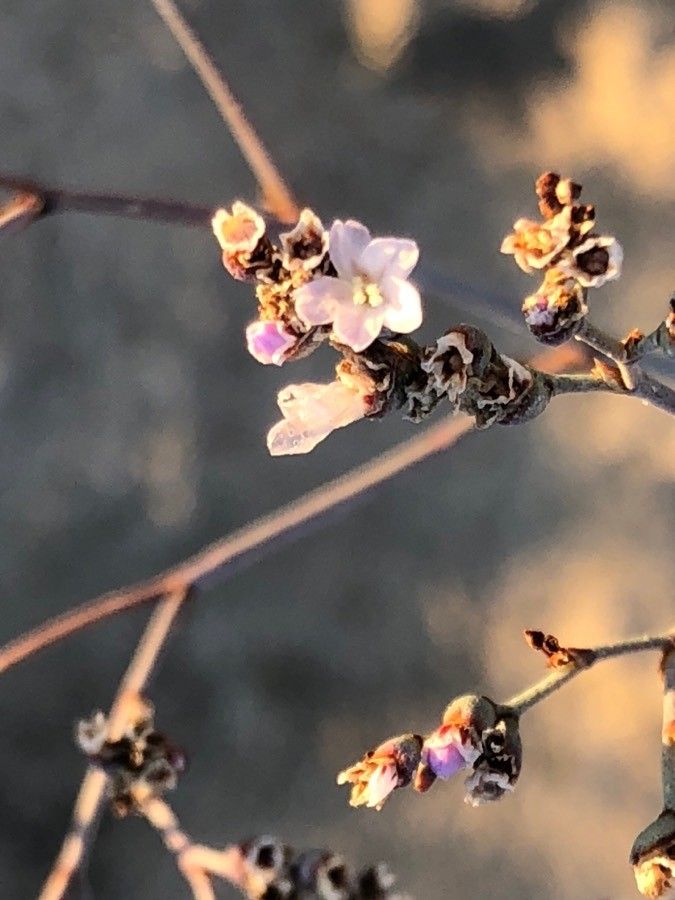
Hello, fellow plant enthusiasts! I’m so glad you’ve dropped by for a chat about Limonium costae, often called sea lavender. If you’re anything like me, you’re drawn to its delicate, airy blooms that look like they’ve been kissed by the sea breeze. They bring such a wonderful texture to floral arrangements and the garden, and honestly, they’re just a joy to behold.
Now, I know the thought of propagating can sometimes feel a bit daunting, but with Limonium costae, I think you’ll find it quite rewarding. Is it a breeze for absolute beginners? Well, maybe a gentle gust rather than a full gale. It requires a little bit of attention and understanding, but I promise, it’s absolutely achievable with a few good practices. Seeing a tiny cutting unfurl new leaves and eventually grow into a robust plant is a feeling that never gets old.
The Best Time to Start
For the highest chance of success with Limonium costae, late spring to early summer is your golden window. This is when the plant is actively growing and has plenty of energy to put into establishing new roots. You want to work with healthy, vigorous stems that haven’t flowered yet, or just finished their first flush of blooms. Avoid taking cuttings from a plant that looks stressed or is going dormant.
Supplies You’ll Need
Gathering your tools beforehand makes the whole process so much smoother. Here’s what I usually have on hand:
- Sharp pruning shears or a clean, sharp knife: For making clean cuts.
- Rooting hormone (optional but recommended): A helpful boost for encouraging root development.
- Sterile potting mix: A good blend for us is typically equal parts perlite and peat moss, or a commercial seedling mix.
- Small pots or seed trays: Clean and with drainage holes, of course.
- Watering can with a fine rose: For gentle watering.
- Plastic bags or a propagation dome: To create a humid environment.
- Labels and a marker: So you don’t forget what you planted where!
Propagation Methods
While Limonium costae can be grown from seed, my preferred and often most successful method is stem cuttings. It’s a fantastic way to clone a plant you already love.
Stem Cuttings:
- Select Your Cuttings: Look for healthy, non-flowering stems about 4-6 inches long. You want stems that are firm but not woody.
- Make the Cut: Using your sharp pruning shears or knife, make a cut just below a leaf node (that little bump where a leaf attaches to the stem). This is where much of the rooting magic happens.
- Prepare the Cutting: Gently remove the lower leaves, leaving just the top few. If the leaves are very large, you can trim them in half to reduce water loss.
- Apply Rooting Hormone (Optional): Dip the cut end of the stem into rooting hormone powder or gel. Tap off any excess.
- Plant Your Cuttings: Fill your small pots with your prepared potting mix. Make a small hole in the center with your finger or a pencil. Insert the cut end of the stem into the hole, ensuring the leaf nodes are below the soil surface. Gently firm the soil around the cutting.
- Water Gently: Water thoroughly but gently until the soil is moist.
- Create Humidity: Cover the pots with a plastic bag or a clear propagation dome. This creates a mini-greenhouse effect, keeping the humidity high, which is crucial for cuttings. Make sure the leaves don’t touch the plastic if possible.
- Placement: Place the pots in a bright spot with indirect light. Avoid direct sun, which can scorch the tender cuttings.
The “Secret Sauce” (Pro Tips)
Over the years, I’ve learned a few tricks that seem to give my cuttings a real head start.
- My absolute favorite trick is to use bottom heat. A seed starting mat placed under your pots can significantly speed up the rooting process. The warmth encourages root development from below, while the leaves stay cooler.
- When you’re watering, try to water from the bottom if your pots allow, or use a very gentle shower. Overwatering from the top can dislodge delicate cuttings or encourage rot before roots even form.
- Don’t be tempted to remove the plastic cover too early. Let that humidity build up for at least a couple of weeks, or until you see signs of new growth. Peeking too soon can shock the system.
Aftercare & Troubleshooting
Once your cuttings have developed a good root system (you’ll know when you gently tug and feel resistance, or see roots peeking out the drainage holes), it’s time to transition them.
- Gradually Acclimate: Slowly remove the plastic cover over several days to help the new plant adjust to normal humidity levels.
- Potting Up: Once they’re a little bigger and have a decent root ball, you can pot them into slightly larger containers with your regular potting mix.
- Watering: Continue to keep the soil consistently moist but not waterlogged. As they grow, they’ll become more tolerant of slightly drier conditions.
Now, what if things go wrong? The most common issue, especially with cuttings, is rot. If you see a cutting turning black and mushy, it’s likely succumbed to rot, often due to too much moisture and not enough air circulation. Discard any rotting cuttings immediately to prevent it from spreading. Another sign is wilting that doesn’t perk up after watering – this can also indicate rot or that the cutting simply hasn’t rooted and is drying out. Don’t despair; just try again! Sometimes it takes a few tries to find that sweet spot.
A Encouraging Closing
Remember, gardening is a journey, and propagation is a wonderful part of that. Be patient with your Limonium costae cuttings. Some will take off quickly, while others might be a bit slower to respond. Keep them happy, offer them the right conditions, and celebrate every tiny sign of progress. Happy propagating, and I can’t wait to see your new plants thrive!
Resource:
https://identify.plantnet.org/k-world-flora/species/Limonium%20costae%20(Willk.)%20Pignatti/data