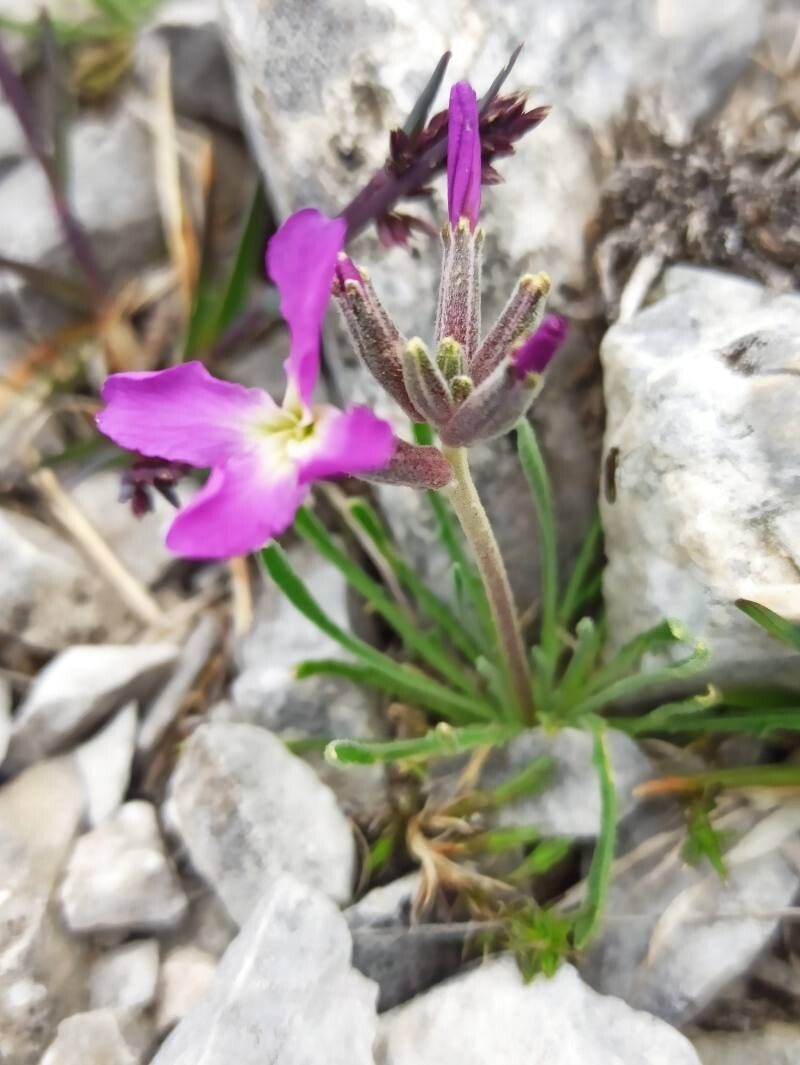
Oh, Matthiola perennis! If you’re dreaming of those fragrant, cottage-garden beauties gracing your windowsill or bursting with color in your borders, you’re in for a treat. These lovely plants, often called perennial stocks, have that charm that speaks of sunshine and lazy afternoons. And the best part? You can easily grow them yourself!
Propagating Matthiola perennis is surprisingly rewarding, even for those just dipping their toes into the gardening world. They’re quite forgiving, which is always a plus when you’re learning. Seeing a tiny cutting transform into a robust plant is a special kind of magic.
The Best Time to Start
For the highest chance of success, I find that the late spring or early summer is absolutely perfect for taking cuttings. You want to work with healthy, actively growing stems that aren’t flowering – or at least, not too far along in their bloom. Young, vigorous growth is your best friend here.
Supplies You’ll Need
Gathering your tools beforehand makes the whole process so much smoother. Here’s what I always have on hand:
- Sharp pruning shears or a clean knife: For making clean cuts.
- Rooting hormone powder or gel: This really gives your cuttings a good start, though it’s not strictly essential for Matthiola.
- Well-draining potting mix: A blend of peat moss, perlite, and a bit of compost is ideal. You can also buy specific seed-starting or cutting mixes.
- Small pots or seedling trays: With drainage holes, of course!
- A clear plastic bag or propagation dome: To create a humid environment for your cuttings.
- Watering can with a fine rose: For gentle watering.
- Labeling stakes or tags: To keep track of what you’ve planted!
Propagation Methods
I’ve found that stem cuttings are the most reliable way to go with Matthiola perennis. It’s straightforward and yields excellent results.
- Select Your Cuttings: Look for healthy, non-flowering stems that are about 4-6 inches long. They should be firm but not woody.
- Make the Cut: Using your sharp shears or knife, make a clean cut just below a leaf node (where a leaf attaches to the stem). This is where the plant is primed to produce roots.
- Prepare the Cutting: Gently remove the lower leaves from the stem, leaving just a few at the top. This prevents them from rotting in the soil and encourages the plant to focus its energy on root development.
- Apply Rooting Hormone (Optional but Recommended): Dip the cut end of the stem into rooting hormone, tapping off any excess.
- Pot Up Your Cuttings: Fill your small pots or trays with the well-draining potting mix. Make a small hole in the center of the soil with your finger or a pencil.
- Insert the Cuttings: Gently place the prepared stem into the hole, ensuring the leaf nodes are covered by the soil. Firm the soil around the base of the cutting.
- Water Gently: Water the soil lightly until it’s evenly moist but not soggy.
The “Secret Sauce” (Pro Tips)
Here are a couple of little tricks I’ve learned over the years that can make a big difference:
- Don’t let your leaves touch the water. If you’re doing a small batch and thinking about water propagation (though I prefer soil for Matthiola), make sure the leaves are high enough that they aren’t submerged. Fungal diseases love nothing more than damp foliage.
- Bottom heat is your friend. While not strictly necessary, placing your pots on a propagation mat or a warm windowsill can significantly speed up root development. The gentle warmth encourages those roots to form faster.
Aftercare & Troubleshooting
Once your cuttings are potted, cover them with a clear plastic bag or a propagation dome to create a mini greenhouse effect. This keeps the humidity high, which is crucial for preventing them from drying out before they can root. Place them in a bright spot, but out of direct, harsh sunlight.
Keep the soil consistently moist but not waterlogged. You’ll know your cuttings have rooted when you see new growth appearing at the top, or if you gently tug on a cutting and feel some resistance. This usually takes anywhere from 3-6 weeks.
The most common problem you might encounter is rot. If you see stems turning mushy, black, or developing fuzzy mold, it’s usually a sign of too much moisture and poor air circulation. Make sure your soil is draining well and that you’re not overwatering. If you catch it early, you might be able to salvage a cutting by trimming away the rotten bits and repotting it in fresh, dry soil.
A Encouraging Closing
Don’t get discouraged if every single cutting doesn’t make it. Gardening is a journey, and sometimes the plants have their own plans! Just keep an eye on them, be patient, and enjoy the process of coaxing new life from your beautiful Matthiola. Happy propagating!
Resource:
https://identify.plantnet.org/k-world-flora/species/Matthiola%20perennis%20Conti/data