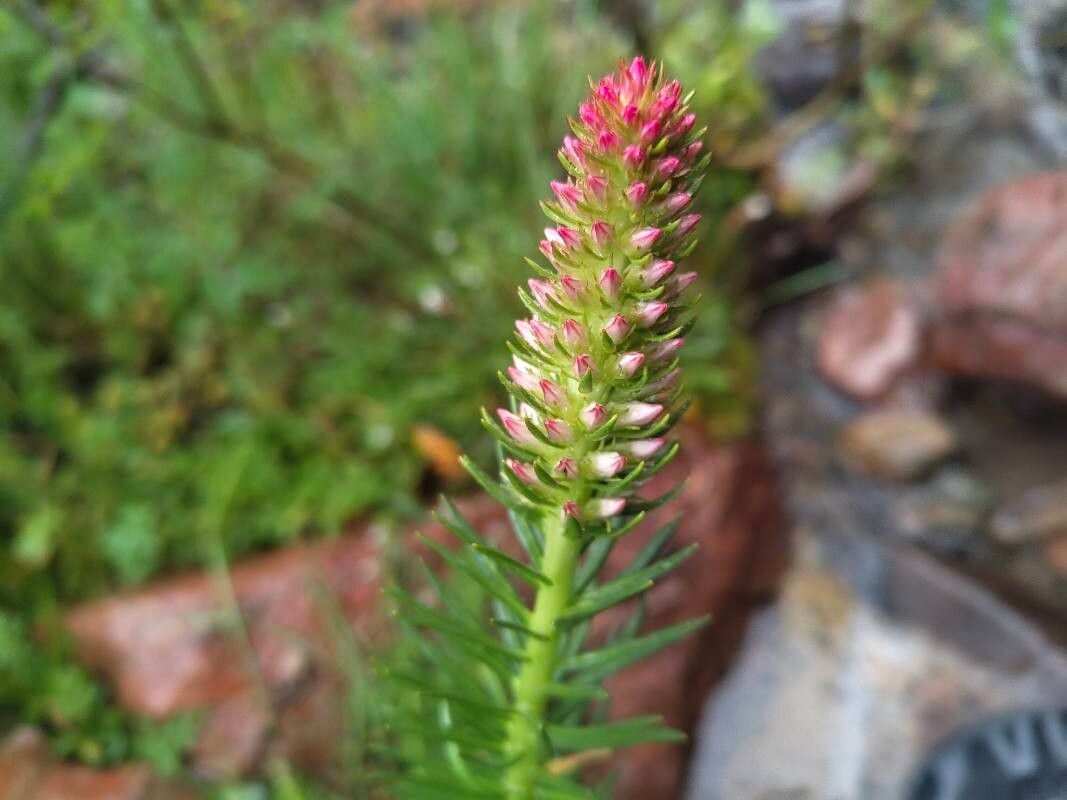
Oh, hello there! It’s so lovely to have you in my little corner of the garden world. Today, we’re diving into the fascinating process of propagating Rhodiola semenovii. If you’re anything like me, you’ve probably fallen for its charm – those succulent leaves, often with a beautiful reddish hue in the sun, and its hardy nature make it a real star. And the best part? Creating more of these beauties from your existing plants is incredibly rewarding. Now, I won’t lie, Rhodiola semenovii can be a tad bit finicky compared to, say, a pothos, but with a little patience and attention, it’s absolutely achievable for most keen gardeners.
The Best Time to Start
For Rhodiola semenovii, the sweet spot for propagation is typically in late spring or early summer. This is when the plant is actively growing and has plenty of energy to put into developing new roots. You’re looking for stems that are firm but not overly woody – think of juicy, developing growth rather than the older, more mature stems.
Supplies You’ll Need
Gathering your tools beforehand makes the whole process so much smoother. Here’s what I usually have on hand:
- Sharp, clean pruning shears or a sharp knife: For making clean cuts. Sterilize them with rubbing alcohol to prevent disease.
- Rooting hormone (powder or gel): This gives your cuttings a helpful boost.
- A well-draining potting mix: I like a blend of equal parts perlite and seed-starting mix or coarse sand. You want good aeration!
- Small pots or propagation trays: About 4-inch pots are usually perfect.
- A watering can with a fine rose: For gentle watering.
- Optional: A heat mat: This can really speed up root development.
- Optional: A clear plastic bag or propagator lid: To create a humid environment.
Propagation Methods
I find stem cuttings to be the most reliable method for Rhodiola semenovii. Division can work, but it’s a bit more disruptive to the parent plant.
Propagating by Stem Cuttings:
- Take Your Cuttings: With your clean shears, select healthy stems and take cuttings that are about 4-6 inches long. Make your cut just below a leaf node (where a leaf attaches to the stem).
- Prepare the Cuttings: Gently remove any lower leaves, leaving just the top two or three. This prevents them from rotting in the soil. If any of the leaves are very large, I sometimes give them a trim to reduce water loss.
- Apply Rooting Hormone: Dip the cut end of each stem into your rooting hormone, tapping off any excess. This step is crucial for encouraging those roots to form.
- Plant Your Cuttings: Fill your pots with your prepared, moistened potting mix. Make a small hole with your finger or a pencil and insert the cut end of the cutting into the soil, firming the mix gently around it. I usually plant 2-3 cuttings per pot to increase my chances of success.
- Provide Humidity: This is where the magic happens! You can either cover the pots loosely with a clear plastic bag (propping it up with sticks so it doesn’t touch the leaves) or place them in a propagator. This creates that lovely humid environment cuttings crave.
- Find the Right Spot: Place your pots in a bright location, but out of direct, harsh sunlight. Too much sun can scorch delicate new growth.
The “Secret Sauce” (Pro Tips)
Here are a couple of little tricks I’ve learned over the years that really help:
- Don’t Overwater! Rhodiola semenovii are succulents, so they hate soggy feet. It’s much better to let the soil dry out slightly between waterings. I usually check the soil by sticking my finger about an inch deep – if it feels dry, it’s time for a drink.
- Bottom Heat is Your Friend: If you have a heat mat, placing your pots on it can significantly speed up root development. It mimics the warmth of spring and encourages the plant to start growing those essential roots from the bottom. You’re looking for a consistent soil temperature of around 70-75°F (21-24°C).
Aftercare & Troubleshooting
Once your cuttings have rooted – you’ll usually see new leaf growth within 4-8 weeks – it’s time for them to become independent little plants!
- Gradual Acclimation: If you used a plastic bag or propagator, start gradually introducing them to drier air by lifting the cover or opening vents for increasing periods each day.
- Watering: Continue to water sparingly, allowing the soil to dry out between waterings.
- Repotting: Once they have a good root system and are actively growing, you can pot them up into their own individual pots with a slightly richer, but still well-draining, potting mix.
- Signs of Failure: The most common culprit is rot, which usually happens from overwatering. You’ll notice the stem turning mushy and black, or developing brown spots. If you see this, unfortunately, that cutting is likely lost. Wilting can also be a sign of stress, either from being too dry or too wet, so keep a close eye on them. Sometimes, just a lack of consistent care is the issue.
A Encouraging Closing
Seeing those tiny new roots emerge is such a joy, isn’t it? Propagation is a journey, and there will always be a few that don’t make it, but don’t let that discourage you. Be patient with your Rhodiola semenovii cuttings, offer them the right conditions, and celebrate every little sign of success. Happy growing, my friends!
Resource: