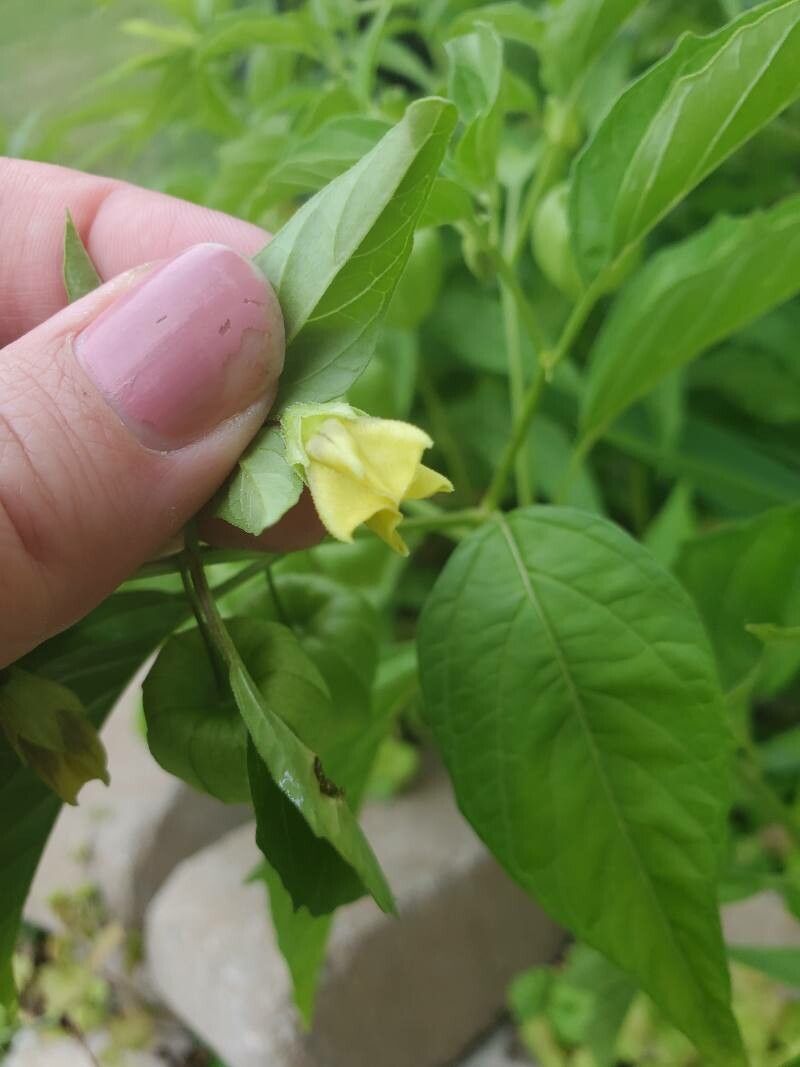
Oh, Physalis pumila! What a delightful little groundcherry. Those papery lanterns, followed by those sweet, tangy fruits – they’re just a joy to have in the garden. And getting more of them? It’s incredibly rewarding, especially when you have success. If you’re new to propagation, don’t you worry. Physalis pumila is quite forgiving, and I think you’ll find it a very enjoyable plant to work with.
The Best Time to Start
My favorite time to get stuck into propagating Physalis pumila is late spring to early summer. This is when the plants are actively growing and have plenty of lovely, vigorous new stems to choose from. You want material that’s got a good bit of energy behind it, and that’s precisely what you’ll find when the weather’s warming up nicely.
Supplies You’ll Need
Gathering your supplies beforehand makes the whole process so much smoother. Here’s what I usually have on hand:
- Sharp pruning shears or a clean knife: For taking clean cuts.
- Potting mix: A good quality, well-draining mix is key. I often use a blend of peat moss or coco coir with perlite or vermiculite.
- Small pots or seed trays: Clean ones, please!
- Watering can or spray bottle: For gentle watering.
- Rooting hormone (optional but helpful): A powdered or liquid hormone can give your cuttings a boost.
- Plastic bags or a propagator: To create a humid environment.
- Labels: So you don’t forget what you’ve planted!
Propagation Methods
Physalis pumila is a trooper, and while it readily self-seeds, propagating from cuttings is a fantastic way to get established plants quickly.
Stem Cuttings
This is my go-to method for Physalis pumila. It’s reliable and you can get multiple plants from just one parent.
- Select your material: Choose healthy, non-flowering stems from your established plant. Look for stems that are about 4-6 inches long.
- Take the cuttings: Using your clean shears or knife, make a cut just below a leaf node (where the leaves attach to the stem). Remove the lower leaves, leaving just two or three at the top.
- Prepare the cuttings: If you’re using rooting hormone, dip the cut end into it. Give any excess a gentle tap off.
- Pot them up: Fill your small pots with your well-draining potting mix. Make a small hole with your finger or a pencil, and gently insert the cut end of the stem. Firm the soil around it.
- Water gently: Use your watering can with a fine rose or a spray bottle to lightly water the soil. You want it moist, but not soggy.
- Create humidity: Cover the pots loosely with a plastic bag or place them in a propagator. This traps moisture, which is crucial for the cuttings. Make sure the leaves aren’t touching the sides of the bag if possible.
- Provide warmth and light: Place the pots in a bright, warm spot, but out of direct, scorching sun. Gentle bottom heat from a heat mat can really speed things up.
Division
If you have an older Physalis pumila plant that’s looking a bit crowded or you want to divide it, this is another easy win.
- Dig up the plant: In spring, before it gets too active or after the main fruiting season, carefully dig up the whole plant.
- Gently tease apart: Look at the root ball. You’ll likely see several clumps of stems originating from different points. Gently pull or cut these clumps apart. Try to ensure each division has a good amount of roots.
- Replant: Immediately replant these divisions into your prepared garden beds or pots. Water them in well.
The “Secret Sauce” (Pro Tips)
Now, here are a couple of little tricks I’ve picked up over the years that make a real difference:
- The “Heel” Trick: When I take stem cuttings, I sometimes look for stems that have a little bit of older wood attached at the base, almost like a tiny “heel.” These often root more readily. If you can’t find one naturally, you can try making a tiny nick in the bottom of your cutting.
- “Sweating” the Cuttings: Once you’ve got your cuttings snugly in their pots and covered, I like to “sweat” them for the first day or two. This means putting them in a slightly warmer, brighter spot, but still out of direct sun. This initial warmth seems to encourage them to start the rooting process. Just keep an eye on the moisture levels!
Aftercare & Troubleshooting
Once you start seeing new leaf growth on your cuttings, that’s a good sign that roots are forming!
- Gradually Acclimate: Once roots have developed (you might see them peeking out of the drainage holes), start to gradually increase air circulation. Open the plastic bag for a few hours each day, or vent your propagator. This helps the new plant prepare for life without constant humidity.
- Watering: Continue to water gently. Let the top inch of soil dry out slightly before watering again.
- Potting Up: When the new plants are robust enough and have a good root system, you can carefully pot them into larger containers or transplant them into their final garden spot.
The most common issue you’ll encounter is rot. This usually happens if the soil is too wet and there’s not enough air circulation. Mushy stems or cuttings that just refuse to perk up are usually a sign. Don’t be discouraged if a few don’t make it – it’s all part of the learning process! Just keep trying.
A Encouraging Closing
So there you have it! Propagating Physalis pumila is a wonderfully rewarding endeavor. Be patient with your new little plants, give them a little bit of consistent care, and before you know it, you’ll have a whole garden full of these unique fruits. Happy propagating!
Resource:
https://identify.plantnet.org/k-world-flora/species/Physalis%20pumila%20Nutt./data