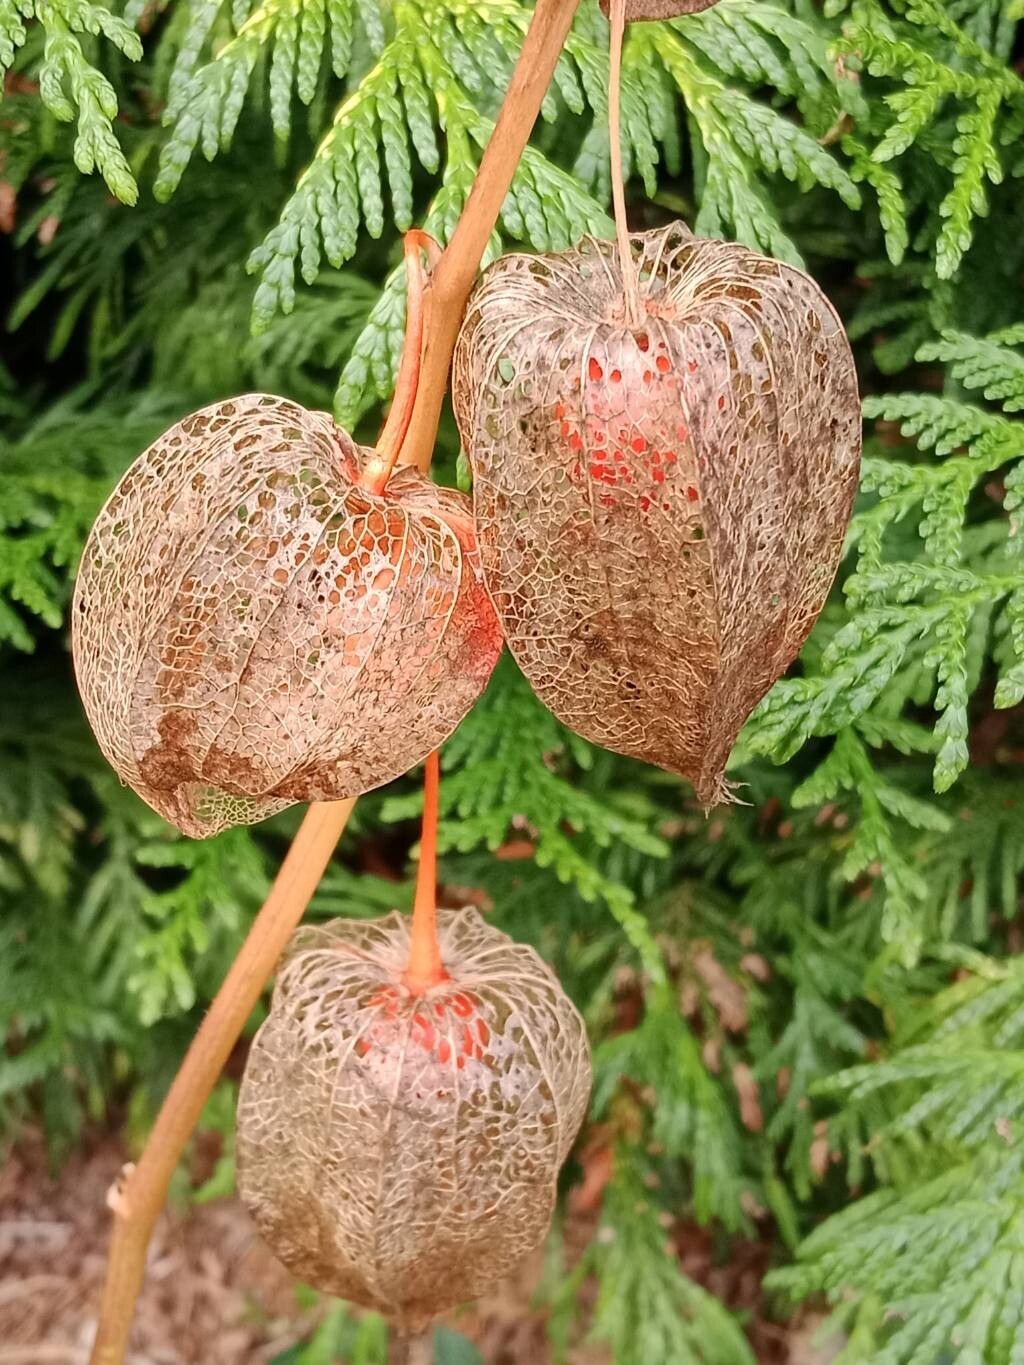
Oh, hello there, fellow plant enthusiast! Come on in, grab a mug of something warm. Today, we’re talking about a plant that brings a little bit of whimsical magic to the garden: Alkekengi officinarum, or as many of us affectionately call it, the Chinese Lantern plant. Those papery, vibrant orange husks are just delightful, aren’t they? And what’s even more rewarding than having them grace your garden? Growing more of them yourself! It’s a fantastic way to share their charm or simply fill out your beds. Now, let’s get down to brass tacks.
The Best Time to Start
For Alkekengi officinarum, I find that spring is your best friend. As soon as the soil is workable and the risk of hard frost has passed, is the prime time. This gives your new divisions or cuttings a nice, long growing season to establish themselves before winter rolls in. You can also get a head start indoors a few weeks earlier if you’re eager.
Supplies You’ll Need
Don’t let a long list scare you! Most of these are garden staples.
- Sharp pruning shears or secateurs: Clean cuts are key.
- A trowel or hori hori: For digging and dividing.
- Peat-free potting mix: Something that drains well. I like to add a good amount of perlite or horticultural grit.
- Small pots or trays: For starting divisions or cuttings.
- Rooting hormone (optional but helpful): Especially for cuttings.
- Watering can with a fine rose: Gentle watering is a must.
- Labels: Trust me, you’ll thank yourself later!
Propagation Methods
Alkekengi officinarum is a happy camper with a couple of straightforward methods.
1. Division (My Go-To!)
This is by far the easiest and most satisfying way to propagate Chinese Lanterns. They tend to form clumps, and dividing them is like giving them a refreshing haircut.
- Dig Carefully: In early spring, gently dig up a healthy, established clump. Try to get as much of the root ball as you can.
- Examine the Roots: You’ll see the dense root system. Look for natural divisions where the plant has spread.
- Separate Gently: You can often pull a division apart with your hands. If it’s a bit stubborn, use your trowel or hori hori to tease the roots apart. Aim for sections that have at least a couple of shoots and a good portion of roots.
- Replant: Immediately plant your new divisions into prepared soil, spacing them as you would mature plants. Water them in well.
2. Stem Cuttings (A Bit More Patience)
While division is my preferred method, taking cuttings can also work, especially if you want to propagate a specific plant or have a limited amount to work with.
- Take Cuttings: In late spring or early summer, select healthy, non-flowering stems. Cut pieces about 4-6 inches long. Make your cut just below a leaf node.
- Prepare the Cuttings: Remove the lower leaves, leaving just a couple at the top. If you’re using rooting hormone, dip the cut end into it following the product’s instructions.
- Pot Them Up: Fill small pots with a well-draining mix (like my peat-free potting mix with added perlite). Make a hole with a pencil and insert the cutting, firming the soil gently around it.
- Water and Cover: Water gently. To help retain humidity, which cuttings love, you can cover the pot with a plastic bag or prop up a clear plastic dome over it. Make sure the leaves don’t touch the plastic if you’re using a bag. Place them in a bright spot, out of direct, scorching sun.
The “Secret Sauce” (Pro Tips)
Here are a few little tricks I’ve picked up over the years that can really boost your success rate.
- Don’t Fear the Knife: When dividing, be brave! A clean break is better than a ragged tear. Sometimes, pruning shears are your best bet for a clear cut through tough roots.
- Bottom Heat for Cuttings: If you’re doing cuttings and you have one, placing your pots on a gentle heat mat can dramatically speed up root formation. It mimics that lovely warm soil feeling.
- Patience is a Virtue, Especially with Cuttings: Cuttings can seem to do nothing for weeks. Don’t give up too soon! Check for roots by giving the cutting a very gentle tug. If you feel resistance, you’ve got roots!
Aftercare & Troubleshooting
Once your divisions are planted or your cuttings have rooted, they’re not quite out of the woods yet.
- Water Consistently: Keep the soil evenly moist but not waterlogged. For cuttings, regular misting can help keep humidity up.
- Transition Gradually: If you’ve grown cuttings indoors, acclimate them to outdoor conditions slowly before planting them out. Start by taking them outside for a few hours each day.
- Watch for Rot: The most common enemy is overwatering, which leads to root rot. If your plant looks limp and the soil feels soggy, you might have a problem. Ensure good drainage and adjust your watering. If rot has set in, it can be tricky to save, but sometimes cutting away affected parts and repotting in fresh, dry soil can help.
And there you have it! Propagating Alkekengi officinarum is a truly rewarding process. It might take a little patience, especially with cuttings, but seeing those new little plants take hold is incredibly satisfying. So go ahead, try it out! Happy gardening!
Resource:
https://identify.plantnet.org/k-world-flora/species/Alkekengi%20officinarum%20Moench/data