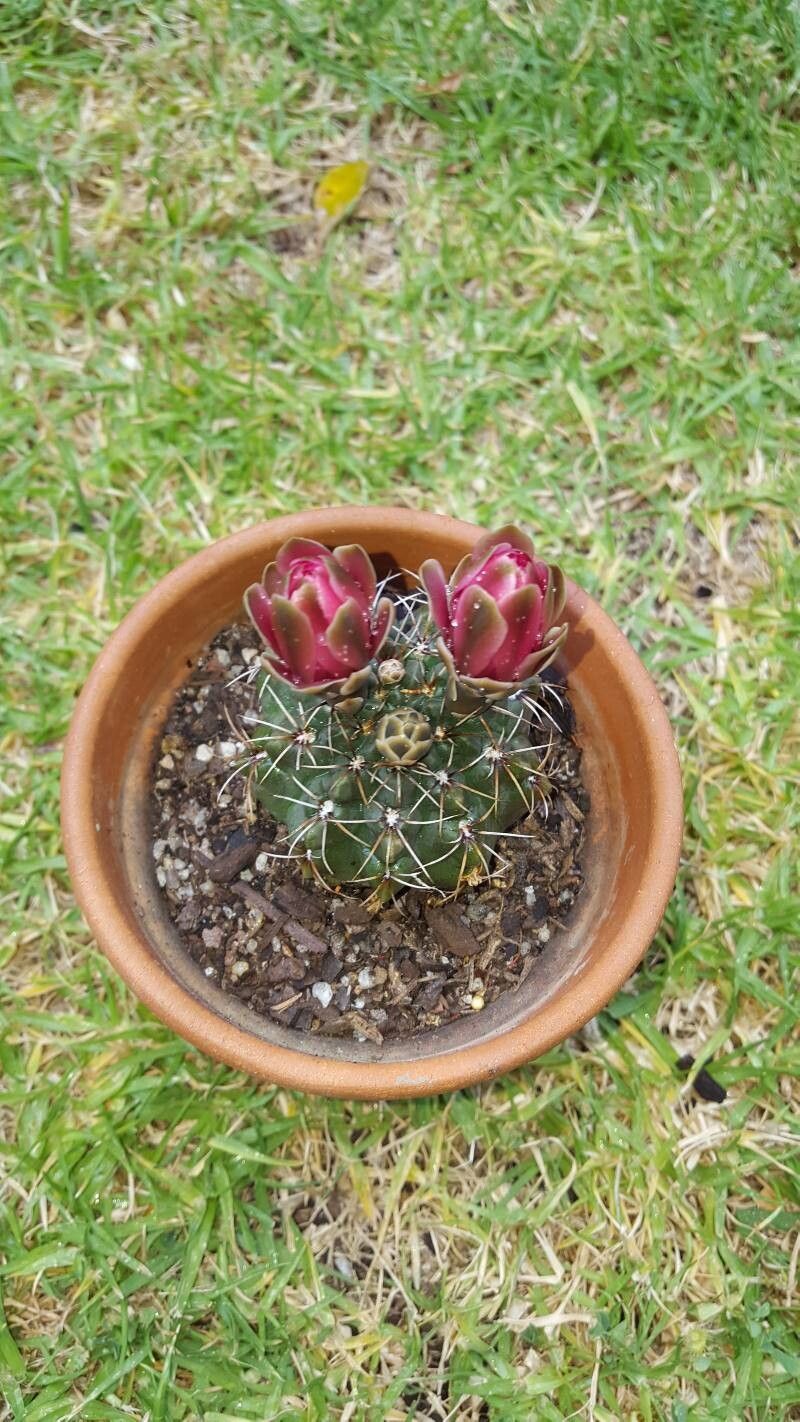
Hello fellow plant lovers! If you’ve ever fallen for the charm of Gymnocalycium baldianum, you know what a delight they are. These little cacti, often called Chin Cactus for their distinctive petal-like lobes, come in a rainbow of colors and boast beautiful, delicate flowers. And guess what? Propagating them is wonderfully rewarding, even for those of you just dipping your toes into the world of gardening. I’ve found Gymnocalycium baldianum to be quite forgiving, making it a fantastic starting point for any aspiring cactus propagator.
The Best Time to Start
When it comes to coaxing new life from your existing plants, spring and early summer are your best friends. This is when the plant is actively growing and has the energy to put towards developing new roots and shoots. Aim to propagate when the plant is feeling robust, not when it’s stressed from extreme heat or cold.
Supplies You’ll Need
Before we get our hands dirty, let’s gather our tools:
- Sterilized sharp knife or razor blade: For clean cuts.
- Cactus and succulent potting mix: A well-draining blend is crucial. You can buy a commercial one or mix your own with perlite and coarse sand.
- Clean pots or trays: Small ones are perfect for cuttings.
- Rooting hormone powder (optional but recommended): This gives those new roots a helpful boost.
- Watering can with a fine rose: To water gently.
- Spray bottle: For misting.
- Newspaper or paper towels: To let cuttings callus.
- Gloves (optional): If you’re sensitive to cactus spines.
Propagation Methods
For Gymnocalycium baldianum, offsets, also known as pups, are your golden ticket. These are small, new plants that grow from the base of the parent plant.
- Locate the Offsets: Gently examine your Gymnocalycium baldianum. You’ll often spot little baby cacti emerging from the side or base.
- Gently Remove the Pups: Using your sterilized knife, carefully separate the offset from the mother plant. Try to get a clean cut as close to the base as possible. If the pup has a little bit of its own roots already, that’s a bonus!
- Let Them Callus: This is a critical step! Lay the separated offsets on a dry piece of newspaper or paper towel in a bright, dry spot, out of direct sunlight, for a few days to a week. You want the cut end to dry out and form a protective crust, often called a callus. This prevents rot when you plant them.
- Potting Up: Once callused, you can plant your offsets. Fill your small, clean pots with your well-draining cactus mix.
- Planting the Excitement: Make a small indentation in the soil and gently place the callused end of the offset into the pot. You don’t need to push it too deep, just enough so it stands upright. If you’re using rooting hormone, lightly dust the callused end before planting.
- No Water Yet! Resist the urge to water immediately. Wait about a week after planting to give the cut end another chance to heal and for any tiny, latent rootlets to start forming without the risk of rot.
The “Secret Sauce” (Pro Tips)
- Gentle is Key: When separating offsets, remember that tenderness goes a long way. Don’t force them if they’re being stubborn. A sharp, clean cut is always better than tearing.
- Bottom Heat is Your Friend: If you’re propagating in a cooler environment or want to speed things up, placing your pots on a seedling heat mat can make a world of difference. It encourages root development from below.
Aftercare & Troubleshooting
Once you’ve planted your offsets and waited that magical week, it’s time for the first hint of water. Water very sparingly. Use your spray bottle to lightly mist the soil surface around the seedling, or water very gently with a can. The goal is to provide just enough moisture to encourage root growth, not to saturate the soil.
How do you know they’re happy? You’ll see them start to plump up and, after a few weeks to a couple of months, you might even see a tiny bit of growth at the tip.
The biggest enemy here is rot. If you see your offset becoming mushy, discolored (often brown or black), or collapsing, it’s likely rot. This is usually a sign of too much moisture. Unfortunately, once rot sets in, it’s very difficult to save the plant. This is why that initial callusing period and cautious watering are so important.
And there you have it! Propagating Gymnocalycium baldianum is a truly satisfying journey. Each tiny pup you nurture into a new plant is a testament to your care and patience. Don’t be discouraged if your first attempt isn’t perfect; gardening is all about learning and trying again. Enjoy the process, and happy growing!
Resource:
https://identify.plantnet.org/k-world-flora/species/Gymnocalycium%20baldianum%20(Speg.)%20Speg./data