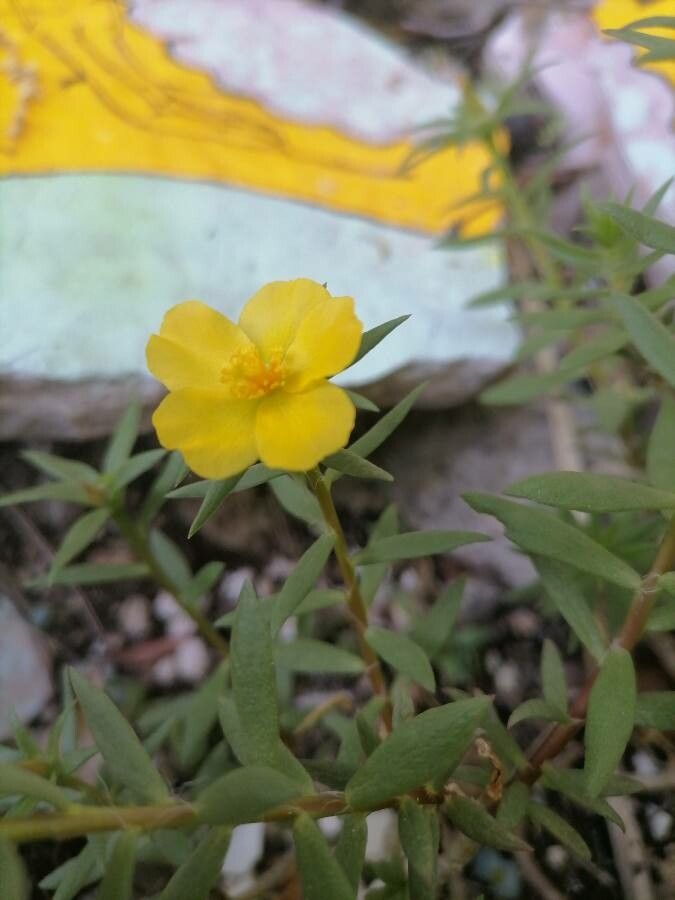
Well hello there, fellow plant enthusiasts! It’s so lovely to have you join me today. I’ve been tucked away in my garden for two decades now, and one of my absolute joys is sharing the magic of making more plants. Today, we’re diving into the wonderful world of propagating Portulaca rubricaulis, often called Rock Purslane.
This little succulent is such a charmer, with its trailing stems and vibrant, jewel-toned flowers. It’s a fantastic choice for rock gardens, hanging baskets, or even as a ground cover that just spills over beautifully. And the best part? Propagating it is surprisingly easy, even for those just getting their hands dirty. You’ll be amazed at how quickly you can fill your garden or share these beauties with friends.
The Best Time to Start
For Portulaca rubricaulis, the sweet spot for propagation is definitely late spring through the summer. This is when the plant is actively growing and has plenty of energy to put into developing new roots. Starting during this warm period ensures your cuttings have the best chance to thrive and establish themselves before cooler weather arrives. Think of it as giving them a long, sunny growing season to get off to a strong start.
Supplies You’ll Need
Before we get our hands dirty, let’s gather our trusty tools:
- Sharp Pruning Shears or a Clean Knife: For making clean cuts.
- Rooting Hormone (Optional, but recommended): This is a powder or gel that encourages root development.
- Small Pots or Seed Trays: With drainage holes, of course!
- Well-Draining Potting Mix: A cactus/succulent mix is perfect. You can also mix
- 50% potting soil
- 50% perlite or coarse sand
- Watering Can or Spray Bottle: For gentle watering.
- A Bright, Indirect Light Location: Not direct sun, especially when they’re just starting out.
Propagation Methods
Here are a couple of my favorite ways to create more Rock Purslane:
Stem Cuttings
This is my go-to method for Portulaca rubricaulis. It’s incredibly reliable!
- Take Your Cuttings: Select healthy, non-flowering stems. Using your sharp shears or knife, cut stems that are about 3-4 inches long. Try to get pieces that have at least a few sets of leaves.
- Remove Lower Leaves: Gently pull off the leaves from the bottom 1-2 inches of each cutting. This will expose the nodes where roots will form.
- Let Them Callus: This is a crucial step for succulents! Lay your cuttings on a dry surface (like a paper towel) in a well-ventilated area for 2-3 days. You want the cut end to dry out and form a protective callus. This prevents rot when you plant them.
- Apply Rooting Hormone (Optional): Once callused, dip the cut end into rooting hormone, tapping off any excess.
- Plant Your Cuttings: Fill your small pots with your well-draining mix. Make a small hole with a pencil or your finger and insert the callused end of the cutting about 1 inch deep. Gently firm the soil around the stem.
- Water Sparingly: Water the soil very lightly, just enough to settle it around the cutting. Don’t drench it.
Water Propagation
This method is fun to watch, and you can see the roots develop!
- Prepare Your Cuttings: Follow steps 1 and 2 from the stem cuttings method. You don’t need to let these callus.
- Place in Water: Find a clean jar or glass. Fill it with stale water (tap water left out for a day is best). Place your cuttings in the water so that the nodes where you removed the leaves are submerged, but crucially, don’t let the leaves themselves sit in the water.
- Change Water Regularly: Change the water every 2-3 days to keep it fresh and prevent bacterial growth.
- Provide Bright Light: Place the jar in a spot with bright, indirect light.
- Plant When Rooted: Once your cuttings have developed roots about 1 inch long (this usually takes a few weeks), you can carefully pot them into your well-draining soil mix as described in step 5 of the stem cutting method.
The “Secret Sauce” (Pro Tips)
Now for a couple of tricks up my sleeve that I’ve learned over the years:
- Don’t Drown Your Babies: I can’t stress this enough for succulents. Overwatering is the quickest way to invite rot. When planting cuttings, aim for barely moist soil. You can always add more water, but you can’t take it away once it’s soggy.
- Bottom Heat is Your Friend: If you’re propagating indoors, especially on the cooler side, placing your pots on a heating mat designed for seedlings can dramatically speed up root formation. It mimics the warm soil they’d get in a greenhouse. Just make sure it’s on a low setting.
Aftercare & Troubleshooting
Once you see signs of new growth or your cuttings are firmly rooted in their pots (give them a gentle tug – if they resist, they’re rooting!), it’s time to treat them like a mature plant.
Gradually introduce them to more sunlight, but avoid intense, direct sun for the first week or two to prevent scorching. Continue to water sparingly, allowing the soil to dry out between waterings.
The most common problem you’ll encounter is rot. If a cutting turns black and mushy, it’s usually a sign of too much moisture. Unfortunately, there’s not much you can do once rot sets in. Your best bet is to try and save any healthy parts of the stem and start again, making sure to let them callus and water more carefully. Yellowing or wilting can sometimes just mean they need a bit more water, but always check the soil first!
A Little Patience Goes a Long Way
Propagating plants is a journey, a wonderful way to connect with nature and multiply the beauty in your life. Don’t be discouraged if a few cuttings don’t make it. Each attempt is a learning experience. Take your time, be observant, and enjoy the thrill of watching tiny roots emerge and new life begin. Happy propagating!
Resource:
https://identify.plantnet.org/k-world-flora/species/Portulaca%20rubricaulis%20Kunth/data