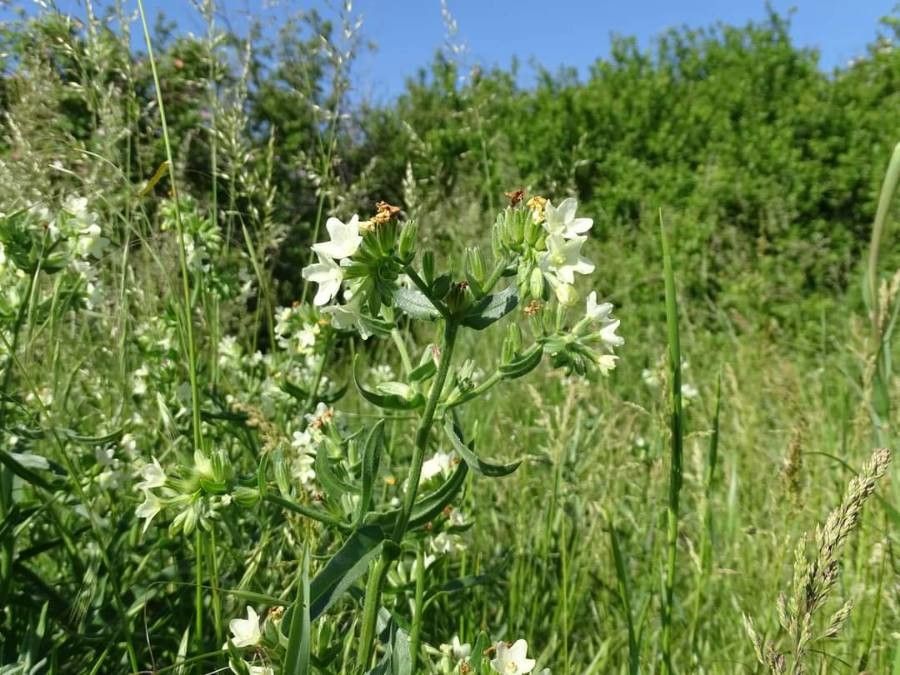
Hello, fellow garden enthusiasts! Today, we’re diving into the world of Anchusa ochroleuca, also known affectionately as Italian bugloss or, for its sunny disposition, by its common name. This plant is an absolute delight in any garden, with its vibrant sky-blue flowers that bring such a cheerful splash of color. I’ve been growing and sharing Anchusa for years, and I find propagating it to be incredibly rewarding. It’s a fantastic plant to try your hand at, even for those just starting their gardening journey. You’ll be amazed at how easily you can multiply these beauties.
The Best Time to Start
For the absolute best chance of success, the ideal time to propagate Anchusa ochroleuca is during the spring, right as new growth is emerging. You can also have good luck with cuttings taken in early summer, before the heat of the season really sets in. The active growth period means the plant is full of energy, and new cuttings will establish themselves more readily.
Supplies You’ll Need
Gathering your supplies beforehand makes the whole process so much smoother. Here’s what I usually have on hand:
- Sharp Pruning Shears or a Clean Knife: For taking clean cuttings.
- Rooting Hormone (Optional but Recommended): Especially for stem cuttings, this really gives them a boost.
- Seed Starting Mix or a Well-Draining Potting Mix: I often mix my own with equal parts peat moss, perlite, and a bit of coarse sand for excellent aeration.
- Small Pots or Seed Trays with Drainage Holes: Recycled yogurt cups work too, just make sure they drain!
- Plastic Bags or a Clear Propagation Dome: To create a humid environment.
- Watering Can with a Fine Rose or Spray Bottle: For gentle watering.
- Labels and a Pen: To keep track of what you’ve planted, especially if you’re trying different methods!
Propagation Methods
Anchusa ochroleuca is quite amenable to a few different propagation techniques, but I find stem cuttings to be the most reliable and straightforward for getting a good number of new plants.
Stem Cuttings
This is my go-to method. It’s satisfying to see those little roots form!
- Take Cuttings: In spring or early summer, select healthy, non-flowering shoots. Using your sharp pruning shears, cut pieces that are about 4-6 inches long. Make the cut just below a leaf node (where a leaf attaches to the stem).
- Prepare Cuttings: Gently remove the lower leaves, leaving only 2-3 at the top. If any of the cuttings are quite large, you can even dip the tip in rooting hormone powder. This isn’t strictly necessary for Anchusa, but I find it speeds things up.
- Plant Cuttings: Fill your pots with the prepared well-draining mix. Make a small hole in the center of the soil with a pencil or your finger. Gently insert the prepared cutting into the hole, ensuring at least one leaf node is buried. Firm the soil around the base.
- Water and Cover: Water gently to settle the soil around the cuttings. Then, cover the pots with a clear plastic bag or a propagation dome. This traps humidity, which is crucial for cuttings to root. Make sure the leaves don’t touch the sides of the bag if possible.
Division
If you have an established clump of Anchusa that’s been happily growing for a few years, you can often propagate it through division.
- Dig Up the Plant: In early spring before new growth really takes off, carefully dig up the entire plant.
- Separate the Roots: Gently shake off excess soil and you’ll see where the root ball naturally wants to divide. You can use your hands to pull the clumps apart, or if it’s a bit tough, use a clean spade or knife. Ensure each division has plenty of healthy roots and some leafy growth.
- Replant: Immediately replant the divisions into their new spots in the garden or into pots with fresh potting mix. Water them well.
The “Secret Sauce” (Pro Tips)
Here are a couple of little tricks that have helped me out over the years:
- Use Bottom Heat (for Cuttings): If you have a propagation mat, placing your pots on it can significantly speed up rooting. The gentle warmth encourages root development from below. It’s like a little heated spa for your cuttings!
- Don’t Overwater (Crucial for Cuttings): This is probably the most common pitfall. Cuttings sitting in soggy soil will rot before they can root. The plastic bag or dome keeps humidity high, so you only need to water sparingly. I often check the soil moisture by gently poking my finger in – it should feel moist, not soaking wet.
Aftercare & Troubleshooting
Once your cuttings have calloused over and started to plump up (this can take a few weeks), gently tug on one. If you feel resistance, they’re likely rooting!
- Acclimatize: Once roots have formed, gradually remove the plastic bag or dome over a week or two. This helps the young plants adjust to normal humidity levels.
- Pot Up: When the new plants have a good root system and are showing steady top growth, it’s time to pot them into larger containers with a good quality potting mix.
- Troubleshooting: The most common sign of trouble is wilting and browning, which often points to too much water or insufficient humidity. If you see slime or a mushy base, that’s rot – sadly, that cutting is usually lost. The good news is, with a bit of luck and good drainage, you’ll have plenty of others to try.
A Gentle Encouragement
Propagating plants is a wonderful way to connect with nature and build your own little plant army. Be patient with your new Anchusa cuttings; they operate on their own timeline. Enjoy the process of nurturing them, and you’ll be rewarded with beautiful blooms and the satisfaction of having grown them yourself. Happy gardening!
Resource:
https://identify.plantnet.org/k-world-flora/species/Anchusa%20ochroleuca%20M.Bieb./data