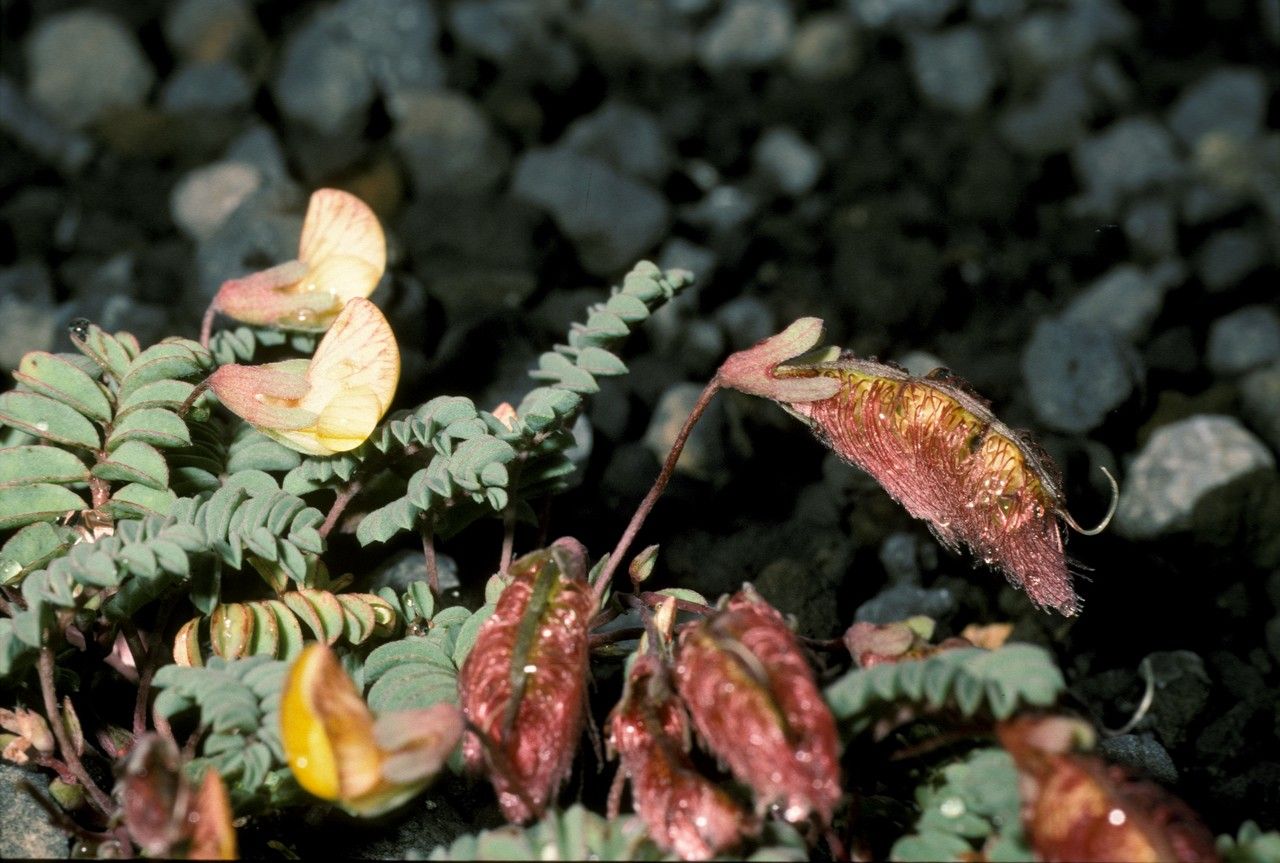
Hello fellow garden enthusiasts! You know, there are some plants that just sing to your soul, and for me, Adesmia longipes is one of them. Its delicate, fern-like foliage and the promise of tiny, star-shaped flowers make it a real treasure in any garden. Plus, the satisfaction of coaxing new life from a single parent plant? That’s pure gardening joy!
Now, if you’re new to propagation, you might be wondering if Adesmia longipes is a good starting point. I’d say it’s moderately easy. It’s not as forgiving as, say, a spider plant, but with a little attention and the right approach, you’ll find it quite rewarding.
When’s the Sweet Spot for Starting?
For Adesmia longipes, I find the late spring or early summer is absolutely prime time. This is when the plant is actively growing after its spring revival. You’re looking for healthy, new growth that’s still a bit tender, not woody and old. Think of it as catching the plant at its most vigorous and ready to share its energy.
Your Propagation Toolkit
Here’s what you’ll want to have on hand:
- Sharp pruning shears or a clean, sharp knife: For making clean cuts.
- Rooting hormone powder: This is your little helper for encouraging strong root development.
- Well-draining potting mix: I like a blend of equal parts peat moss, perlite, and coarse sand. This ensures good aeration and prevents soggy soil.
- Small pots or seed trays: With drainage holes, of course!
- Plastic bags or a propagator lid: To create a humid environment.
- Watering can with a fine rose: For gentle watering.
Let’s Get Growing: The Best Methods
My go-to method for Adesmia longipes is stem cuttings. It’s reliable and gives you a good chance of success.
Stem Cuttings:
- Select your parent plant: Find a healthy, vigorous Adesmia longipes that’s actively growing.
- Take your cuttings: Using your sharp shears, take 4-6 inch cuttings from the tip of a healthy stem. Make your cut just below a leaf node (where a leaf attaches to the stem).
- Prepare the cuttings: Gently remove the lower leaves from the cutting, leaving just a few at the top. This prevents them from rotting in the soil.
- Dip in rooting hormone: Moisten the cut end of the stem and dip it into your rooting hormone powder. Tap off any excess. This step is crucial!
- Plant your cuttings: Make a small hole in your prepared potting mix with a pencil or your finger. Insert the rooting hormone-coated end of the cutting into the hole. Gently firm the soil around it.
- Water and cover: Water the soil gently but thoroughly. Then, cover the pot with a plastic bag or place it in a propagator with a lid to create that high-humidity environment.
- Placement: Place the pot in a bright spot but out of direct sunlight. Too much sun can scorch your delicate cuttings.
The “Secret Sauce” from My Garden Bench
Here are a couple of tricks that have really made a difference for me:
- Don’t let leaves touch the water: If you opt for water propagation for some reason (though I find soil cuttings more successful for this plant), make sure the leaves are above the water line. Any submerged foliage will likely rot and kill your cutting before roots can even think about forming.
- Bottom heat is your friend: If you have access to a heat mat, placing your pots on it can significantly speed up root formation. About 70-75°F (21-24°C) is ideal. It mimics the warmth of spring and encourages roots to emerge.
What to Do When Roots Appear (and What to Watch For)
This is the exciting part! You’ll know your cuttings have rooted when you see new leaf growth and gentle tugging on the cutting reveals resistance. This usually takes 3-6 weeks, sometimes a bit longer.
Once roots have established, it’s time for the baby plant to acclimatize. Gradually remove the plastic bag or propagator lid over a week or so. This helps them adjust to less humid conditions. Continue to keep the soil consistently moist but not soggy.
The biggest thing to watch out for is rot. If your cuttings turn black and mushy, or if you see mold growing on the soil, that’s a sign of too much moisture and not enough air circulation. Sometimes, you can salvage a cutting if you catch it early enough by trimming away the rotten parts and replanting in fresh, drier soil, but often it’s a sign that the cutting wasn’t viable or the conditions were wrong.
Keep Nurturing That Green Thumb!
Propagating Adesmia longipes is a wonderful way to expand your collection or share these beautiful plants with friends. Be patient, observe your cuttings closely, and celebrate every little sign of progress. Happy gardening!
Resource:
https://identify.plantnet.org/k-world-flora/species/Adesmia%20longipes%20Phil./data