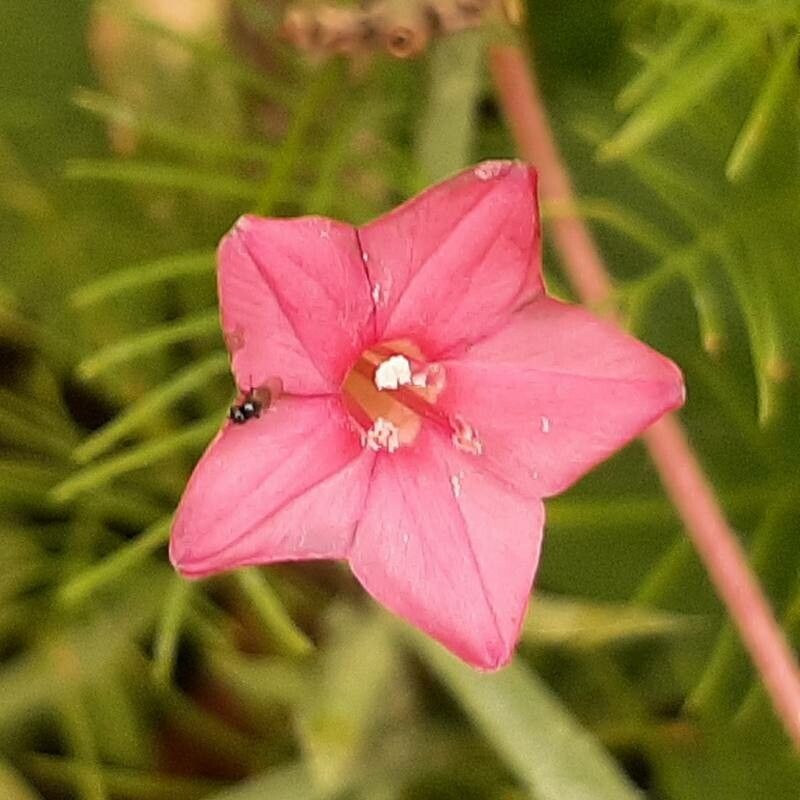
Oh, Ipomoea coccinea! If you’re looking for a splash of vibrant scarlet in your garden, this is your gal. Honestly, I’ve grown a lot of vines in my time, and this little charmer, with its bright, trumpet-shaped blossoms, always steals the show. It’s like a tiny burst of fireworks that keeps on giving. And the best part? Propagating it is surprisingly straightforward. I’d say it’s a fantastic plant for beginners looking to dip their toes into the wonderful world of plant propagation. You get to witness that magic of new life, and it’s incredibly rewarding.
The Best Time to Start
For the highest success rate with Ipomoea coccinea, spring is your golden ticket. Aim to take cuttings after the last frost when the plant is actively growing. You’ll find that new shoots are juicy and full of life, making them ideal for rooting. If you’re feeling ambitious, you can also try in early summer, but I find spring gives you the best head start.
Supplies You’ll Need
Gathering your tools beforehand makes the whole process smoother. Here’s what I always have on hand:
- Sharp pruning shears or a clean, sharp knife: For clean cuts that heal well.
- A good quality potting mix: I often use a well-draining mix, usually a blend of peat moss, perlite, and a bit of compost. Avoid anything too heavy.
- Small pots or seed trays: Clean ones are crucial to prevent disease!
- (Optional) Rooting hormone: While not always necessary for Ipomoea coccinea, it can give you a nice little boost.
- A spray bottle: For misting.
- Clear plastic bags or a propagation dome: To create a humid environment.
Propagation Methods
Ipomoea coccinea is quite agreeable, and I’ve had great success with a couple of methods.
Stem Cuttings: My Go-To
This is my absolute favorite way to propagate these beauties.
- Select a healthy stem: Look for a non-flowering stem that’s about 4-6 inches long. You want something that’s flexible but not too soft.
- Make a clean cut: Using your sharp shears or knife, make a cut just below a leaf node (the little bump where a leaf grows from the stem).
- Remove lower leaves: Gently strip off the leaves from the bottom half of the cutting. This prevents them from rotting when you pot it up.
- Dip in rooting hormone (optional): If you’re using it, dip the cut end into the hormone powder. Tap off any excess.
- Pot it up: Fill your small pot with your prepared potting mix. Make a small hole with your finger and insert the cutting, gently firming the soil around it.
- Water gently: Water thoroughly but carefully, so you don’t dislodge the cutting.
- Create humidity: Cover the pot with a clear plastic bag or propagation dome. This is key to keeping the cutting from drying out.
Water Propagation: A Visual Treat
If you like watching roots develop, this is for you!
- Take your cutting: Follow steps 1-3 from the stem cutting method.
- Place in water: Fill a clean jar or glass with room temperature water. Place the cutting in the water, ensuring that the leaf nodes are submerged but no leaves are touching the water’s surface. This is really important to prevent rot.
- Find a bright spot: Place the container in bright, indirect light.
- Change the water regularly: Every few days, change the water to keep it fresh.
The “Secret Sauce” (Pro Tips)
Over the years, I’ve picked up a few tricks that seem to make a difference.
- Bottom heat is your friend: If you’re having trouble with cuttings taking their sweet time to root, consider placing your pots on a heat mat. This stable, gentle warmth helps those roots form much faster.
- Don’t overcrowd: When taking multiple cuttings, give them a little bit of space in the pot. Overcrowding can increase the risk of fungal issues.
- Be patient with the leaves: If you’re water propagating, don’t rush to pot up the cutting as soon as you see tiny roots. Wait until those roots are about an inch long. Trying too soon can shock the delicate root system.
Aftercare & Troubleshooting
Once your cuttings have developed a healthy root system – you’ll see new growth at the top and roots poking out of the drainage holes – it’s time for them to move into their own slightly larger homes.
Water them consistently, keeping the soil moist but not waterlogged. As they grow, you can gradually introduce them to more direct sunlight.
The most common issue you might face is rot. If your cutting turns mushy and dark, or if you see mold on the soil, it’s usually a sign of too much moisture or poor air circulation. Don’t be discouraged; simply try again with a new cutting and adjust your watering. Yellowing leaves can sometimes mean they’re getting too much or too little water, or not enough light. Observe your little ones, and they’ll tell you what they need.
A Little Encouragement
So there you have it! Propagating Ipomoea coccinea is really quite a joy. It’s a chance to fill your garden with more of that gorgeous scarlet beauty, and it’s a wonderfully satisfying way to connect with your plants. Be patient, embrace the process, and enjoy the journey of watching new life unfold. Happy gardening!
Resource:
https://identify.plantnet.org/k-world-flora/species/Ipomoea%20coccinea%20L./data