Oh, hello there! Come on in, grab a cup of something warm. I just love talking about plants, and today, we’re diving into a truly special one: Tetraglochin cristata.
The Allure of Tetraglochin Cristata and Why You Should Grow More
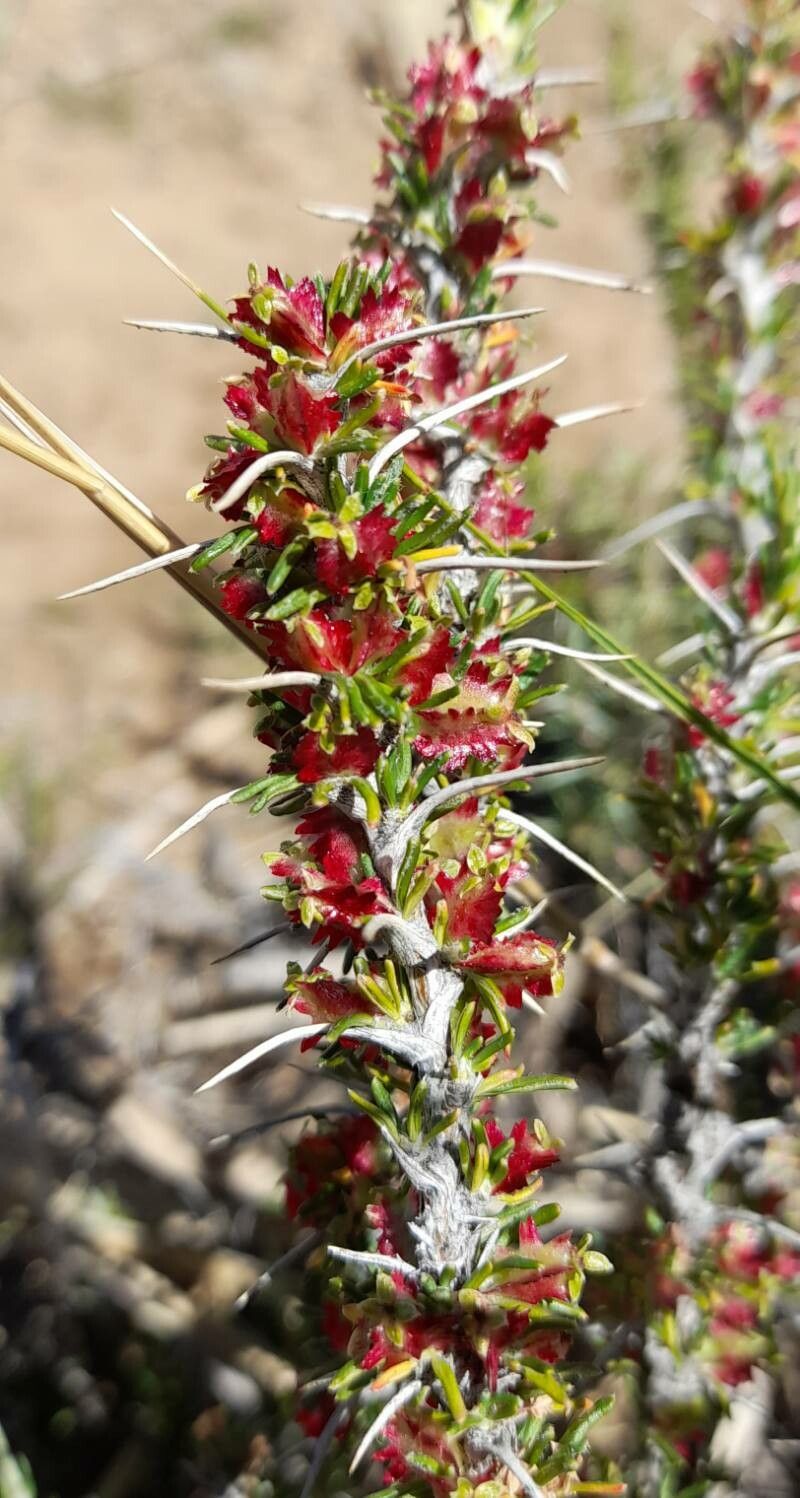
You know, I’ve spent two decades with my hands in the soil, and Tetraglochin cristata always brings a smile to my face. Its delicate, almost ethereal blooms are just captivating, and they have this wonderfully unique way of unfurling. Plus, there’s a deep satisfaction in coaxing new life from an existing plant. Honestly, if you’re looking for a project that rewards patience with beauty, this is it. For those just starting out, I’d say Tetraglochin cristata is moderately easy. A little attention and the right conditions, and you’ll be enjoying new specimens in no time.
When is the Magic Happening? The Best Time to Start
For the happiest cuttings and seeds, I’ve found that the late spring to early summer is absolutely prime time. This is when the plant is usually in a vigorous growth spurt, meaning it has plenty of energy to put into developing roots. Waiting until after the initial flush of spring growth, but before the intense heat of mid-summer, really sets you up for success.
Your Propagation Toolkit
To get started, you’ll want a few things handy. I always believe in being prepared!
- Sharp Pruning Shears or a Clean Knife: For making those vital cuts without tearing.
- A Well-Draining Potting Mix: Something light and airy is best. I often use a mix of perlite, peat moss, and a little compost.
- Small Pots or Seed Trays: Clean ones, of course!
- Rooting Hormone (Optional, but Recommended): A powder or gel makes a big difference.
- Plastic Bags or a Clear Dome: To create a humid environment.
- Spray Bottle: For gentle misting.
- Water: Clean and at room temperature.
Bringing New Life: Your Propagation Methods
Let’s get our hands dirty! Here are the methods I find work best for Tetraglochin cristata:
1. Stem Cuttings: The Most Reliable Route
This is my go-to method for Tetraglochin cristata. It’s straightforward and usually yields great results.
- Select a Healthy Stem: Look for a piece of stem that’s not flowering and is firm, not too soft. About 4-6 inches long is a good size.
- Make the Cut: Using your clean shears or knife, make a clean cut just below a leaf node (the point where a leaf attaches to the stem).
- Prepare the Cutting: Gently remove the lower leaves from the cutting, leaving just a few at the top. This helps the plant focus its energy on rooting.
- Dip in Rooting Hormone (Optional): If you’re using rooting hormone, dip the cut end into the powder or gel. Tap off any excess.
- Plant Your Cutting: Make a small hole in your prepared potting mix and insert the cut end of the stem. Gently firm the soil around it.
- Create Humidity: Water the soil lightly and then cover the pot with a clear plastic bag secured with a rubber band, or place it under a clear dome. This creates a mini-greenhouse.
- Placement: Keep the cutting in a bright spot, but out of direct sunlight.
2. Water Propagation: A Visual Treat
This method lets you see the roots develop, which is so satisfying!
- Select and Prepare: Just like with stem cuttings, choose a healthy stem and trim off the lower leaves.
- Submerge the Stem: Place the cutting in a jar or vase filled with clean water. Ensure that no leaves are submerged – they’ll just rot.
- Change the Water: Change the water every few days to keep it fresh and prevent bacteria buildup.
- Watch for Roots: In a few weeks, you should start to see tiny white roots emerge.
- Planting Up: Once the roots are about an inch long, you can carefully transplant the cutting into potting soil. Be gentle with those new fragile roots!
The “Secret Sauce”: My Insider Tips
Over the years, I’ve picked up a few tricks that seem to make a world of difference.
- Bottom Heat is Your Friend: If you have a heating mat designed for seedlings, placing your pots on it can significantly speed up root development. This mimics the warmth of spring soil, which the cuttings absolutely love.
- Don’t Rush the Potting Up: When propagating in water, I always wait until the roots are a good inch or so long before moving them to soil. This gives them a stronger start. For cuttings in soil, wait until you feel gentle resistance when you tug ever so slightly on the stem – that’s a good sign roots have formed!
- Cleanliness is Key: Always use clean tools and clean pots. It might sound basic, but it’s one of the biggest reasons why cuttings succumb to rot or disease.
Nurturing Your New Sprouts: Aftercare & Troubleshooting
Once you see those first signs of roots, congratulations! It’s time for a little extra care.
- Gradual Acclimation: If you used a plastic bag or dome, slowly start to introduce your new plant to drier air by opening it up for increasing periods each day.
- Light and Water: Continue to keep it in bright, indirect light. Water when the top inch of soil feels dry. Avoid overwatering, which is the quickest way to spell disaster.
- Signs of Trouble: The most common enemy is rot. If your cutting turns black and mushy, it’s likely gone too far. This is usually due to too much moisture or poor air circulation. If you see wilting that doesn’t perk up with more water (after checking the soil moisture), it could be a sign of no root development. Don’t get discouraged if a few don’t make it; it happens to all of us!
Keep Growing, Keep Loving
Propagating plants like Tetraglochin cristata is a journey, not a race. Be patient with your little cuttings, celebrate every new leaf and root. It’s a wonderful way to connect with nature and keep your favorite plants around for years to come. Happy gardening, my friends!
Resource: