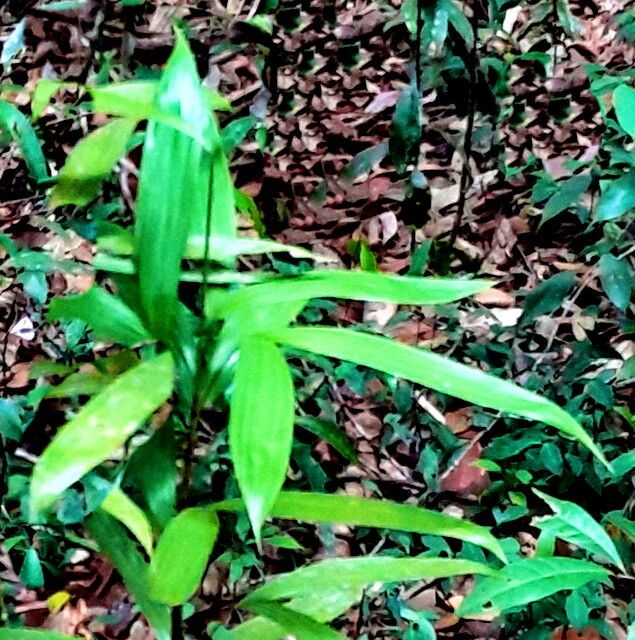
Hello fellow plant lovers! Today, we’re diving into the wonderful world of Bactris aubletiana, also known as the Little Gem palm. If you’re looking for a palm that’s a little more compact, incredibly elegant, and adds a touch of the tropics to your space, this is it. Its gracefully arching fronds and slender form are truly captivating.
There’s something incredibly satisfying about growing a new plant from a little piece of an existing one. It’s like witnessing a tiny miracle unfold right before your eyes! And while many palms can be a bit intimidating to propagate, the Little Gem is actually quite approachable, even for those of you just starting out on your propagation journey. You’ve got this!
The Best Time to Start
When it comes to Bactris aubletiana, the springtime is your golden ticket. Think of it as the plant’s natural awakening after its winter slumber. As the days get warmer and longer, and your palm is actively putting out new growth, it has all the energy it needs to dedicate to creating new roots and shoots. Aim to propagate when you see the first flush of new leaves appearing.
Supplies You’ll Need
Getting your tools ready makes the whole process smoother. You won’t need anything too fancy, just the basics:
- Sharp, clean pruning shears or a knife: For making clean cuts.
- Well-draining potting mix: A mix designed for palms or cacti and succulents works wonderfully. I also like to add a good amount of perlite to ensure excellent aeration.
- Small pots or trays: Clean containers are essential to prevent disease.
- Rooting hormone (optional but recommended): A powder or gel can give your cuttings a helpful boost.
- Clear plastic bag or humidity dome: To maintain a humid environment around your cuttings.
- Watering can or spray bottle: For gentle watering.
Propagation Methods
The most reliable way to multiply your Bactris aubletiana is through division. This palm naturally produces offshoots, or “pups,” from its base, which makes this method straightforward.
Here’s how you do it:
- Gently remove the mother plant from its pot. It’s best to do this when the soil is slightly dry, as it makes it easier to loosen the root ball.
- Inspect the base of the plant. You’re looking for smaller, independent plants that have their own roots emerging from the main trunk.
- Carefully separate the pups. Using your clean shears or knife, cut away the pup, making sure to get as many of its roots as possible. If a pup is very tightly attached, sometimes you can gently wiggle it free. Patience is key here!
- Prepare the new pots. Fill your small pots with your well-draining potting mix.
- Plant the pups. Make a small hole in the center of the soil and place the pup in it. Gently firm the soil around the base. If you’re using rooting hormone, dip the cut end of the pup into it before planting.
- Water gently. Give your newly potted pup a light watering. You want the soil to be moist but not waterlogged.
- Create a humid environment. Cover the pot with a clear plastic bag or place it under a humidity dome. This will help prevent the leaves from drying out while the pup establishes its roots. Ensure the leaves don’t touch the plastic, as this can lead to rot.
The “Secret Sauce” (Pro Tips)
Over the years, I’ve learned a few tricks that really push propagation success rates.
- Bottom heat is your best friend. These tropical babies love warmth. Placing your pots on a heat mat specifically designed for plants can dramatically speed up root formation. It mimics the cozy, warm soil they love!
- Don’t overwater, but don’t let them dry out. This is a delicate balance. I like to water thoroughly when the top inch of soil feels dry, and then let it drain completely. The humidity dome will do a lot of the work in keeping the moisture consistent.
- Observe, observe, observe! Your plants will tell you what they need. Look for signs of new growth. If the leaves start to yellow or look limp and sad, it might be a sign of too much water or not enough humidity.
Aftercare & Troubleshooting
Once your pup has been in its new pot for a few weeks and you start seeing signs of new leaf growth, it’s a good indicator that roots are forming. You can gradually remove the plastic bag or humidity dome over a week or two to acclimate it to normal humidity. Continue to water when the top inch of soil is dry.
The most common issue you’ll encounter is rot, which is usually a sign of too much moisture and insufficient drainage. If you see mushy stems or blackened roots, it’s a tough situation. Unfortunately, if rot sets in, it’s often difficult to save the cutting. Your best bet is to ensure excellent drainage and avoid overwatering from the start.
An Encouraging Closing
Propagating Bactris aubletiana is a rewarding endeavor. It takes a little patience and a watchful eye, but the joy of seeing a new palm thrive under your care is truly special. Don’t be discouraged if your first attempt isn’t perfect; it’s all part of the learning process. Keep experimenting, observe your plants, and most importantly, enjoy the journey into creating more of these beautiful green gems! Happy growing!
Resource:
https://identify.plantnet.org/k-world-flora/species/Bactris%20aubletiana%20Trail/data