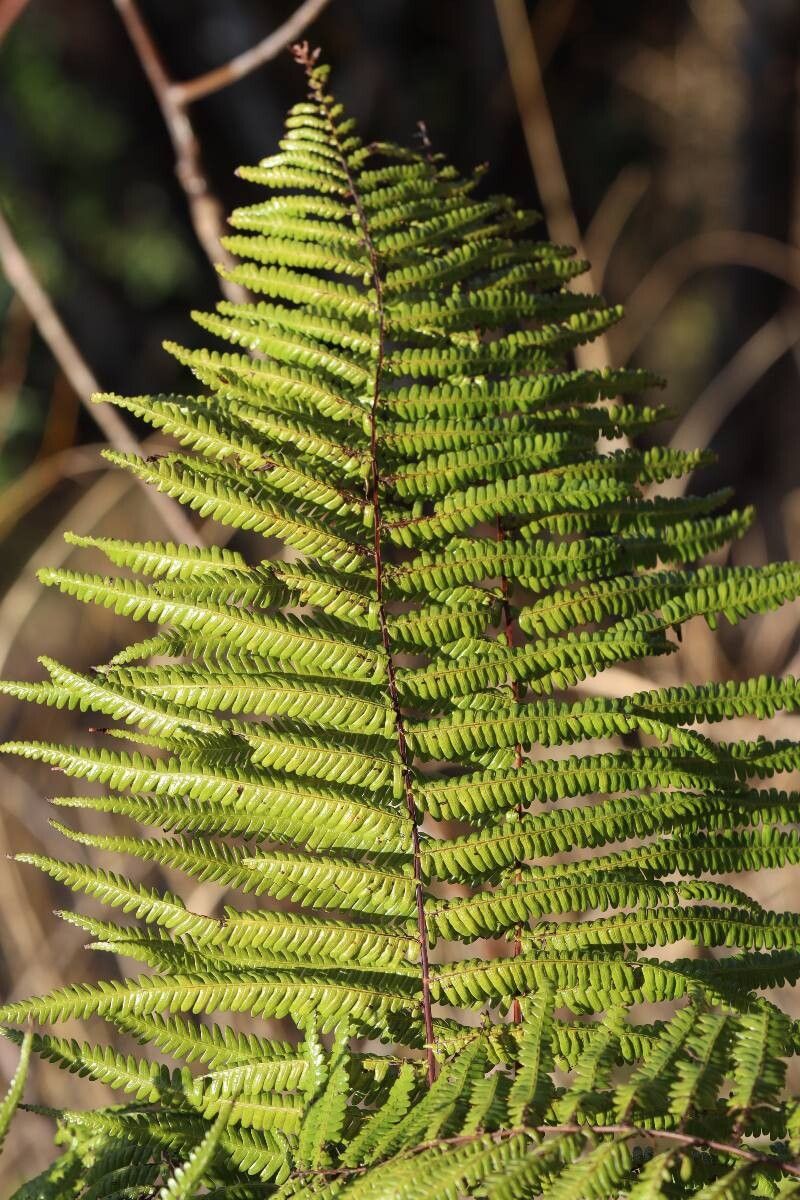
Hello there, fellow plant lovers! You know, I’ve always had a soft spot for Diplopterygium glaucum. There’s just something about its graceful, almost feathery fronds and that lovely steely blue-green hue that makes any space feel a little more serene. And the best part? You can easily bring that tranquility into more corners of your home—or share it with friends—by propagating your own!
Now, I’m not going to beat around the bush. Diplopterygium glaucum can be a little fussy for absolute beginners. But if you’ve got a few successful plant projects under your belt, you’ll find it’s wonderfully rewarding. It might take a bit of patience, but the thrill of watching a new plant emerge from a tiny cutting is truly something special.
The Best Time to Start
Timing is everything in the garden, and it’s no different when it comes to coaxing new life from your plants. For Diplopterygium glaucum, the spring and early summer are your golden ticket. This is when the plant is actively growing, meaning it has plenty of energy to put into creating new roots. Look for healthy, vigorous stems that aren’t too woody, but have a bit of substance to them.
Supplies You’ll Need
Gathering your supplies beforehand makes the whole process smoother. Here’s what I like to have on hand:
- Sharp, clean pruning shears or a knife: Essential for making clean cuts without damaging the plant.
- Rooting hormone powder (optional, but recommended): This really gives your cuttings a head start. Look for one with a fungicide.
- Small pots or propagation trays: Clean pots are a must to prevent disease.
- Well-draining potting mix: I find a blend of peat moss, perlite, and a bit of sand works wonders. You can also use a pre-made seedling or propagation mix.
- Watering can or spray bottle: For gentle watering.
- Plastic bag or clear dome: To create a humid environment for the cuttings.
- Labels: Don’t forget to label your plants! Trust me, it helps.
Propagation Methods
Diplopterygium glaucum is best propagated from stem cuttings. It’s straightforward, and I’ve had fantastic success with this method.
-
Take Your Cuttings: In spring or early summer, select a healthy stem. Using your clean shears, make a cut just below a leaf node (where a leaf attaches to the stem). You want cuttings that are about 4-6 inches long. Remove the lower leaves, leaving just a few at the top. This reduces water loss and prevents leaves from rotting once they’re in the soil.
-
Apply Rooting Hormone: If you’re using it, dip the cut end of the stem into the rooting hormone powder. Tap off any excess.
-
Plant Your Cuttings: Fill your small pots or trays with your prepared potting mix. Make a hole in the center of the soil with your finger or a pencil. Gently insert the cutting into the hole, ensuring the leaf nodes are buried. Firm the soil around the base of the cutting.
-
Create a Humid Environment: Water the soil thoroughly until it drains from the bottom. Then, cover the pot loosely with a plastic bag or place it under a clear dome. This traps moisture and creates the humid environment that cuttings love. You can support the bag with a few stakes or chopsticks so it doesn’t touch the leaves.
-
Placement is Key: Place your pots in a bright location with indirect light. Avoid direct sunlight, which can scorch the delicate cuttings.
The “Secret Sauce” (Pro Tips)
Here are a few tricks I’ve learned that often make the difference:
- Mist Regularly: Even with the humidity dome, lightly misting the leaves daily can be beneficial, especially in drier climates. It helps keep them turgid while they’re working on forming roots.
- Bottom Heat is Your Friend: If you’re propagating during a cooler period or your home tends to be a bit chilly, consider using a heating mat made for plant propagation. This gentle warmth really encourages root development from below.
- Don’t Disturb! Resist the urge to pull up your cuttings to check for roots. This can easily damage the new, fragile ones. Patience is paramount here.
Aftercare & Troubleshooting
Once you see new leaf growth or feel a gentle tug when you lightly try to move the cutting, you know roots have formed! At this point, you can gradually acclimate your new plant to normal conditions by slowly removing the humidity dome over a few days. Continue to water when the top inch of soil feels dry.
The most common sign of failure with stem cuttings is rotting. If your cutting turns mushy, black, or starts to fall apart, it’s usually a sign of too much moisture combined with poor air circulation, or a fungal issue. Cleanliness is your best defense against this. Another issue might be the cutting simply drying out – this is where that humidity dome is a lifesaver.
A Little Encouragement
Propagating plants is such a rewarding journey, and watching your own Diplopterygium glaucum cuttings take root is a delight. Don’t be discouraged if your first attempt isn’t perfect. Every plant, and every cutting, is a learning experience. So, grab your shears, get your hands in the soil, and enjoy the magic of new beginnings! Happy gardening!
Resource: