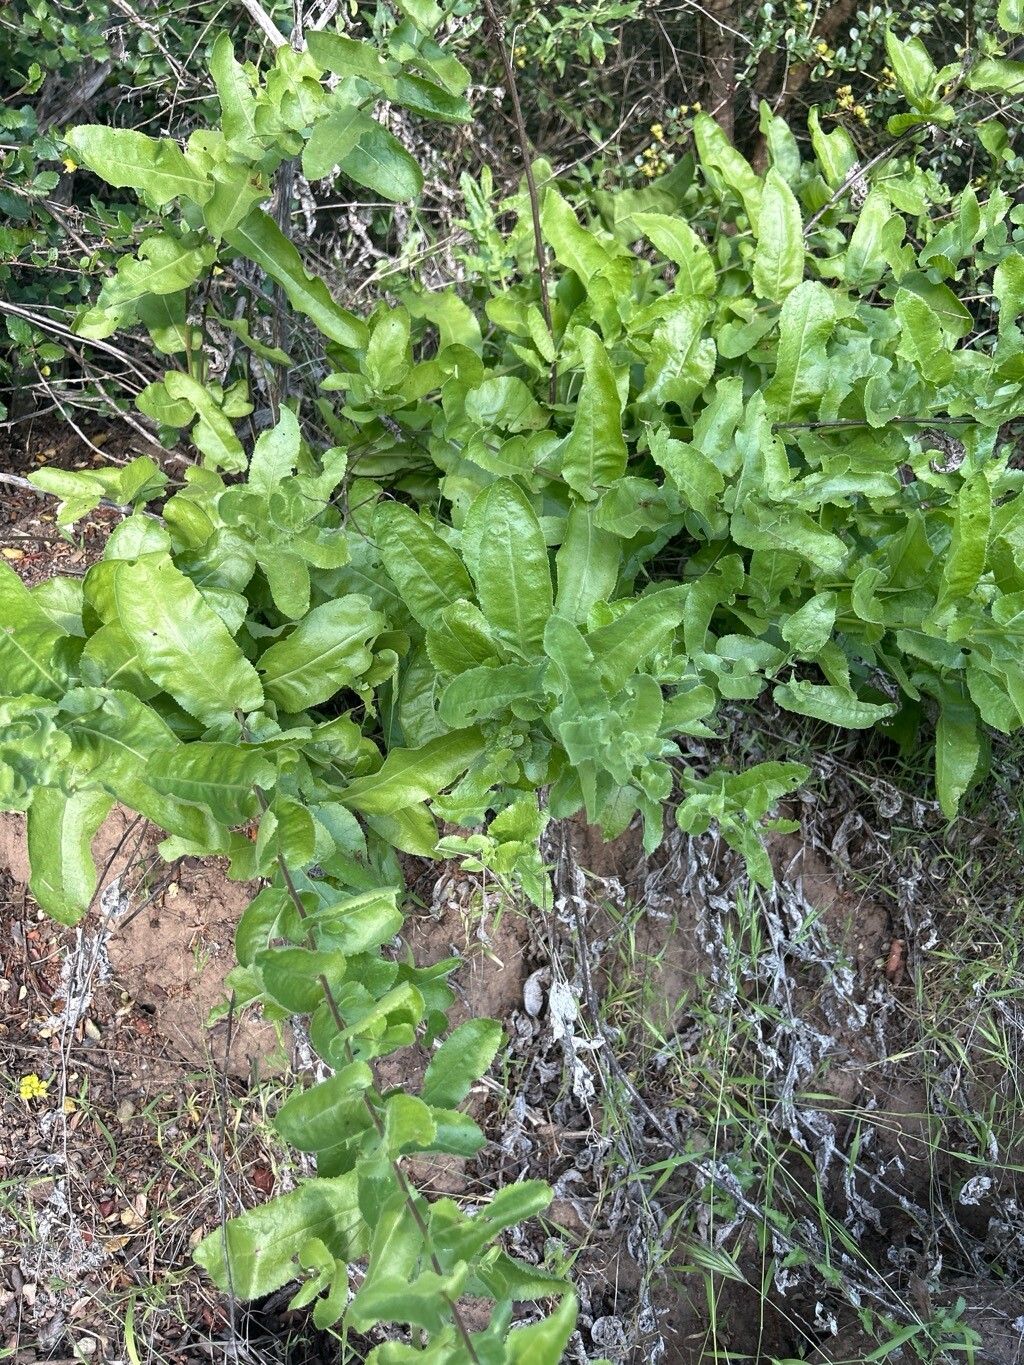
Hello fellow plant enthusiasts! If you’ve ever admired the delicate charm of Acourtia microcephala – that lovely native of the American Southwest with its airy clusters of daisy-like flowers – you’re not alone. I’ve been captivated by this resilient beauty for years, and what I love most is how satisfying it is to bring new ones into being. Propagating Acourtia microcephala is a wonderfully rewarding process, and I’m here to guide you through it. And for those of you just dipping your toes into the world of propagation, good news! This plant is generally quite forgiving, making it a great choice for beginners and seasoned gardeners alike.
The Best Time to Start
When it comes to propagation, timing is everything. For Acourtia microcephala, the sweet spot is usually in late spring to early summer. This is when the plant is actively growing, meaning it has plenty of energy to put into developing new roots. You’ll want to wait until the plant is established and showing vigorous new growth, rather than trying to propagate from stressed or dormant material.
Supplies You’ll Need
Getting your workspace ready is half the battle. Here’s what you’ll want to have on hand:
- Sharp, clean pruning shears or a sharp knife: For making clean cuts.
- A well-draining potting mix: I prefer a blend of about 50% potting soil and 50% perlite or coarse sand. You can also find commercial cactus/succulent mixes that work beautifully.
- Small pots or propagation trays: Terra cotta pots are great because they breathe.
- Rooting hormone (optional but recommended): A powder or gel form can give your cuttings a nice boost.
- A spray bottle: For misting.
- A clear plastic bag or humidity dome: To create a mini-greenhouse effect.
Propagation Methods
We’ll focus on the easiest and most effective way to get more Acourtia microcephala – stem cuttings.
- Select Your Cutting: Look for healthy, non-flowering stems that are at least 4-6 inches long. Avoid old, woody growth. You want stems that are firm and have a bit of flexibility.
- Make the Cut: Using your sharp shears or knife, make a clean cut just below a leaf node (where a leaf attaches to the stem). This is where roots are most likely to form.
- Prepare the Cutting: Gently remove the leaves from the bottom 2-3 inches of the stem. This prevents them from rotting in the soil.
- Apply Rooting Hormone (Optional): If you’re using rooting hormone, dip the cut end of the stem into the powder or gel, tapping off any excess.
- Plant the Cutting: Fill your small pot with your well-draining potting mix. Make a small hole in the center with your finger or a pencil. Insert the cut end of the stem into the hole, making sure it’s firm enough to stand on its own. Gently firm the soil around it.
- Water Lightly: Water the soil just enough to moisten it thoroughly. You don’t want it to be soggy.
- Create a Humid Environment: Now, cover the pot with a clear plastic bag, securing it lightly around the rim of the pot, or place it under a humidity dome. This will help keep moisture around the cutting. You can also prop the bag up with small stakes so it doesn’t touch the leaves.
The “Secret Sauce” (Pro Tips)
Here are a few tricks I’ve learned over the years that really make a difference:
- Don’t Drown Your Base: When watering, avoid letting the very bottom of the cutting sit in standing water. While moisture is key, too much stagnant water is a fast track to rot.
- Embrace the (Gentle) Heat: If you can, place your propagation pots on a heat mat designed for plants. This gentle bottom heat can significantly speed up root development, mimicking the warm soil conditions the plant loves.
- Patience is a Virtue (and a Necessity): Don’t be tempted to constantly pull up your cuttings to check for roots! It can take anywhere from 3 to 6 weeks, sometimes longer, for Acourtia microcephala to root successfully. Resist the urge!
Aftercare & Troubleshooting
Once you start to see signs of new growth – tiny leaves unfurling or resistance when you gently tug on the stem – you’re likely on your way!
- Gradual Acclimation: Once roots have formed, begin slowly acclimating your new plant to normal conditions. Gradually open the plastic bag or remove the humidity dome for longer periods each day over a week or so.
- Watering: Water when the top inch of soil feels dry. These plants prefer a drier environment, so it’s better to err on the side of underwatering.
- Light: Place your new plant in a spot that receives bright, indirect light. Avoid harsh direct sun, which can scorch its delicate new growth.
The most common issue you might encounter is stem rot. This usually happens if the cuttings are kept too wet or if there isn’t enough air circulation. If you see the stem turning mushy or black, sadly, that cutting is likely lost. Don’t get discouraged! Just try again with new cuttings, focusing on keeping the soil consistently moist but not waterlogged, and ensuring good airflow.
Propagating Acourtia microcephala is such a delightful way to expand your collection and share these lovely plants with friends. Be patient with the process, trust your green thumb, and enjoy watching these little miracles take root! Happy gardening!
Resource:
https://identify.plantnet.org/k-world-flora/species/Acourtia%20microcephala%20DC./data