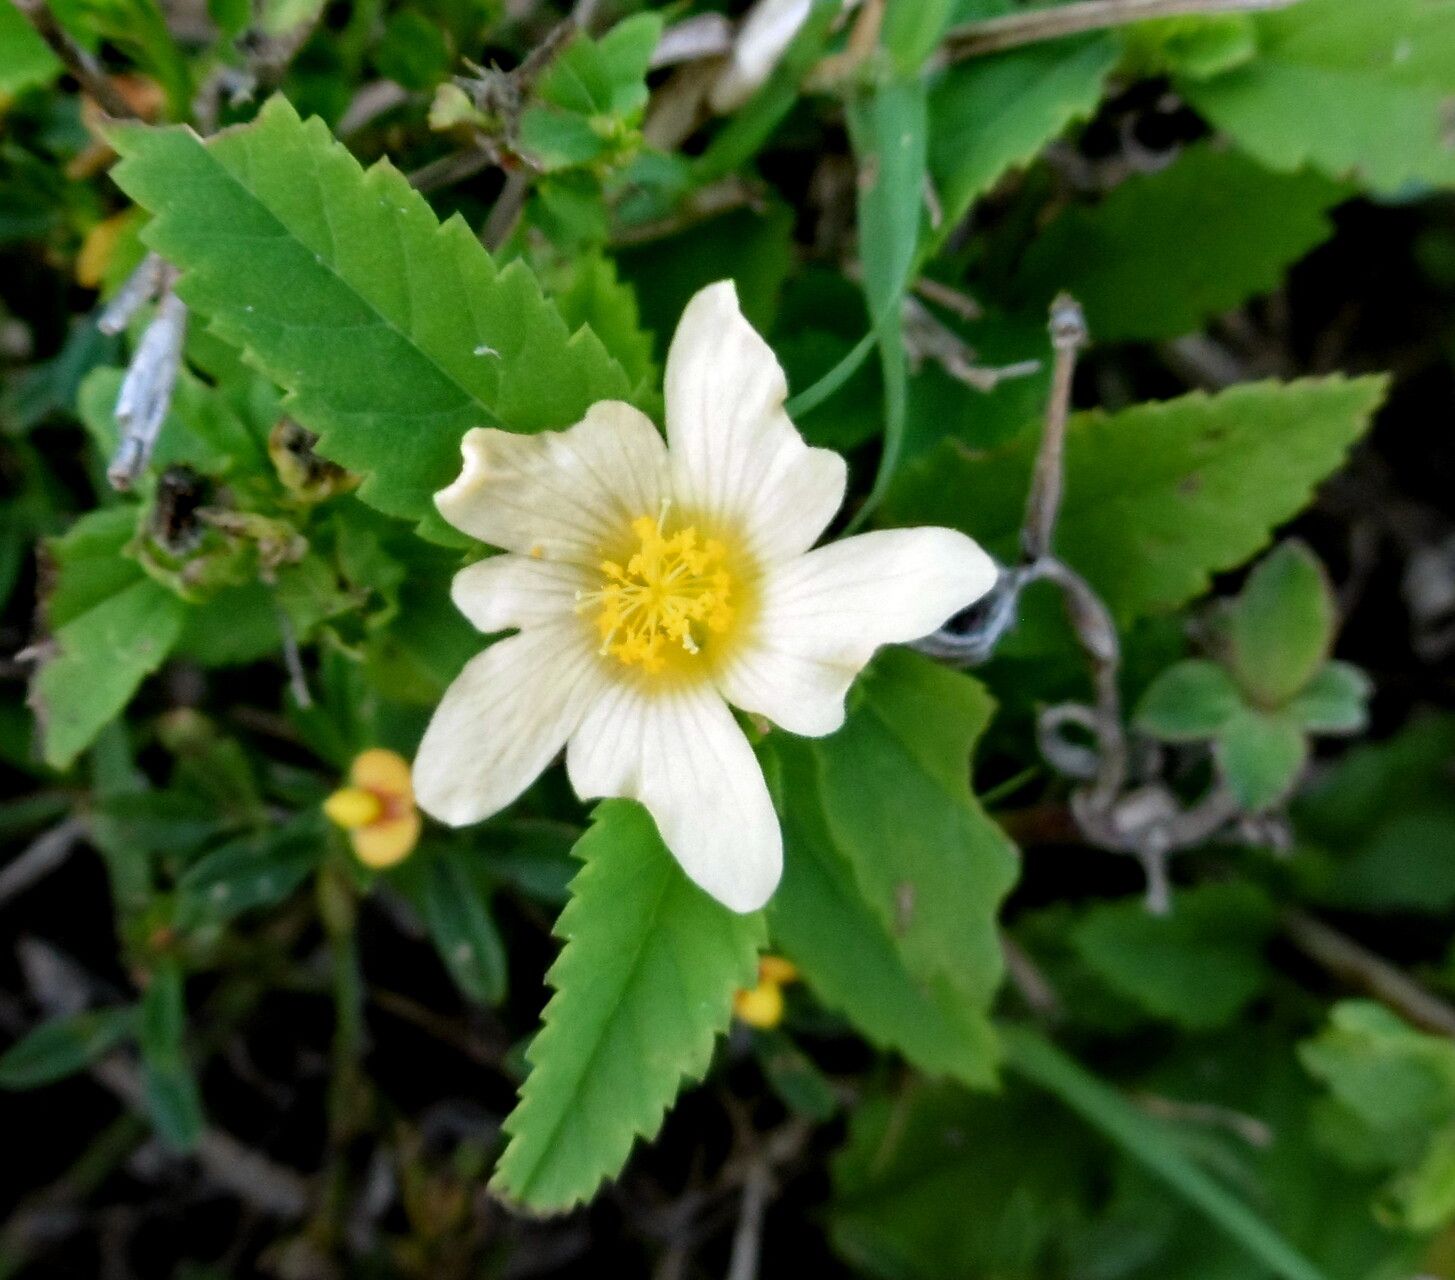
Oh, hello there, fellow plant lover! If you’ve ever admired the cheerful, persistent blooms of Malvastrum coromandelianum, you’re in for a treat. This little shrub, often called False Mallow, is a workhorse in the garden, producing a delightful display of apricot-orange or pink flowers from spring right through to fall. It’s the kind of plant that rewards you with so much beauty, and the best part? It’s wonderfully easy to share! If you’re new to propagating plants, this is a fantastic one to start with. You’ll be surprised at how simple it can be to multiply your garden treasures.
The Best Time to Start
For the highest success rate with Malvastrum coromandelianum, I always recommend working with softwood cuttings. The ideal time for this is in late spring to early summer, just as the plant is in active growth. You want cuttings from the new, pliable stems that haven’t started to get woody. This is when the magic of rooting hormone can really work its charm.
Supplies You’ll Need
To get your propagation station set up, here’s what you’ll want to have on hand:
- Sharp Pruning Shears or a Clean Knife: For taking clean cuts without crushing the stems.
- Rooting Hormone (Optional but Recommended): A powder or gel can significantly speed up root formation.
- Small Pots or Seedling Trays: Clean pots are essential to prevent disease.
- A Well-Draining Potting Mix: I like a mix of equal parts perlite, peat moss, and compost. You can also use a seed-starting mix.
- Watering Can with a Fine Rose or a Spray Bottle: Gentle watering is key!
- Plastic Bags or a Clear Dome: To create a humid environment.
- Labels: Don’t forget to label your precious new babies!
Propagation Methods
Let’s get our hands dirty! The most reliable way to propagate Malvastrum coromandelianum is through stem cuttings. It’s straightforward and usually yields excellent results.
1. Taking the Cuttings:
Find a healthy, non-flowering stem on your Malvastrum. Using your sharp shears or knife, take a cutting that is about 4-6 inches long. Make the cut just below a leaf node (where a leaf attaches to the stem). This is where the plant is most likely to produce roots. Remove the lower leaves from your cutting, leaving just 2-3 at the top. This helps prevent them from rotting in the soil.
2. Preparing the Cuttings:
If you’re using rooting hormone, dip the cut end of the stem into the powder or gel, making sure it’s coated. Tap off any excess.
3. Planting the Cuttings:
Fill your small pots or trays with your prepared potting mix. Make a small hole in the center of the mix with your finger or a pencil. Carefully insert the cutting into the hole, ensuring the leaf nodes are below the soil surface. Gently firm the soil around the base of the cutting.
4. Creating a Humid Environment:
Water the soil gently until it’s evenly moist. Then, cover the pot with a plastic bag, sealing it with a rubber band, or place a clear plastic dome over the tray. This traps humidity, which is crucial for cuttings to root. Place the pots in a bright location out of direct sunlight.
5. Watering:
You’ll want to keep the soil consistently moist, but not waterlogged. A gentle misting or a light watering from the bottom can help. Check the moisture level regularly by gently pressing the soil.
The “Secret Sauce” (Pro Tips)
Here are a few little tricks I’ve learned over the years that make all the difference:
- Don’t let the lower leaves touch the soil surface. I know I mentioned it, but it’s so important. Any leaf in contact with damp soil is a prime candidate for rot, and you really don’t want that introducing disease to your fresh cuttings.
- A little warmth goes a long way. If you have a heat mat designed for seedlings, placing your pots on it can dramatically speed up rooting. It mimics that lovely warmth of spring, signaling to the plant that it’s time to grow.
- Don’t rush to uncover them. While you want to check for moisture, resist the urge to remove the plastic cover too often. The high humidity is your best friend at this stage. Only lift it briefly to water or check the soil.
Aftercare & Troubleshooting
After a few weeks, you should start to see signs of new growth. Another good sign is a gentle tug test – if there’s resistance, you likely have roots! Once your cuttings have established a decent root system, you can slowly begin to acclimate them to normal humidity by gradually opening the plastic bag or dome over a few days. Then, they can be transplanted into slightly larger pots.
The most common problem you’ll encounter is rot. If a cutting looks limp, mushy, and has turned dark and slimy, it’s usually a sign of too much moisture or a lack of air circulation. Unfortunately, a rotten cutting isn’t salvageable, so you’ll have to discard it and start with fresh ones. Ensure your soil drains well and your cuttings aren’t sitting in water.
A Encouraging Closing
Propagating Malvastrum coromandelianum is a truly rewarding experience. It’s a wonderful way to fill your garden with more of these delightful blooms and even share the joy with friends. Be patient, observe your cuttings closely, and don’t be discouraged if a few don’t make it. Every gardener has their share of learning experiences! Enjoy the process, and soon you’ll have a whole patch of your own beautiful False Mallows. Happy planting!
Resource: