Oh, hello there! It’s so wonderful to have you here in my little corner of the internet. Today, we’re going to talk about a truly delightful plant: Taraxacum albidum, often affectionately known as the White Dandelion. Now, I know what you might be thinking – more dandelions? But trust me, this one is a beauty!
Introducing the Star of Our Show: Taraxacum albidum
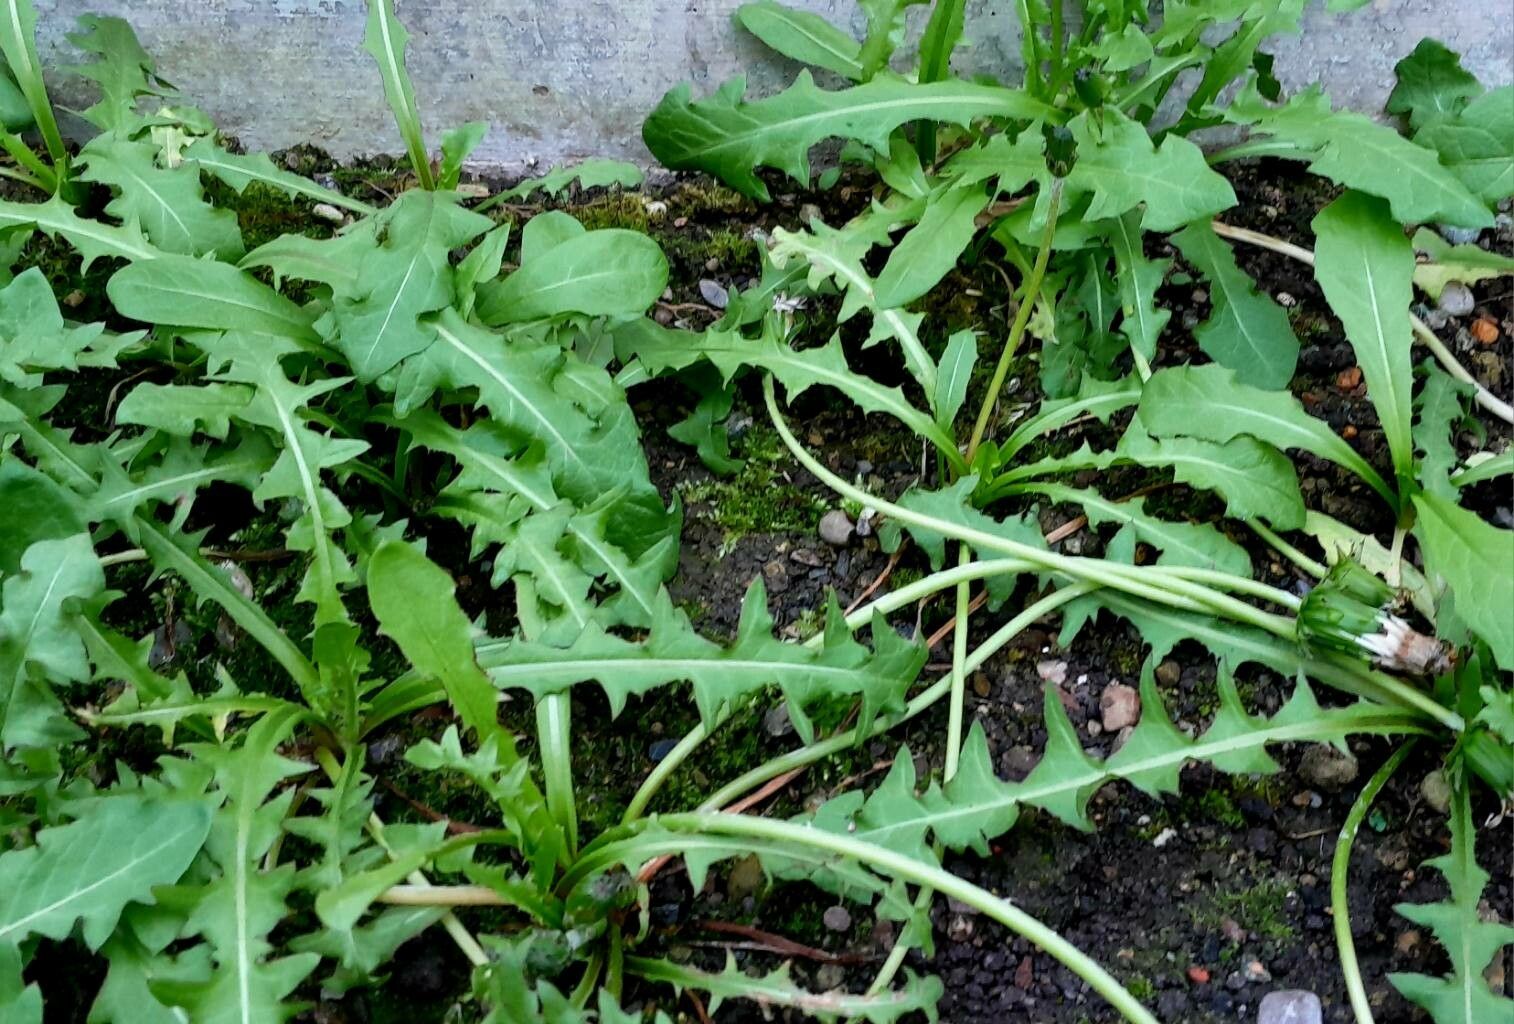
Forget those common lawn weeds. Taraxacum albidum is a graceful, elegant perennial with delicate, creamy white flowers that unfurl like little silk parachutes. It adds a touch of understated magic to any garden bed or even a container. Propagating it yourself is incredibly rewarding. You get to witness that miracle of new life springing from a tiny piece of your existing plant. And for beginners? I’d say this one is quite forgiving. You’ll likely find success on your first try!
When is the Right Moment? The Best Time to Start
The absolute best time to get your hands dirty with Taraxacum albidum propagation is in the early spring. As the days get longer and the soil starts to warm up, the plant is bursting with energy. This is when it’s most receptive to division, and its cuttings tend to root with gusto. You can also have some success in the early autumn, after the main flowering flush, but spring is definitely prime time.
Your Propagation Toolkit
Before we dive in, let’s gather our supplies. Having everything at hand makes the process so much smoother!
- Sharp Pruning Shears or a Craft Knife: For clean cuts.
- Potting Mix: A well-draining mix is crucial. I like to use a blend of equal parts peat moss (or coco coir), perlite, and coarse sand. For divisions, you can use a slightly richer potting soil.
- Small Pots or Seed Trays: Clean and with drainage holes, of course!
- Watering Can with a Fine Rose: To gently water your precious new propagations.
- Rooting Hormone (Optional but Helpful): A powder or gel can give cuttings a real boost.
- Labels: To keep track of what you’ve planted!
- A Warm Spot: For cuttings and young plants.
Let’s Get Growing: Propagation Methods
Taraxacum albidum is a trooper, and it’s pretty versatile when it comes to making new plants. The two methods I find most successful are division and basal stem cuttings.
Method 1: Division – The Tried and True
This is my go-to for Taraxacum albidum. It’s like gently splitting a family into two!
- Dig Up Your Plant: In early spring, carefully dig up your existing Taraxacum albidum. Try to disturb the root ball as little as possible.
- Clean the Roots: Gently shake off excess soil. You might want to rinse the roots under cool water to get a better look.
- Identify Natural Divisions: Look for where the plant naturally wants to split. You’ll often see where the crown has multiple growing points.
- Divide with Care: Using your fingers or a clean gardening fork, gently pull the plant apart at the natural divisions. If it’s a bit stubborn, you can use your clean pruning shears or knife to make a cut through the crown. Ensure each division has a healthy portion of roots and at least one growing point (a bud.
- Replant Immediately: Pot each division into its own pot filled with your well-draining potting mix. Water them in gently.
Method 2: Basal Stem Cuttings – A Little More Finesse
This method involves taking cuttings from the base of the plant. It requires a bit more patience but can yield several new plants from one parent.
- Select a Healthy Shoot: In early spring, choose a vigorous young shoot emerging from the base of the plant.
- Make the Cut: Using your sterile craft knife or pruning shears, make a clean cut just above the soil line. You want a section that includes a bit of stem and a developing leaf bud at the base.
- Prepare the Cutting: Carefully remove the lower leaves. You only want to leave a few leaves at the very top. If the leaves are quite large, you can cut them in half to reduce water loss.
- Apply Rooting Hormone (Optional): Dip the cut end into rooting hormone powder or gel. Tap off any excess.
- Plant Your Cuttings: Fill small pots with your well-draining propagation mix. Make a small hole with a pencil or dibber and insert the cutting, ensuring the base is well-covered by the mix. Gently firm the soil around it.
- Water Gently: Water lightly to settle the soil.
- Create a Humid Environment: This is key for cuttings. You can place the pots inside a clear plastic bag or cover them with a transparent lid to create a mini-greenhouse effect. Make sure the leaves do not touch the sides of the bag or lid.
The “Secret Sauce”: My Insider Tips
After years of pottering around, I’ve picked up a few tricks!
- Don’t Drown Your Cuttings: For stem cuttings, it’s vital that the leaves do not touch the water or the condensation that forms inside your mini-greenhouse. This is a surefire way to invite rot. If they start to droop or touch, gently trim them or adjust your cover.
- Bottom Heat is Your Friend: Cuttings, especially, benefit from warmth coming from below. A heated propagator mat or simply placing your pots on top of a gently warm appliance (like a router or PC tower) can significantly speed up root formation. Just make sure it’s not too hot!
Aftercare and When Things Go Wrong
Once your divisions are planted or your cuttings have rooted, it’s time for gentle nurturing.
- Watering: Keep the soil consistently moist but not waterlogged. Allow the top inch of soil to dry out slightly between waterings.
- Light: Place your new plants in a bright, indirect light location. Avoid direct sun, which can scorch delicate new growth.
- Observation is Key: Keep an eye on your plants. Small roots should start to appear on cuttings within 2-4 weeks, and divisions should show signs of new leaf growth shortly after planting.
- Troubleshooting – The Dreaded Rot: If your cuttings turn yellow, mushy, or black at the base, that’s usually a sign of root rot. This is often caused by overwatering and poor drainage. Sadly, there’s not much you can do once rot sets in, but you can learn from it! Ensure your soil drains well and be more mindful of watering next time. For divisions, wilting can sometimes be transplant shock; keep them consistently watered and shaded for a few days.
Go Forth and Propagate!
There’s a real joy in nurturing a new plant from a tiny beginning. Don’t be discouraged if your first attempt isn’t perfect. Gardening is all about learning and adapting. Be patient with your Taraxacum albidum, give it a little love, and before you know it, you’ll have more of those beautiful white blooms to enjoy. Happy gardening!
Resource:
https://identify.plantnet.org/k-world-flora/species/Taraxacum%20albidum%20Dahlst./data