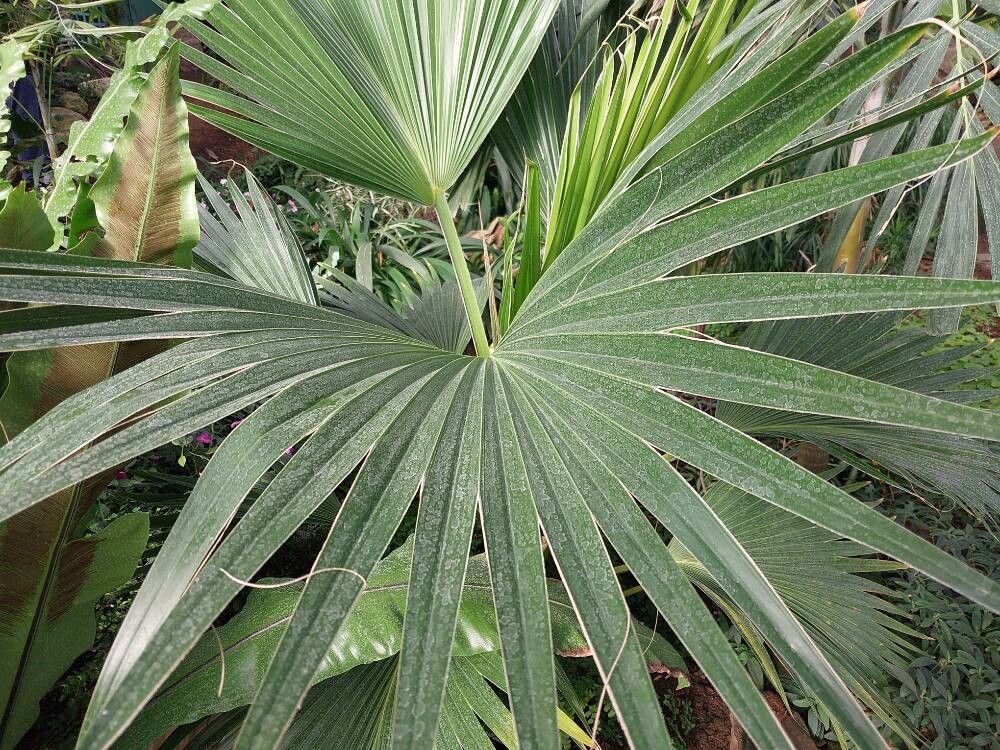
Hello, fellow garden enthusiasts! I’m so excited to chat with you today about a truly magnificent palm: Pritchardia maideniana. If you’ve ever seen one of these beauties gracing a garden or botanical collection, you know exactly why it’s so captivating. With its elegant, fan-shaped fronds and statuesque form, it brings a touch of tropical paradise to any space. And the best part? You can learn to grow your own!
Propagating Pritchardia maideniana might sound a little daunting at first, but trust me, with a little guidance and some patience, you can absolutely succeed. While it’s not the absolute easiest plant for a first-timer to propagate, it’s definitely achievable, especially if you focus on the right methods. It’s incredibly rewarding to see a tiny seedling or a new cutting transform into a vibrant new palm.
The Best Time to Start
For Pritchardia maideniana, the sweet spot for propagation is during its active growing season. This typically means late spring through summer. The warmer temperatures and longer daylight hours encourage robust growth and give your new plant the best chance to establish itself quickly. Trying to propagate when the plant is dormant or when it’s chilly just won’t give you the same enthusiastic results.
Supplies You’ll Need
Before we get our hands dirty, let’s gather our toolkit. Having everything ready will make the process so much smoother:
- Clean, sharp pruning shears or a knife: For making clean cuts.
- Small pots or seed trays: With good drainage is key!
- Well-draining potting mix: A mix specifically for palms or a blend of peat moss, perlite, and coarse sand works wonderfully.
- Rooting hormone (optional but recommended): Especially if you’re taking cuttings.
- Plastic bag or propagator lid: To create a humid environment.
- Watering can or spray bottle: For gentle watering.
- Labels: To keep track of what you’ve planted!
- Bottom heat mat (optional but helpful): For encouraging root development.
Propagation Methods
While Pritchardia maideniana can be grown from seed, I find that for many home gardeners, stem cuttings (or more accurately, propagules from offsets) can be a more accessible starting point if you have access to a mature plant. Let’s focus on that.
Propagating from Offsets:
Mature Pritchardia maideniana palms often produce small offsets, or pups, around the base of the parent plant. These are essentially miniature versions of the mother palm, complete with their own root system.
- Identify a Suitable Offset: Look for a pup that is at least a few inches tall and appears healthy. It should not be directly attached to the main trunk at ground level; a slight separation is ideal.
- Carefully Separate: Using your clean, sharp knife or shears, gently cut the offset away from the parent plant. Try to get as much of its natural root system as possible. If there are very fine roots that are difficult to separate, don’t worry too much, as long as the larger ones are intact.
- Trim Excess Leaves (if any): If the offset has very large fronds that might lead to dehydration, you can trim back some of the older, lower leaves. This reduces water loss.
- Allow to Callus: This is an important step! Let the cut end of the offset air dry for 24-48 hours in a warm, dry place. This helps form a callus, which prevents rot.
- Plant the Offset: Fill your small pot with your well-draining potting mix. Make a hole in the center large enough to accommodate the offset’s root ball.
- Potting In: Gently place the offset into the hole and backfill with soil, firming it gently around the base. Ensure the base of the palm is at soil level, not buried too deeply.
- Initial Watering: Water thoroughly but gently, making sure the soil is evenly moist.
The “Secret Sauce” (Pro Tips)
Here are a couple of my tried-and-true tips that can make a real difference:
- Don’t Overwater After Planting: This is probably the most common mistake! While the soil needs to be moist, it should never be soggy. Soggy conditions are a direct invitation for fungal rot, especially for a newly transplanted palm. It’s better to err on the side of slightly drier than too wet.
- Humidity is Your Friend: Pritchardia maideniana loves humidity, and your new propagule will too. Once you’ve potted your offset, cover the pot with a clear plastic bag or place it in a propagator. This creates a mini-greenhouse effect, keeping moisture in and encouraging those roots to form. Just make sure the leaves aren’t constantly touching condensation, as this can also encourage rot. You might want to lift the bag for a few minutes daily to allow for air circulation.
Aftercare & Troubleshooting
Once your Pritchardia maideniana offset is potted, place it in a bright, indirect light location. Avoid direct sun, which can scorch delicate new growth. Continue to water sparingly, only when the top inch of soil feels dry to the touch.
The biggest challenge you might face is rot. Signs of rot include mushy stems, blackening at the base, and yellowing, wilting leaves that don’t improve with watering. If you see this, unfortunately, it’s likely too late for that particular propagule. This is why proper drainage and avoiding overwatering are so critical. If you’ve used rooting hormone and bottom heat, you might see roots forming within 4-8 weeks. You’ll know it’s starting to establish when you see new leaf growth.
A Encouraging Closing
Growing new plants is a journey, and with Pritchardia maideniana, it’s one filled with beauty and satisfaction. Be patient with your new palm. Observe it carefully, and don’t be afraid to adjust your watering or light. Each plant is an individual, and learning its needs is part of the joy. Happy propagating, and may your garden flourish!
Resource:
https://identify.plantnet.org/k-world-flora/species/Pritchardia%20maideniana%20Becc./data