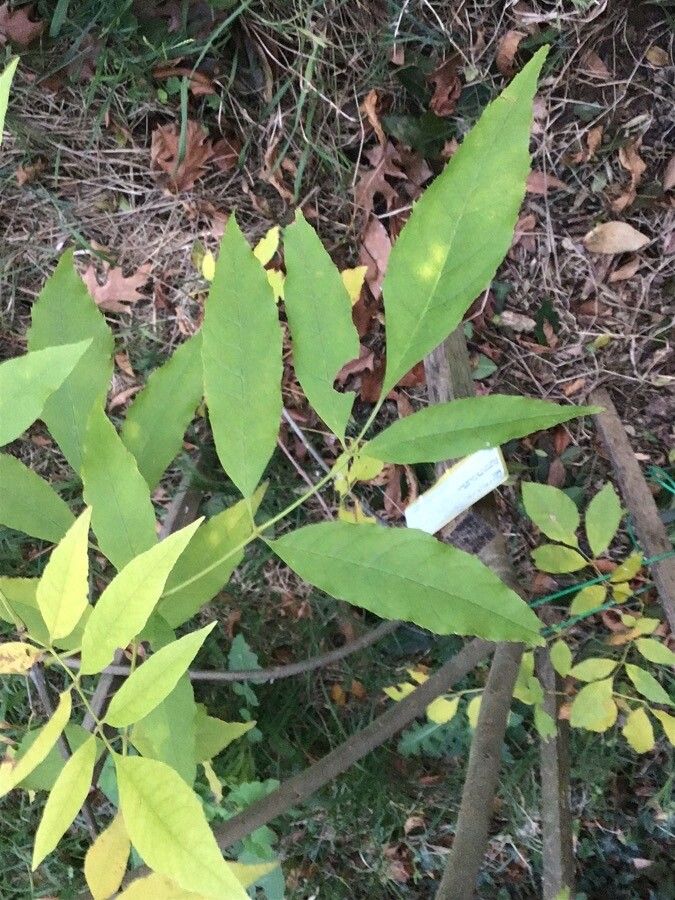
Ah, Fraxinus caroliniana! The Carolina Ash. If you’ve ever admired its graceful, upright form and the way its leaves catch the light, you’re not alone. It’s a lovely native tree, and there’s something incredibly satisfying about coaxing a whole new life from a parent plant. We’re going to get a little hands-on today, and I think you’ll find propagating these beauties to be a rewarding, though perhaps not entirely beginner-friendly, endeavor. It requires a touch of patience and a keen eye, but I’m here to guide you!
The Best Time to Start
For Fraxinus caroliniana, spring is your golden ticket. More specifically, you’ll want to work with softwood cuttings taken just as new growth is actively pushing out. This is when the stems are still flexible and full of that youthful energy needed to root. Waiting until late spring or early summer, when the growth has begun to toughen up a bit, can also work, but the earlier you can snag those tender shoots, the better your chances.
Supplies You’ll Need
Gathering your tools beforehand makes the whole process much smoother. Here’s what I usually have on hand:
- Sharp pruning shears or a clean knife: For taking clean cuts that heal well.
- Rooting hormone: A powder or gel helps stimulate root development. Look for one with ibu or auxins.
- Well-draining potting mix: A good blend of peat moss, perlite, and a bit of sand works wonders. You don’t want anything too heavy that holds excess moisture.
- Small pots or propagation trays: Clean containers with drainage holes are a must.
- Plastic bags or a clear dome: To create a humid environment for your cuttings.
- Water: For misting and, well, watering.
- Marker or plant tags: To label your cuttings with the date and variety.
Propagation Methods
While ash trees can be a bit particular, the most reliable method for home gardeners is by stem cuttings. Let’s get to it!
Stem Cuttings:
- Select Your Cuttings: On a healthy parent tree, look for branches that are actively growing but not yet woody. You’re aiming for stems that are about 4-6 inches long.
- Make the Cut: Using your clean pruners or knife, make a clean cut just below a leaf node. This is a crucial spot where roots are more likely to form. Remove any flowers or developing seeds.
- Prepare the Cutting: Gently strip off the lower leaves, leaving just a few at the very top. This prevents them from rotting once planted and reduces water loss.
- Apply Rooting Hormone: Dip the cut end of the stem into your rooting hormone, ensuring it’s coated. Tap off any excess.
- Plant Your Cuttings: Fill your pots or trays with your prepared potting mix. Moisten it thoroughly. Make a small hole with your finger or a pencil and insert the cut end of the stem. Gently firm the soil around the base to ensure good contact.
- Create a Humid Environment: Water the cuttings lightly. Then, cover the pots with a plastic bag or place them under a clear dome. This traps humidity, which is vital for softwood cuttings. You can support the bag with small stakes so it doesn’t touch the leaves. Place the pots in a bright spot, but avoid direct sunlight, which can scorch the new growth.
The “Secret Sauce” (Pro Tips)
Here are a couple of things I’ve learned over the years that can really give your cuttings an edge:
- Bottom Heat is Your Friend: If you have a heat mat designed for plant propagation, using it can make a world of difference. A bit of gentle warmth from below encourages root formation much faster than just ambient room temperature.
- Don’t Drown Your Dreams: While humidity is essential, avoid letting the leaves sit in standing water inside the bag. This is a fast track to rot. If you see condensation building up excessively, briefly open the bag or dome to allow some air circulation.
- The “Scratch Test”: Once you think your cuttings might have rooted (this can take several weeks), and you’re tempted to peek, try a very gentle scratch on the stem with your fingernail. If you see green underneath, it’s still alive! If it’s brown and dry, it likely hasn’t made it.
Aftercare & Troubleshooting
Once you start seeing new leaf growth on your cuttings, that’s a very good sign that roots are forming below!
- Gradual Acclimation: When new growth appears, slowly begin to acclimate your cuttings to lower humidity. This means gradually opening the plastic bag or ventilation holes in your dome over a week or so.
- Gentle Watering: Keep the soil consistently moist but not waterlogged. You’ll learn to feel the weight of the pot to know when it needs a drink.
- Troubleshooting: The most common issue is rot. If your cuttings turn black and mushy, it’s usually a sign of too much moisture and poor air circulation. Unfortunately, once rot sets in, it’s hard to recover. Another sign of failure is if the leaves completely wither and dry up, and the stem becomes brown and brittle – indicating it never rooted.
A Encouraging Closing
Propagating Fraxinus caroliniana is a journey, and not every cutting will make it. That’s part of the gardening dance! Don’t get discouraged if you have setbacks. Learn from them, adjust your approach, and keep trying. There’s immense joy in nurturing a tiny bit of stem into a thriving new plant. So grab your tools, embrace the season, and happy propagating!
Resource:
https://identify.plantnet.org/k-world-flora/species/Fraxinus%20caroliniana%20Mill./data