Hello, fellow garden enthusiasts! It’s such a joy to connect with you today. If you’ve ever had the pleasure of tasting a star apple, or Pouteria caimito, you know exactly why I’m so excited to talk about this tropical treasure. The creamy, sweet flesh is simply divine, and growing your own from seed or cuttings? That’s a whole other level of satisfaction. Now, I won’t sugarcoat it – Pouteria caimito can be a bit of a patient plant to propagate, especially if you’re just starting out. It’s not as straightforward as, say, a pothos, but with a little know-how and a sprinkle of perseverance, you absolutely can succeed.
The Best Time to Start
For the highest success rate with Pouteria caimito, your best bet is during the active growing season. Think late spring through early autumn. This is when the plant is naturally energized and ready to put out new growth, making it more receptive to rooting. You’ll likely be taking cuttings from wood that’s recently matured, not brand new and flimsy, nor old and woody.
Supplies You’ll Need
Gathering your supplies beforehand makes the whole process smoother. Here’s what I usually have on hand:
- Sharp, sterile pruning shears or a clean knife: Essential for making clean cuts.
- Rooting hormone powder or gel: This really gives your cuttings a boost. Look for one with an IBA (indole-3-butyric acid) concentration.
- Well-draining potting mix: A 50/50 blend of perlite and peat moss or coco coir works wonders. You can also use a commercial seed-starting mix, but add extra perlite.
- Small pots or seedling trays: Clean ones, of course!
- Plastic bags or a propagator: To create a humid environment.
- Watering can with a fine rose: Gentle watering is key.
- Optional: Heating mat: This can make a significant difference for tropical plants.
Propagation Methods
While you can grow Pouteria caimito from seed, it’s a slower process and you might not get a plant identical to the parent. For a quicker and more predictable start, stem cuttings are my go-to.
Stem Cuttings
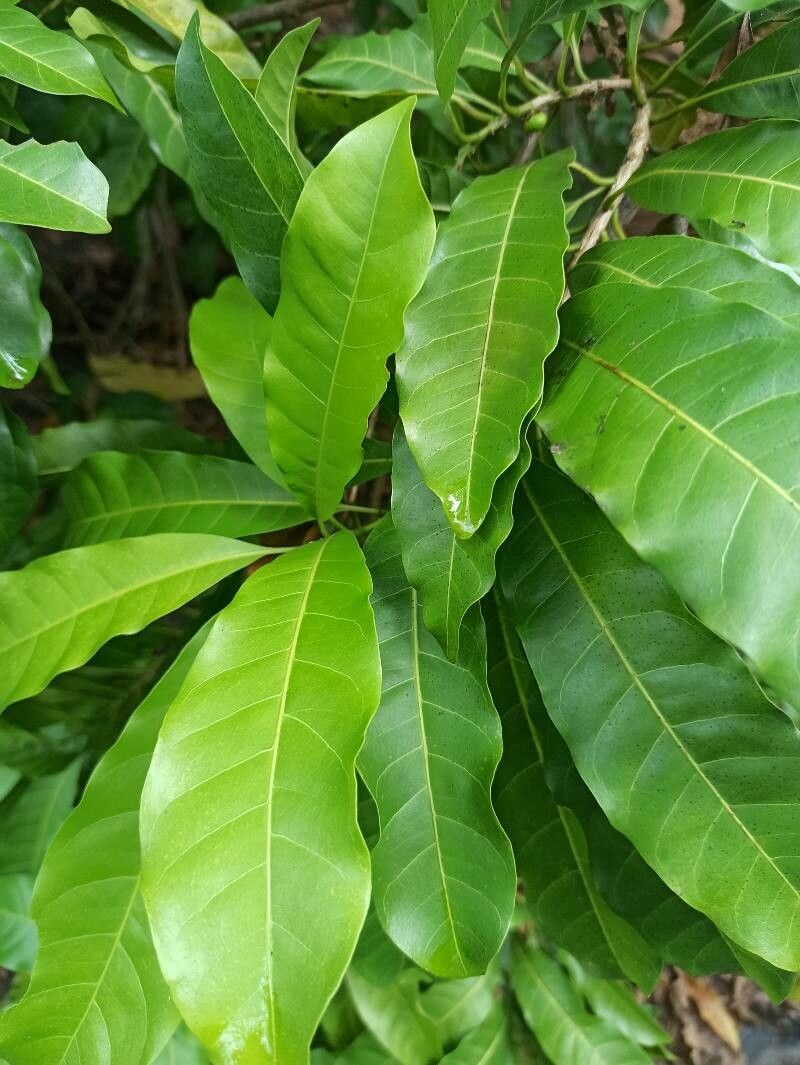
- Select your cutting: Look for a healthy, semi-hardwood stem on your Pouteria caimito. This means it’s a bit firm but not tough and woody. Aim for a piece that’s about 6-8 inches long.
- Make the cut: Using your sterile shears or knife, make a clean cut just below a leaf node (where a leaf attaches to the stem). This is where the magic of rooting often happens.
- Prepare the cutting: Gently remove the lower leaves, leaving just two or three at the very top. This prevents them from rotting in the soil.
- Apply rooting hormone: Dip the cut end of the stem into your rooting hormone powder or gel. Tap off any excess.
- Plant the cutting: Fill your clean pots with your well-draining potting mix. Make a small hole in the center with your finger or a pencil. Insert the cutting into the hole, ensuring the rooting hormone stays in place. Gently firm the soil around the stem.
- Water gently: Water the potting mix thoroughly until it’s evenly moist but not waterlogged.
- Create humidity: Place the potted cutting into a plastic bag or propagator. You can prop up the bag with a few skewers so it doesn’t touch the leaves. Seal it up.
- Find a good spot: Place the pot in a warm location with bright, indirect light. Avoid direct sun, which can scorch the cuttings.
The “Secret Sauce” (Pro Tips)
Here are a few little tricks I’ve learned over the years that can help tip the scales in your favor:
- Don’t let the leaves touch the soil! This is crucial. Any leaves in contact with moist soil are a prime spot for rot to begin. Make sure they’re all above the surface.
- Bottom heat is your friend. For tropical plants like Pouteria caimito, a heating mat placed under your pots can significantly speed up root development. It mimics the warm soil they love, encouraging them to send out roots. Aim for a consistent temperature around 75-80°F (24-27°C).
- Be patient with watering. Once you’ve watered thoroughly after planting, resist the urge to water too often. Check the moisture level by feeling the soil just under the surface. Only water when the top inch feels dry. Overwatering is a fast track to disappointment.
Aftercare & Troubleshooting
Once you start seeing new growth emerge from your cuttings, it’s a good sign! This usually means roots have begun to form.
- Gradually acclimate: Once roots are established (you might gently tug on the cutting to feel resistance, or see roots peeking from the drainage holes), slowly begin to acclimate your new plant to normal humidity. Gradually open the plastic bag or propagator over a week or two.
- Continue with bright, indirect light and consistent watering.
- Signs of failure: The most common culprit is rot. If your stem cutting turns black and mushy, or the leaves start to yellow and drop off with no new growth appearing after what feels like ages, rot is likely the issue. This usually comes down to too much moisture and not enough air circulation. If you see signs of rot, it’s sadly usually best to discard the cutting and start again, learning from what might have gone wrong.
A Little Encouragement
Propagating plants is a dance between science and art, and sometimes, nature has a mind of its own. Don’t be discouraged if your first attempt isn’t a roaring success. Each cutting you try teaches you something new. Celebrate the new growth you see, be patient with the process, and most importantly, enjoy the journey of bringing more of these wonderful star apple trees into your life. Happy growing!
Resource: