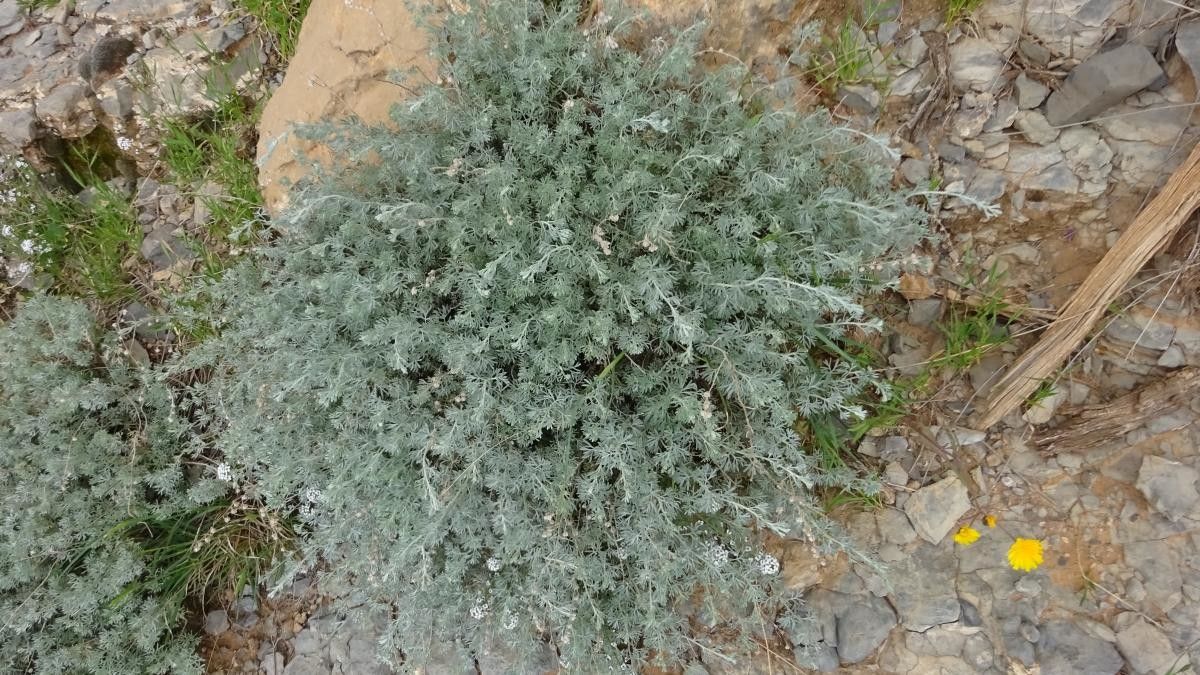
Hello fellow garden enthusiasts! I’ve been digging around in the dirt for two decades now, and one plant that always brings a smile to my face is Artemisia atlantica. Its silvery foliage and delicate, aromatic leaves are just stunning, adding a touch of elegance to any border or container. And you know what’s even better than admiring it? Growing more of it yourself! Propagating Artemisia atlantica is incredibly rewarding, and I’m happy to tell you it’s quite forgiving, even for those just starting their plant parenting journey. Let’s get some new beauties started!
The Best Time to Start
When I’m looking to get new Artemisia atlantica plants going, I always aim for the late spring or early summer. This is when the plant is actively growing and has plenty of fresh, vigorous new stems. These young, pliable shoots root the best. Trying to propagate from older, woody stems is much more difficult. So, wait for that burst of new growth – it’s your signal!
Supplies You’ll Need
Gathering your tools beforehand makes the whole process smoother. Here’s what I usually have on hand:
- Sharp pruning shears or a clean, sharp knife: For making clean cuts.
- Rooting hormone (optional, but helpful): A powder or gel to encourage root development.
- A good quality potting mix: I prefer a mix that drains well, something like a blend of peat moss, perlite, and compost. You can also use a seed-starting mix.
- Small pots or propagation trays: Clean containers with drainage holes are essential.
- A watering can with a fine rose: To water gently without disturbing the cuttings.
- Plastic bags or a propagator lid: To create a humid environment.
Propagation Methods
There are a couple of ways to go about this, but my go-to is stem cuttings, as it’s consistently successful.
Stem Cuttings: My Favorite Approach
- Take Your Cuttings: Find a healthy, non-flowering stem on your Artemisia atlantica. Using your sharp shears or knife, cut a section about 4-6 inches long, just below a leaf node (where a leaf attaches to the stem).
- Prepare the Cuttings: Gently remove the lower leaves from the cutting. You want to expose at least two or three leaf nodes. This is where the roots will emerge. If the remaining leaves are very large, you can trim them in half to reduce water loss.
- Apply Rooting Hormone (if using): Dip the cut end of the stem into your rooting hormone, tapping off any excess.
- Plant Them Up: Fill your small pots or trays with your well-draining potting mix. Make a small hole in the center of the soil with your finger or a pencil.
- Insert the Cuttings: Gently push the prepared cutting into the hole, ensuring that the nodes where you removed the leaves are buried in the soil. Firm the soil gently around the base of the cutting to ensure good contact.
- Water and Cover: Water the soil thoroughly until you see water draining from the bottom of the pot. Then, cover the pot or tray loosely with a plastic bag or place it inside a propagator. This creates a mini-greenhouse effect, keeping the humidity high, which is crucial for preventing the cuttings from drying out.
Water Propagation: A Quick Peek
While I lean towards soil for the long haul, you can get a visual on root development with water.
- Take Cuttings: Follow the same steps as above for taking and preparing your cuttings.
- Place in Water: Fill a small jar or glass with fresh water and place the cuttings in it. Make sure that no leaves are submerged.
- Change Water Regularly: Change the water every few days to keep it fresh and prevent rot. You’ll start to see little white roots forming in a few weeks.
- Transplant When Ready: Once the roots are about an inch long, you can carefully transplant them into pots with soil, just like you would with rooted cuttings from the first method.
The “Secret Sauce” (Pro Tips)
Here are a few little tricks I’ve learned over the years that really make a difference:
- Don’t Let Leaves Touch the Water: If you’re water propagating, this is paramount. Submerged leaves will rot quickly and can take down your whole cutting. Keep them high and dry above the waterline.
- Bottom Heat is Your Friend: For stem cuttings, if you can provide a bit of warmth from below – think a heated propagator mat or even a sunny windowsill that feels warm to the touch – it can significantly speed up root formation. It mimics the perfect soil temperature for root growth. Don’t overdo it, though; you don’t want to cook your cuttings!
- Mist, Don’t Drench: When you the humidity inside your plastic tent or propagator, give the cuttings a light misting of water rather than a heavy watering. Overwatering will encourage fungal diseases.
Aftercare & Troubleshooting
Once you see those little roots starting to peek out from the drainage holes or new growth appearing on your cuttings, it’s time for a bit of focused care.
- Acclimate Slowly: If you’ve been using a plastic cover, gradually remove it over a week or so. This helps your new plants get used to the ambient humidity.
- Water Consistently: Keep the soil consistently moist but not waterlogged. Allow the top inch of soil to dry out slightly between waterings.
- Plenty of Light: Place your new plants in a bright location, but avoid direct, harsh sunlight – especially through glass – as this can scorch their delicate new leaves.
- Signs of Trouble: The most common culprit is rot. If your cuttings turn black and mushy, it’s a sign of too much moisture and poor air circulation. If a cutting fails to root and looks shriveled and dry, it’s likely just dried out. Don’t be discouraged by a few losses; it happens to all of us! Just keep trying.
And there you have it! Propagating Artemisia atlantica really is a delightful way to expand your garden without spending a dime. Be patient with your new little plants; they’ll tell you when they’re ready. Enjoy the process, and soon you’ll have beautiful silvery accents to share with friends or dot around your own landscape. Happy gardening!
Resource:
https://identify.plantnet.org/k-world-flora/species/Artemisia%20atlantica%20Coss.%20&%20Durieu/data